The iDetail Builder authoring tool provides several ways to edit slides in Slidedeck content items.
You can edit the slide title from:
the slide grid view
the slide grid view sidebar
the slide list view
the slide list sidebar
the individual slide view
You can edit the slide order from:
the slide grid view
the slide grid view sidebar
the slide list view
the slide list sidebar
You can also replace the asset file that a slide uses.
Edit the slide title (in the grid view)
On the Slidedeck Slides tab:
Click the title on the slide thumbnail in the Slidedeck grid view
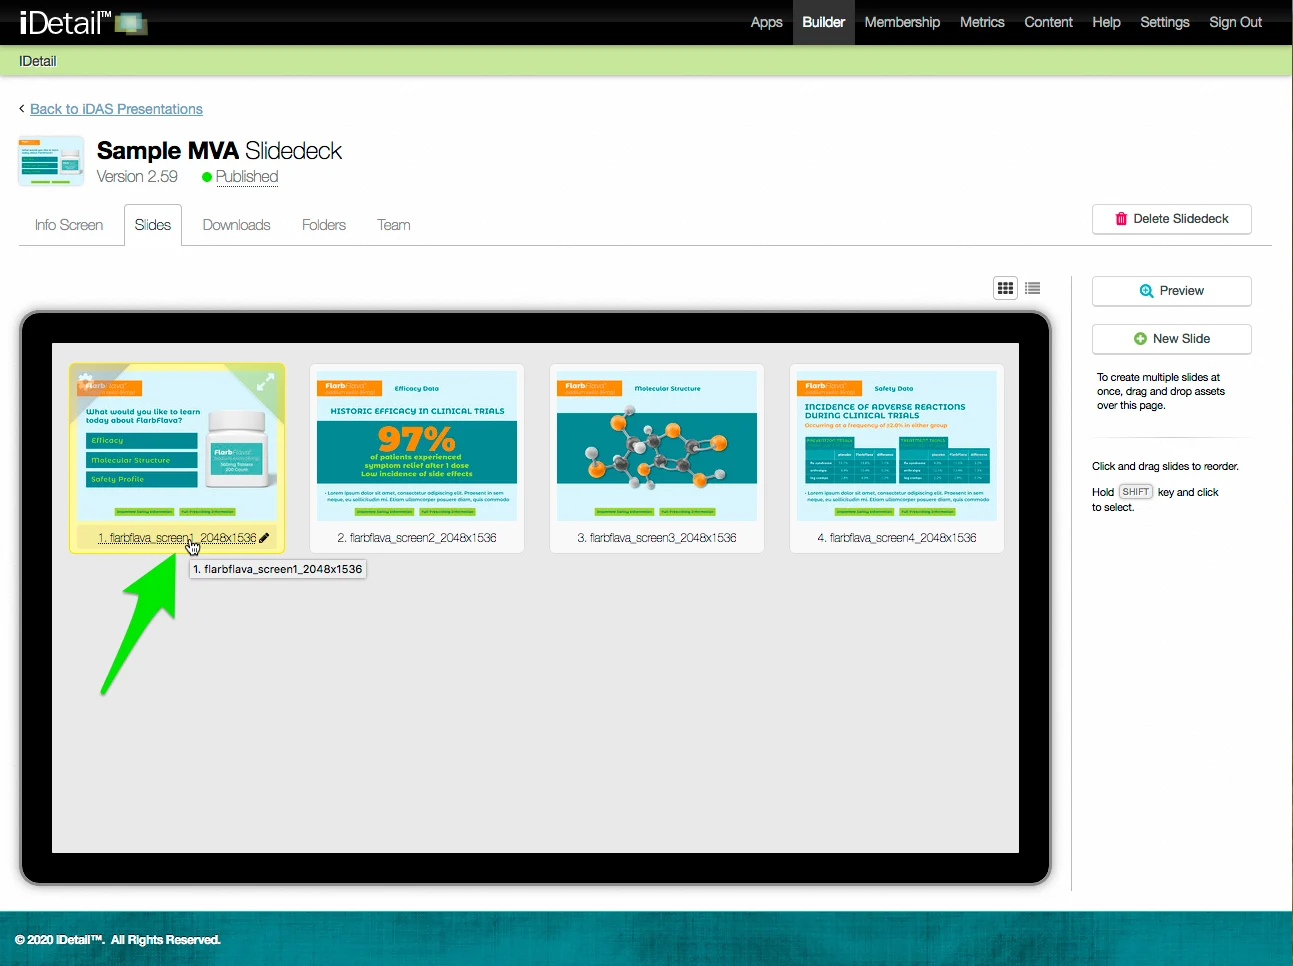
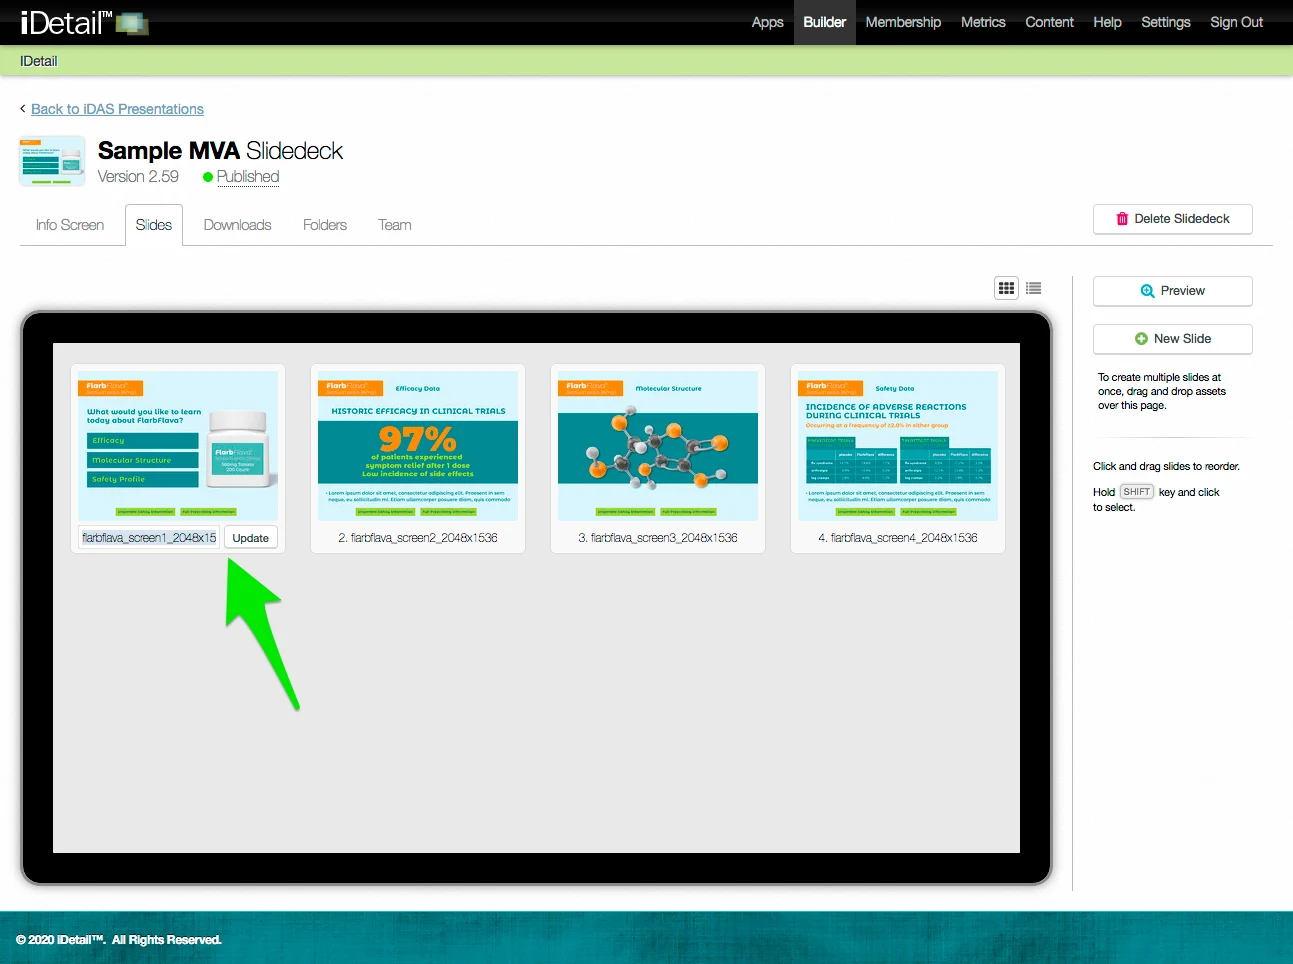
The title editing field appears
Type your changes
Click the Update button when done
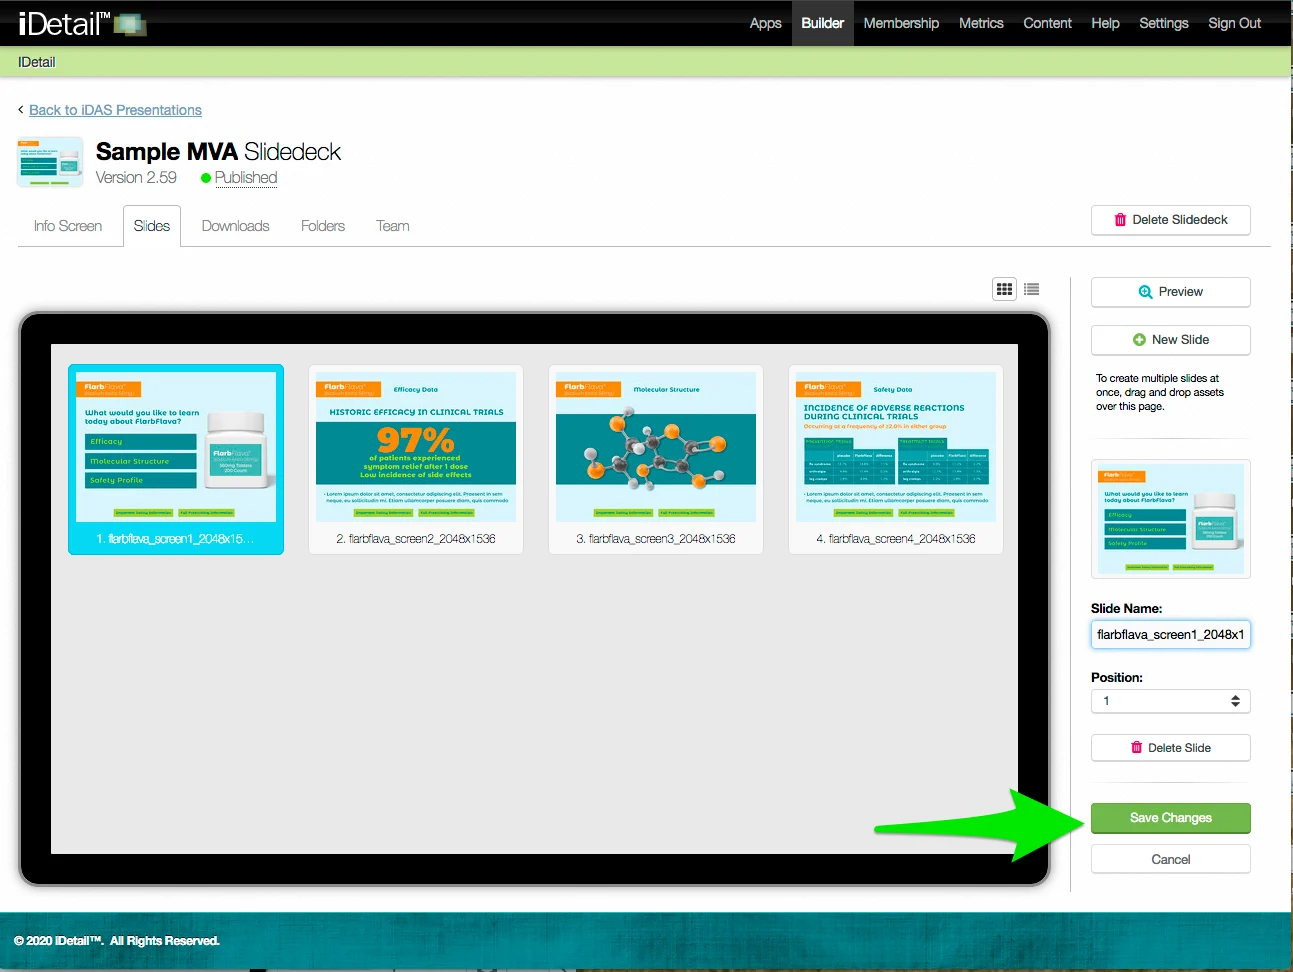
The Slides sidebar displays the Save Changes and Cancel buttons after a slide title is updated
Click Save Changes to save your edits
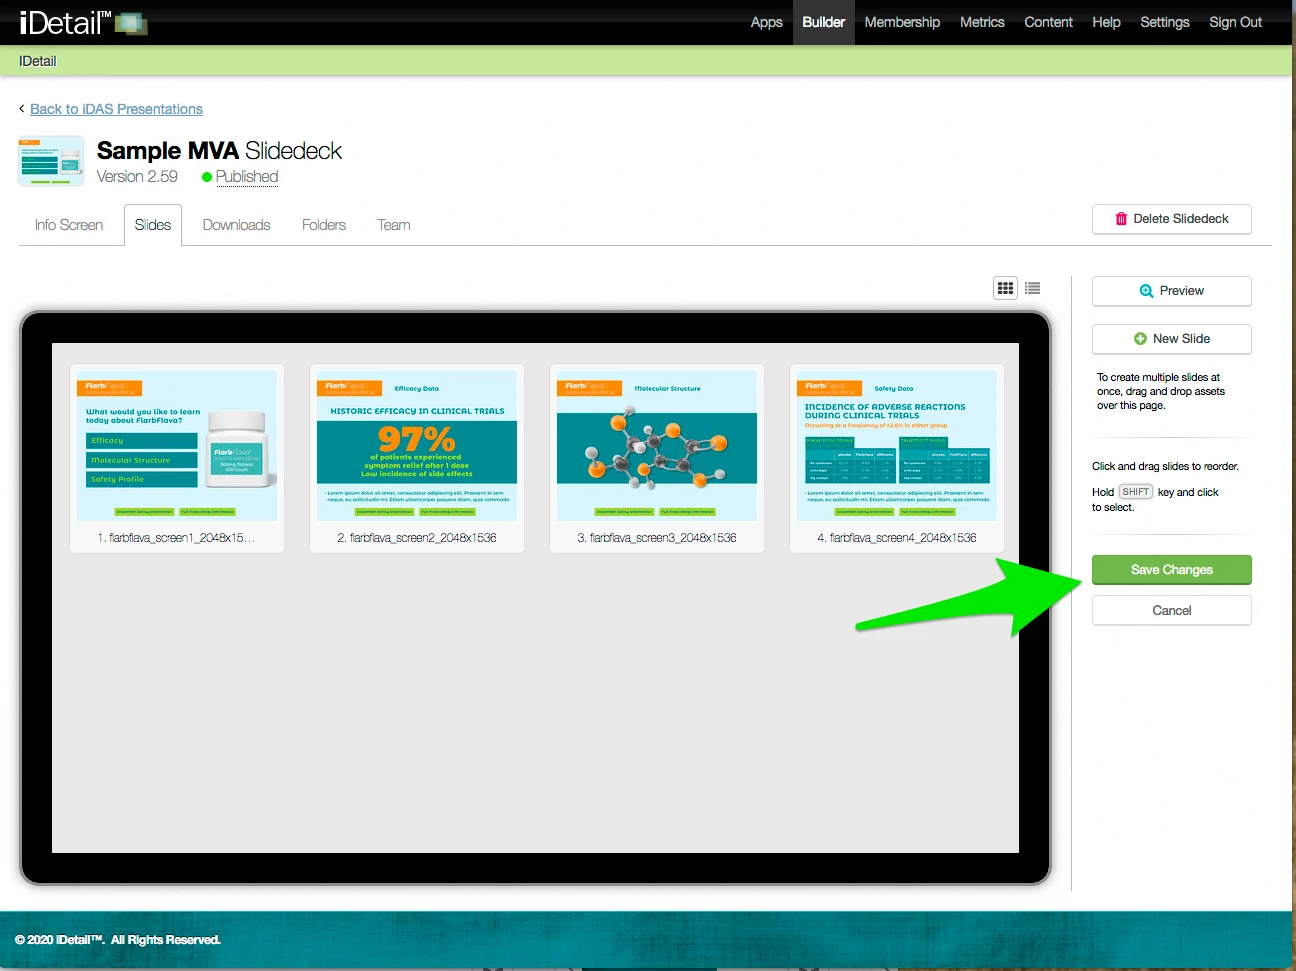
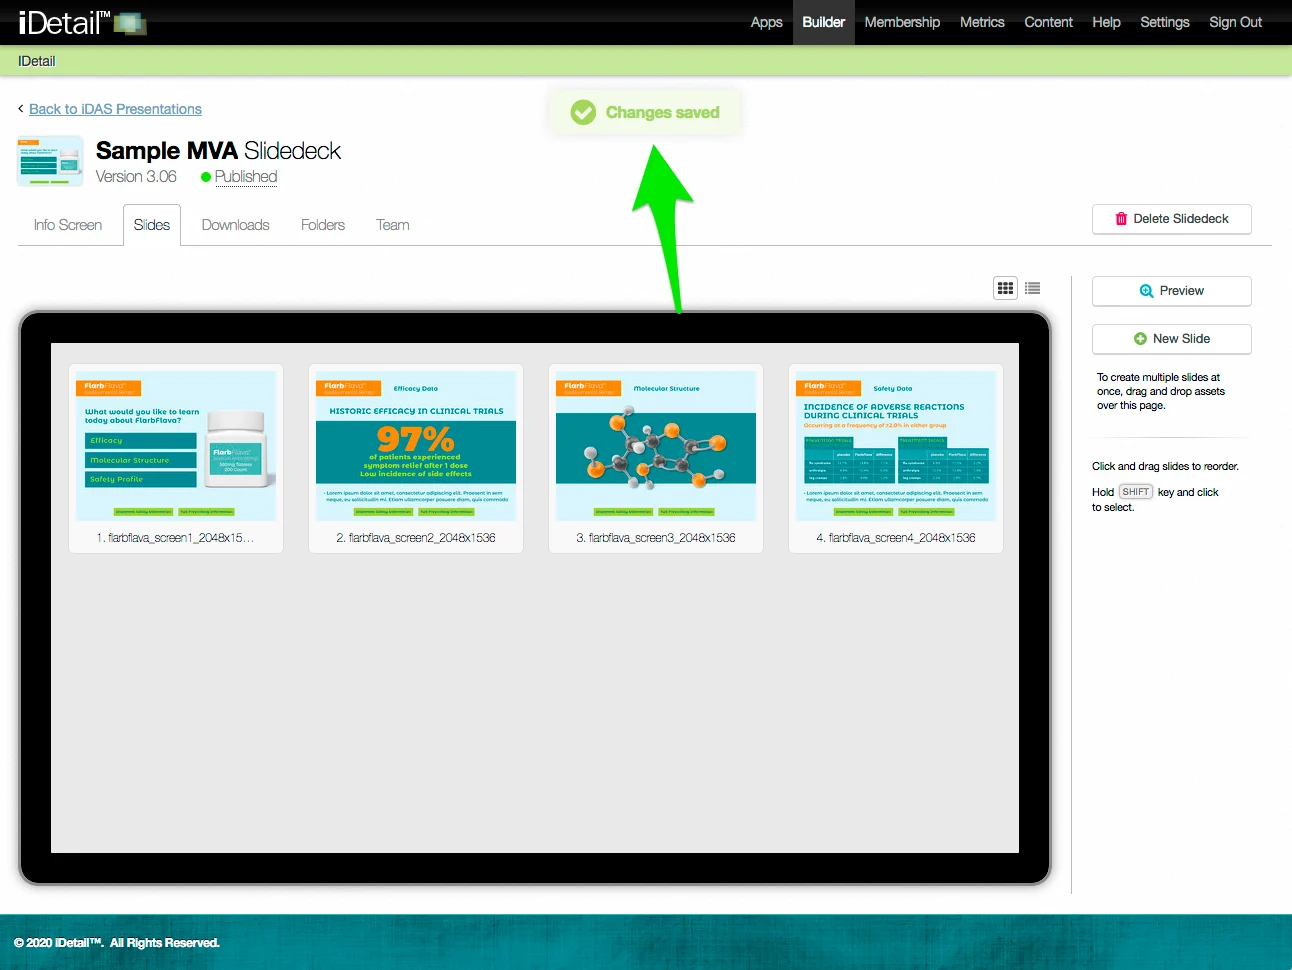
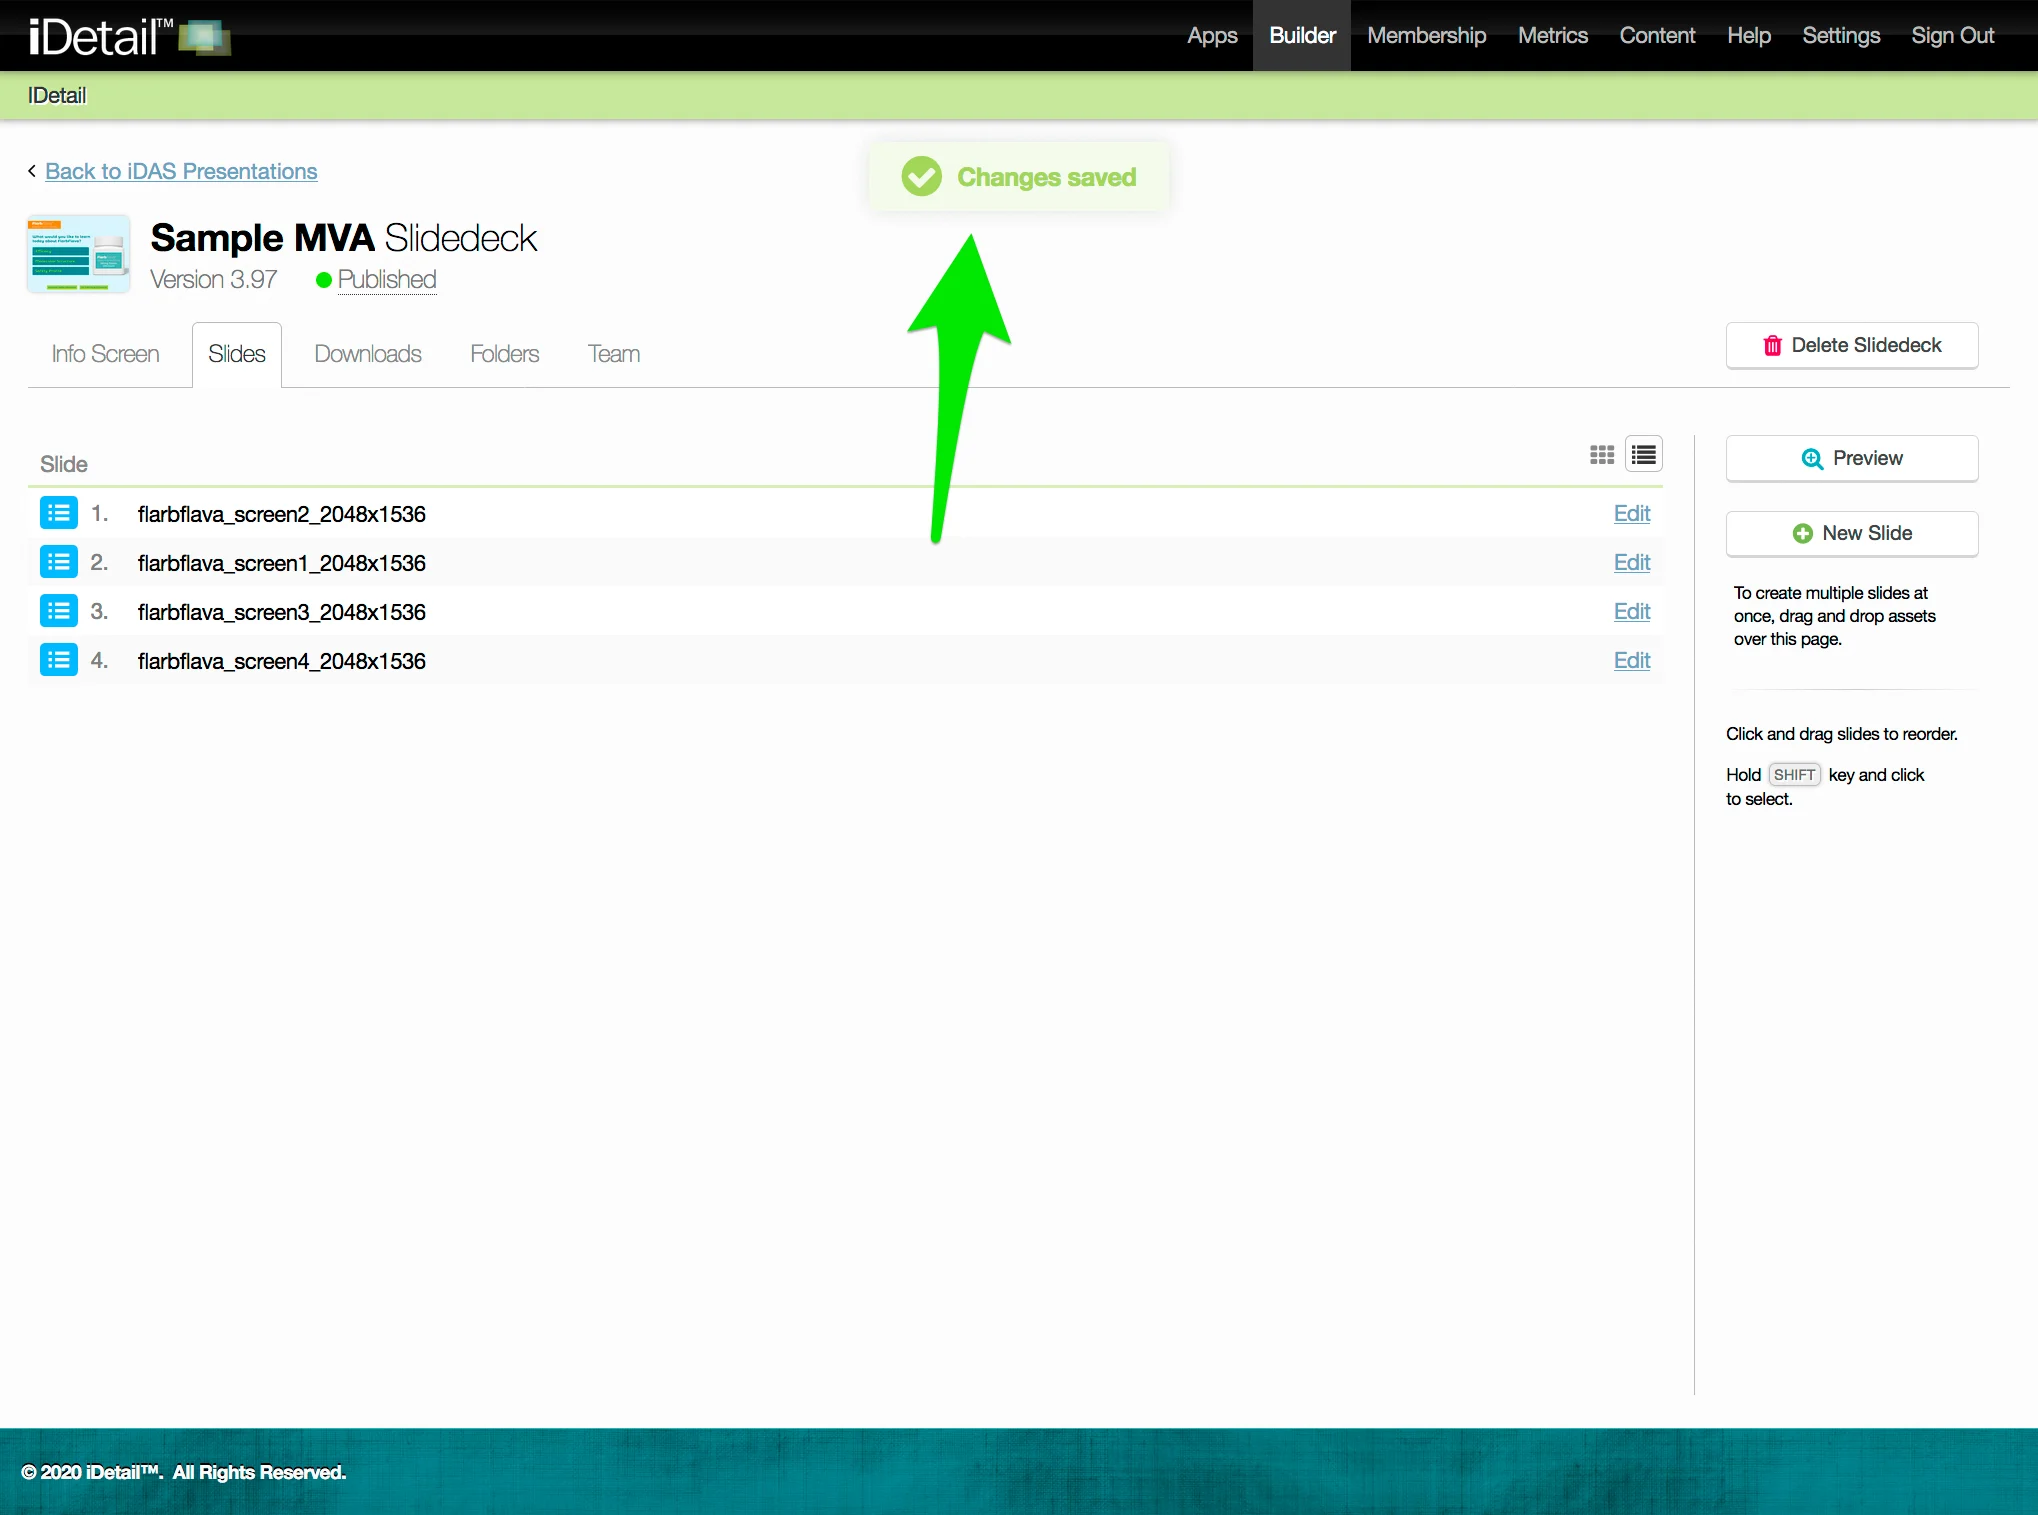
A confirmation message appears at the top of the screen

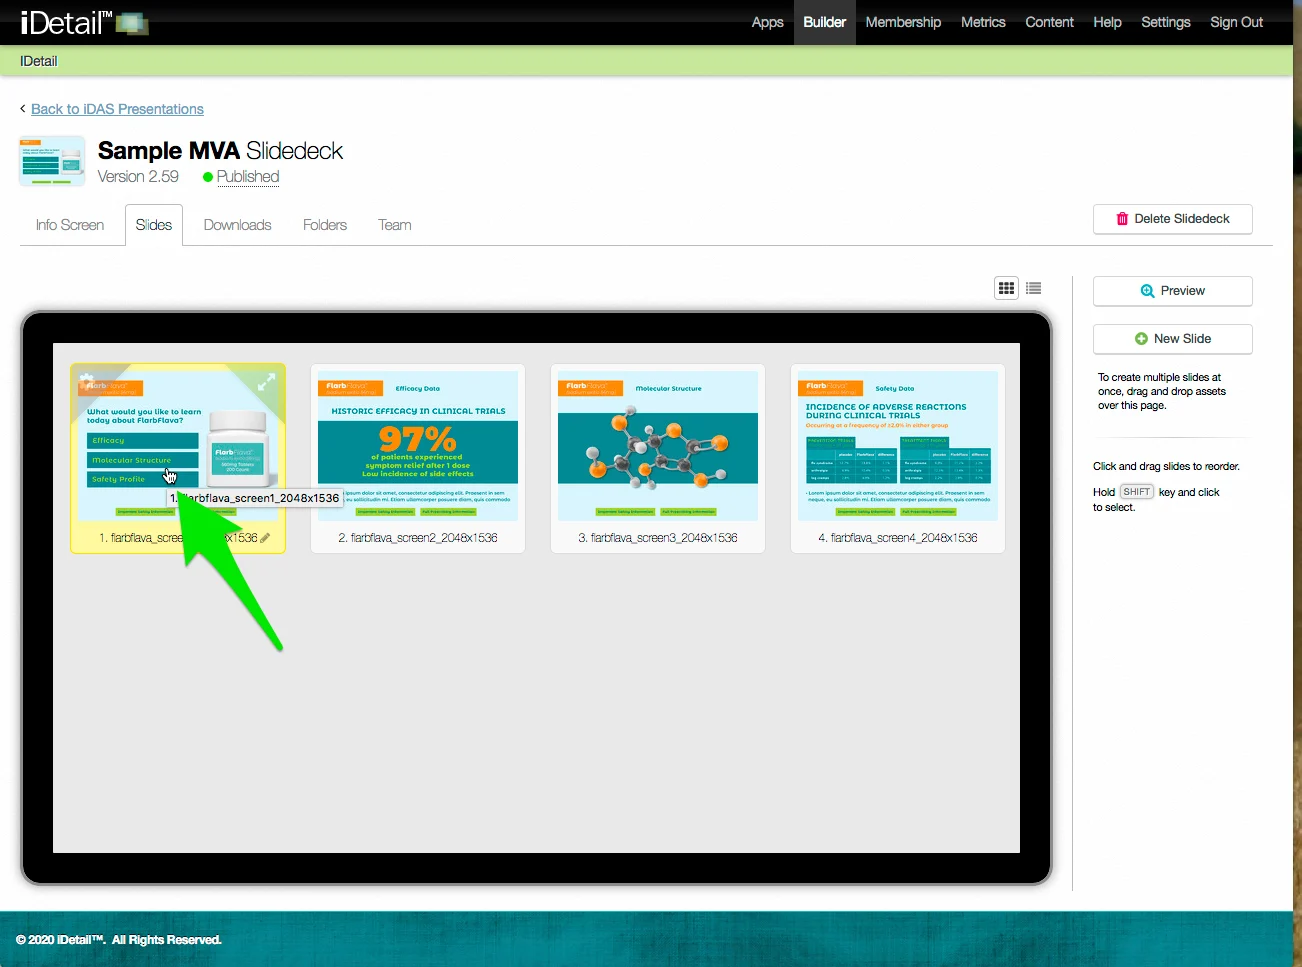
Edit the slide title (in the grid view sidebar)
On the Slidedeck Slides tab:
Hover over the top left corner of the slide you want to edit, then click the Properties gear icon
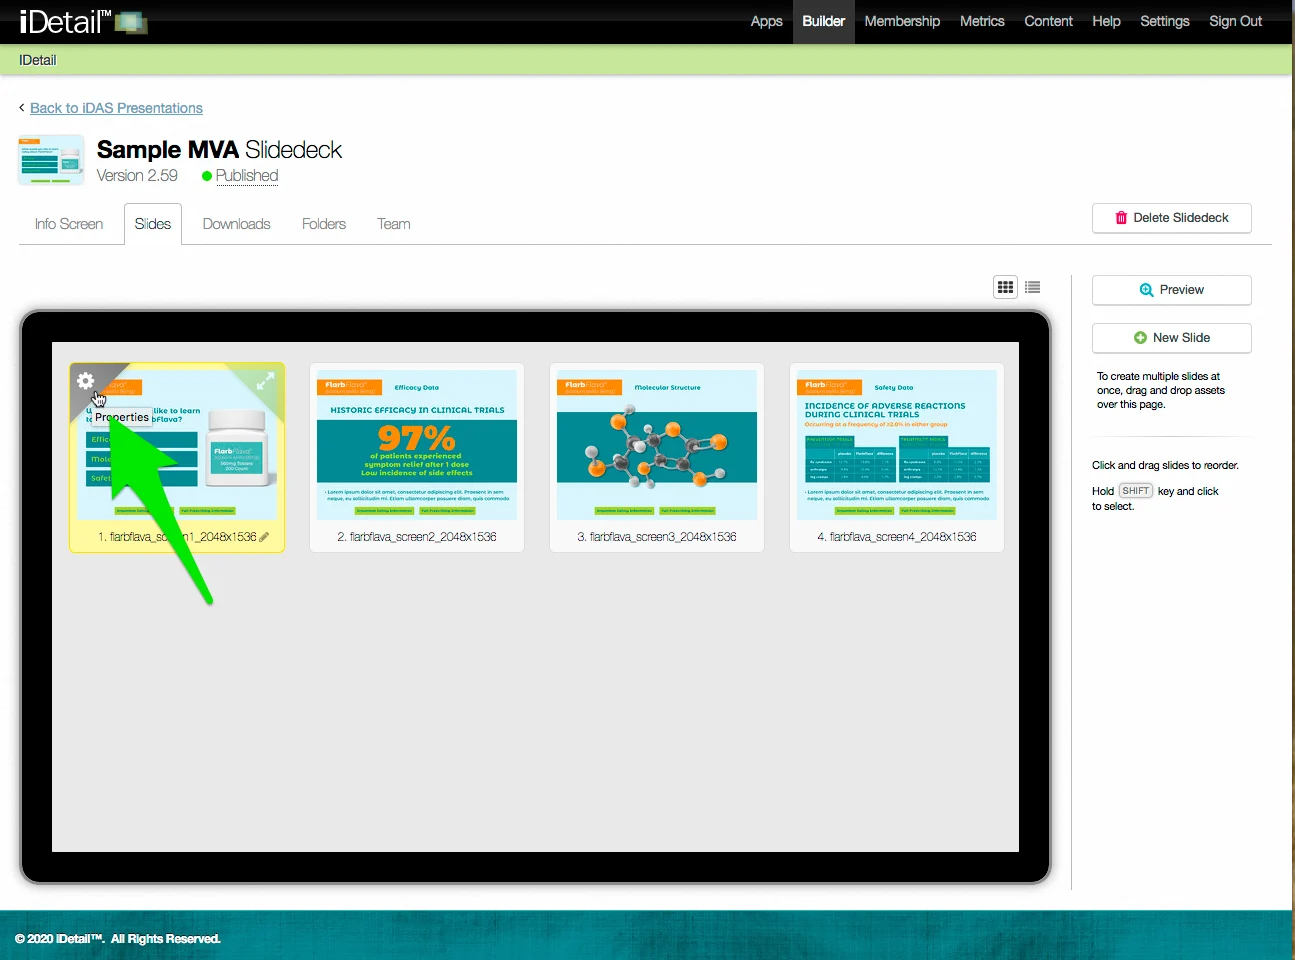
The slide border turns blue when selected, and the extended sidebar appears at the right of the screen
Click in the Slide Name field on the sidebar and edit the slide title
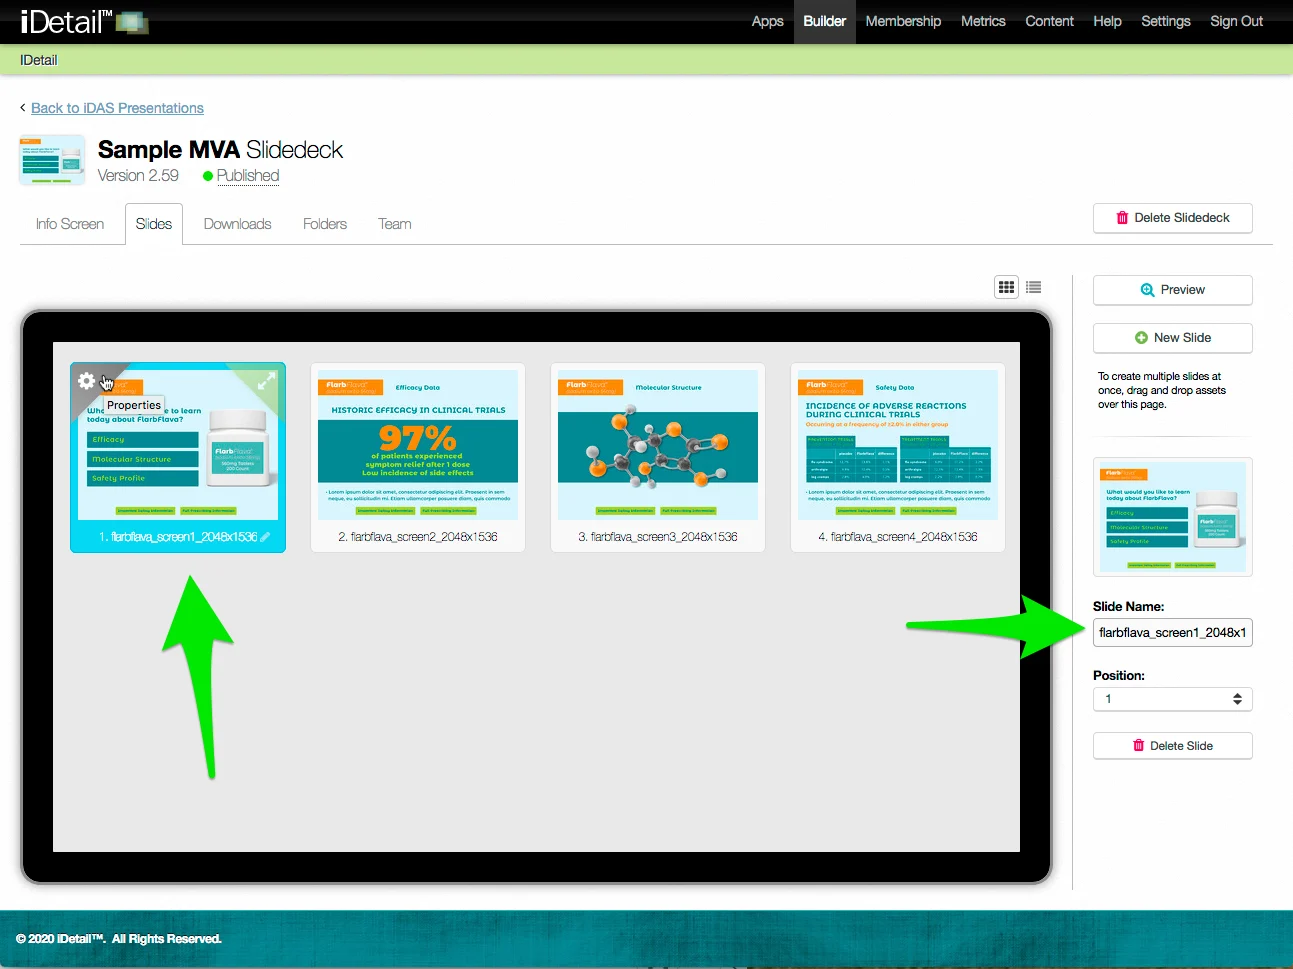
Click Save Changes to save your edits
A confirmation message appears at the top of the screen
Edit the slide title (in the list view)
On the Slidedeck Slides tab:
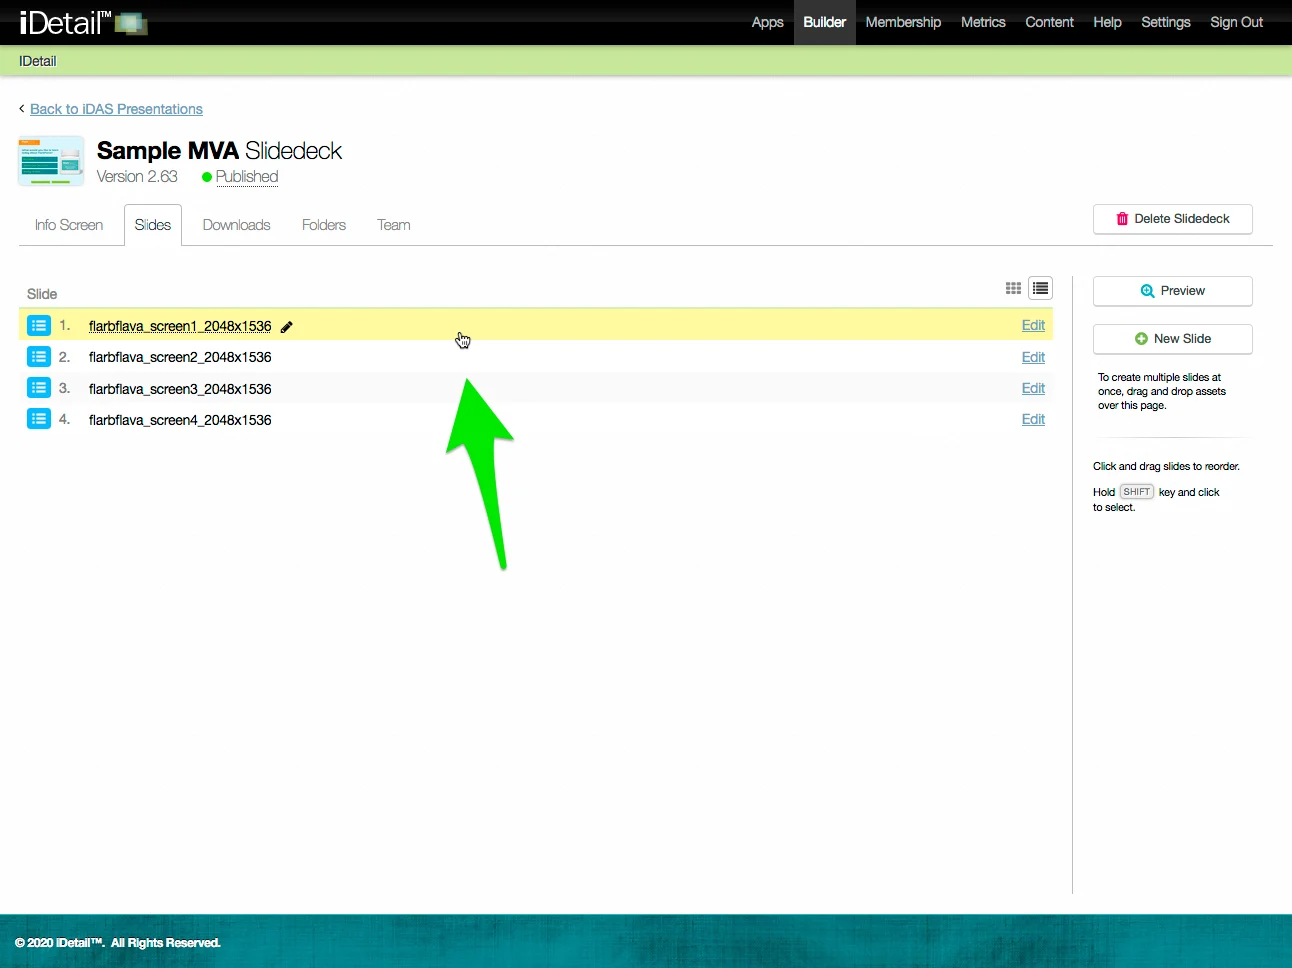
Click the List View icon if you are not already in that view
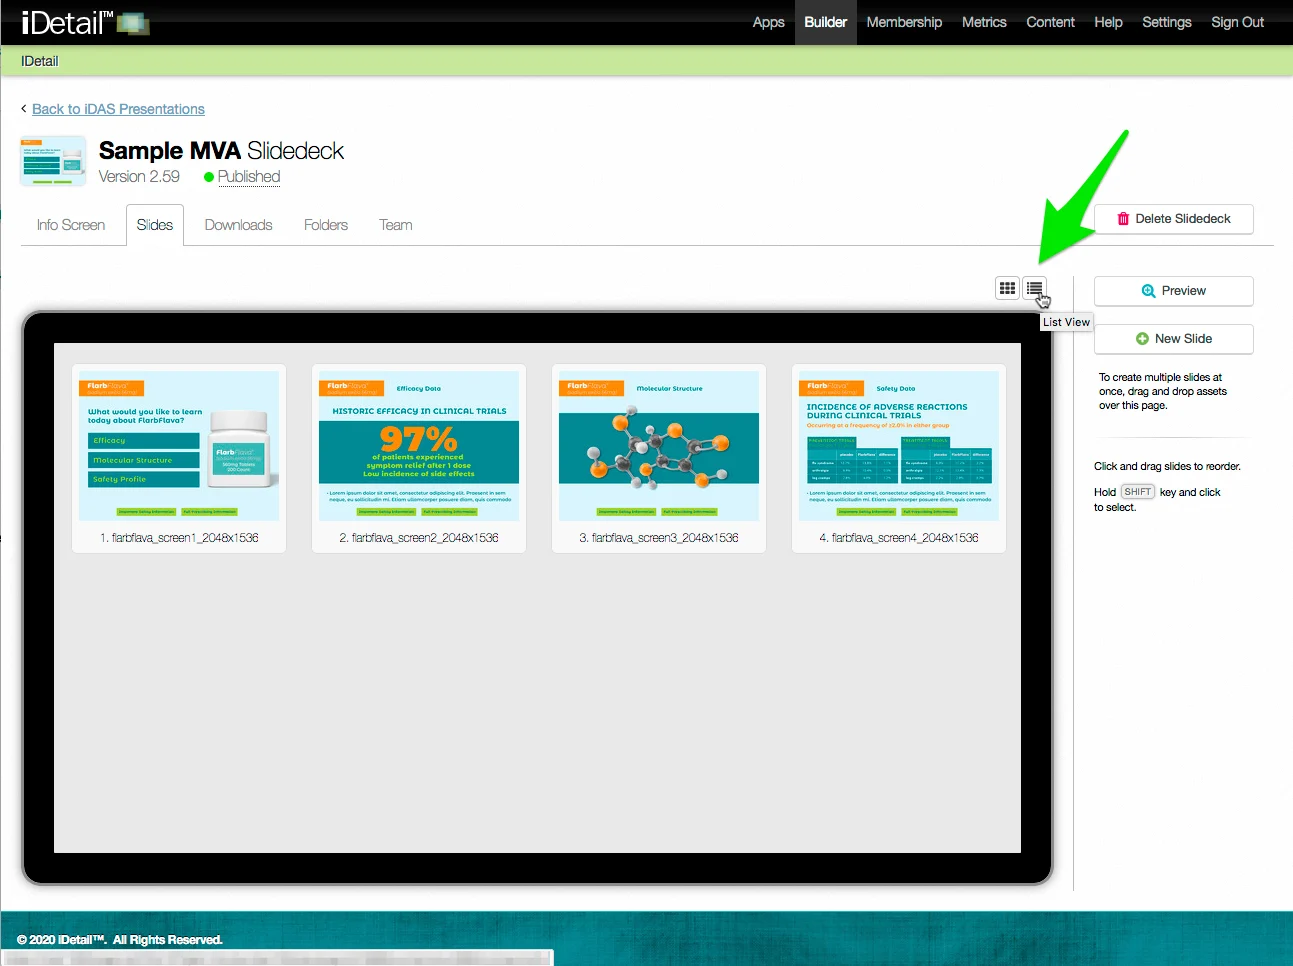
The Slidedeck Slides list view appears
Hover over the line of the slide you want to edit and click the slide title
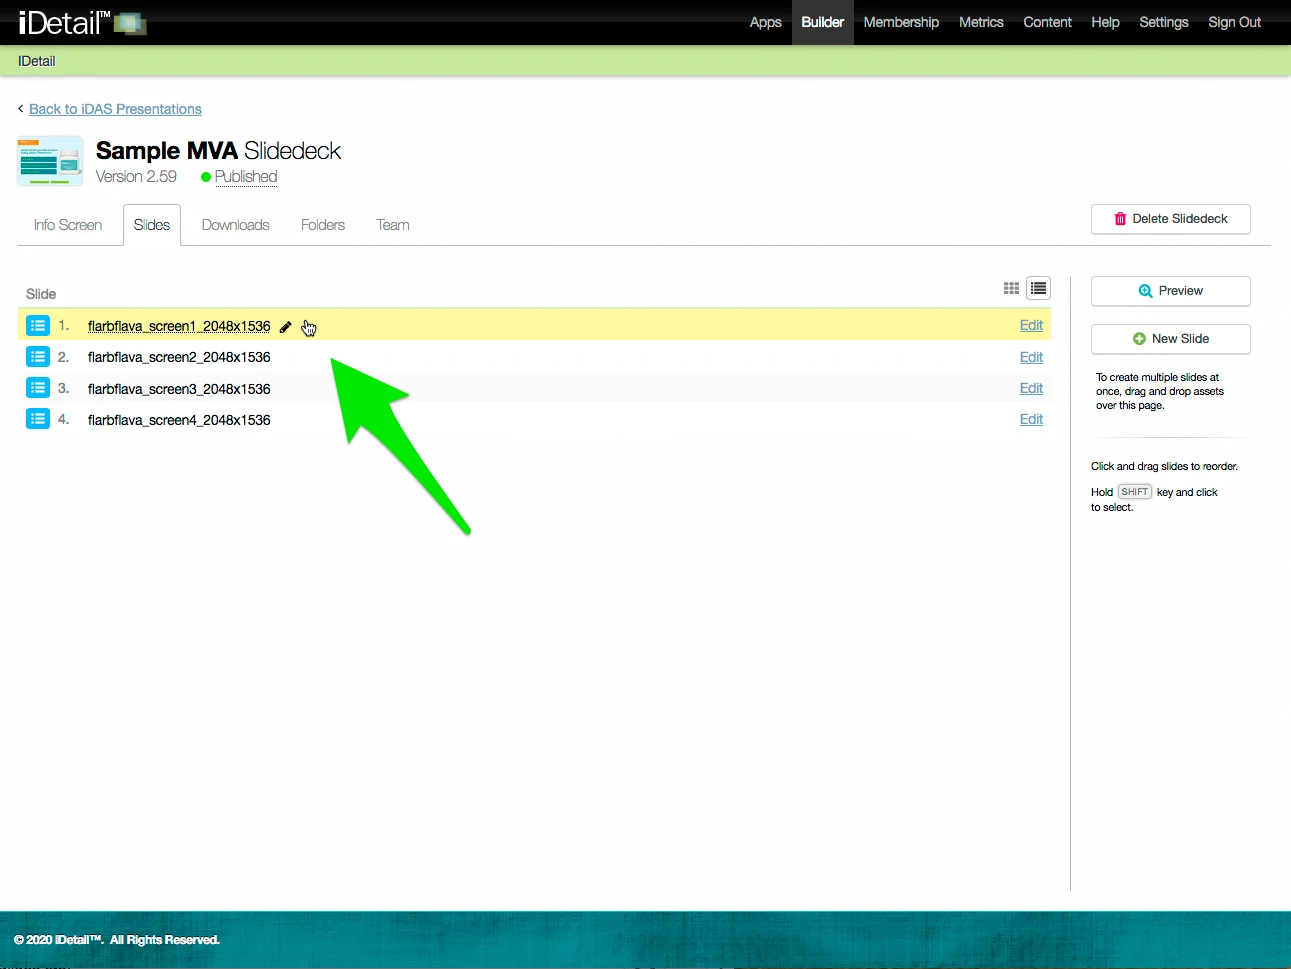
The slide title field appears
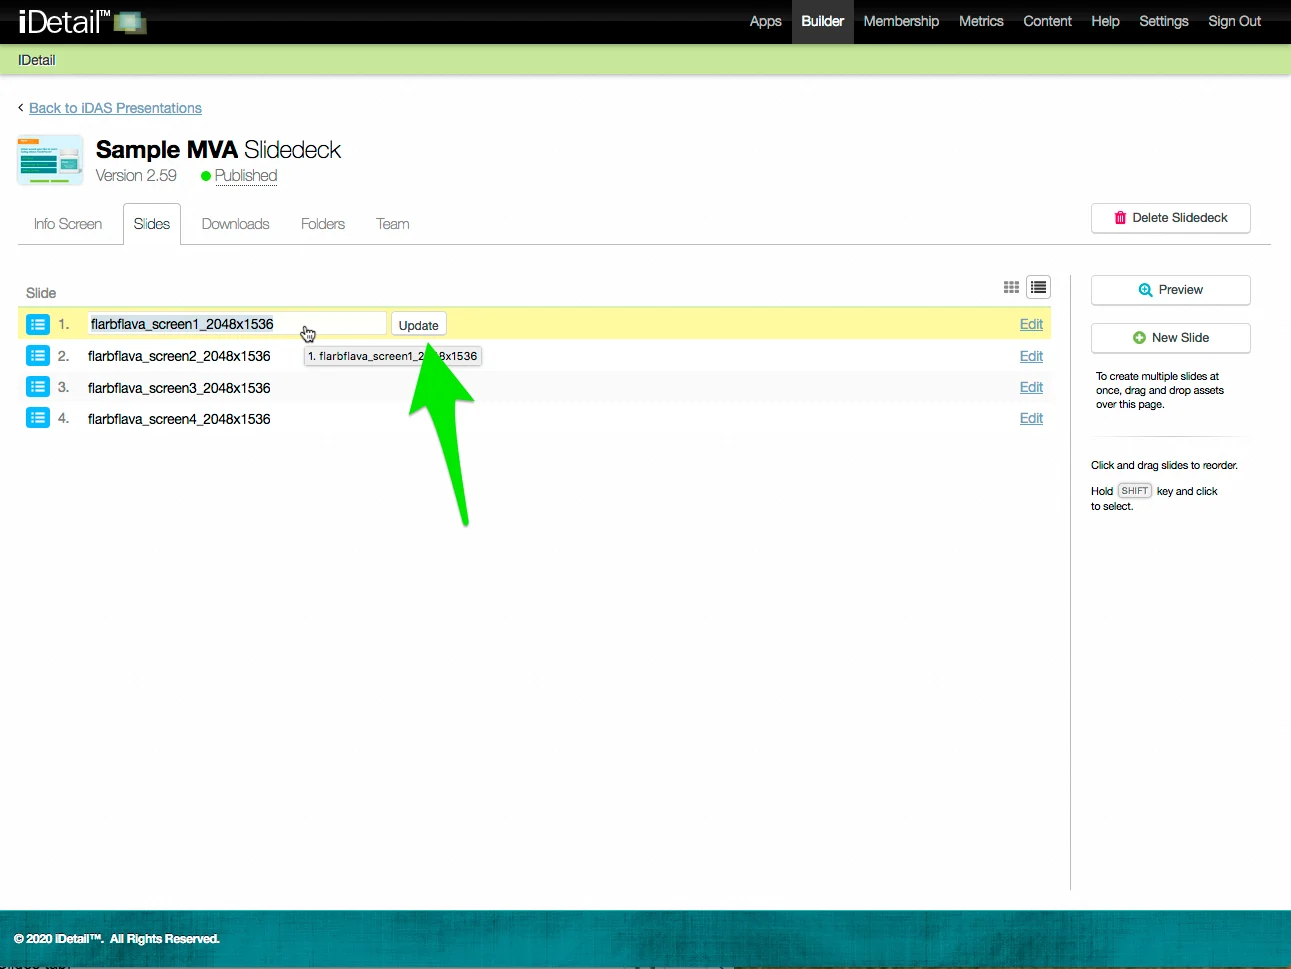
Edit the title then click the Update button
Click Save Changes to save your edits
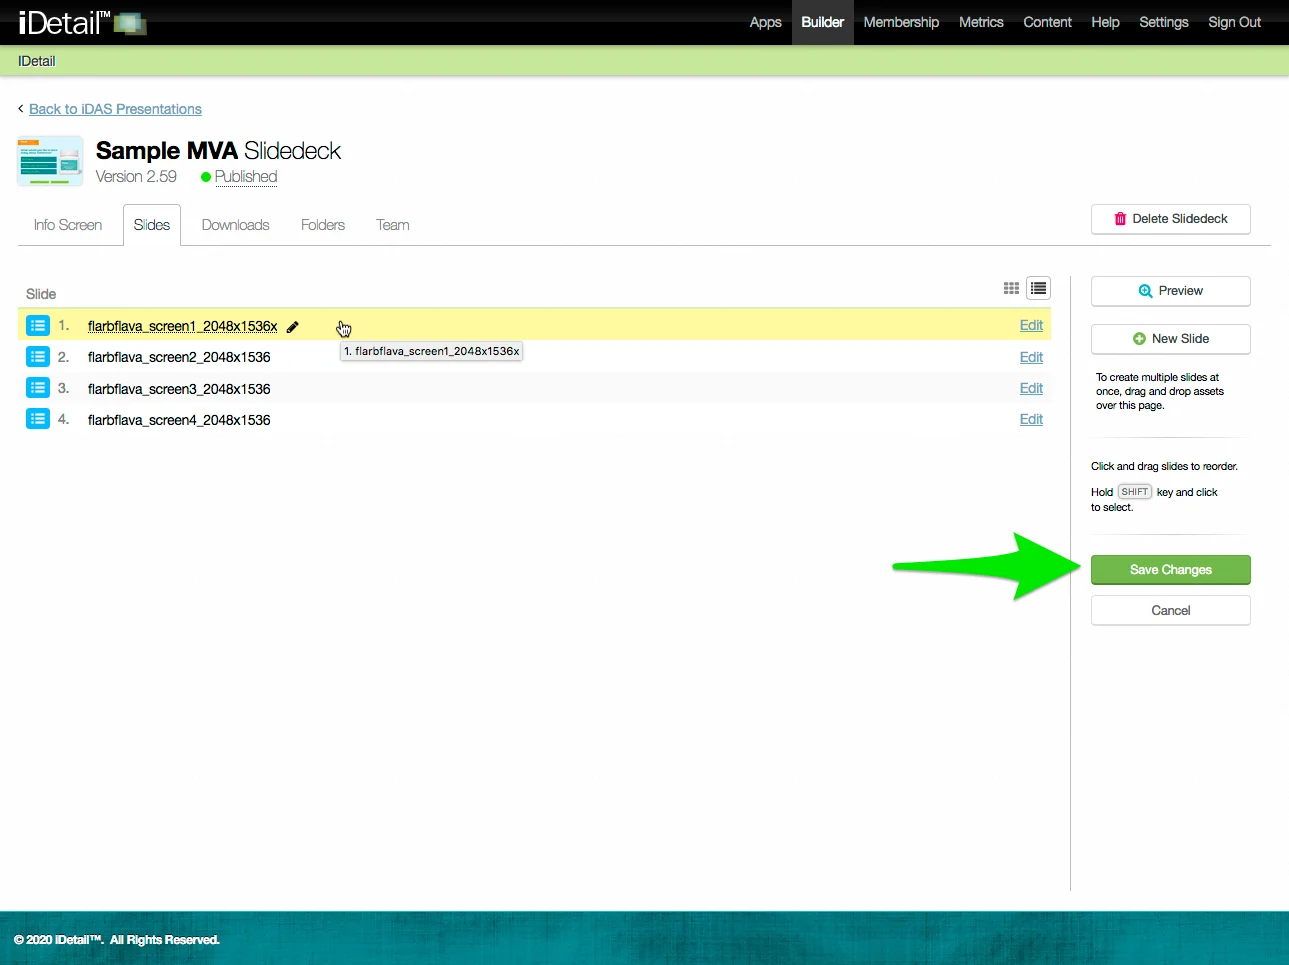
A confirmation message appears at the top of the screen

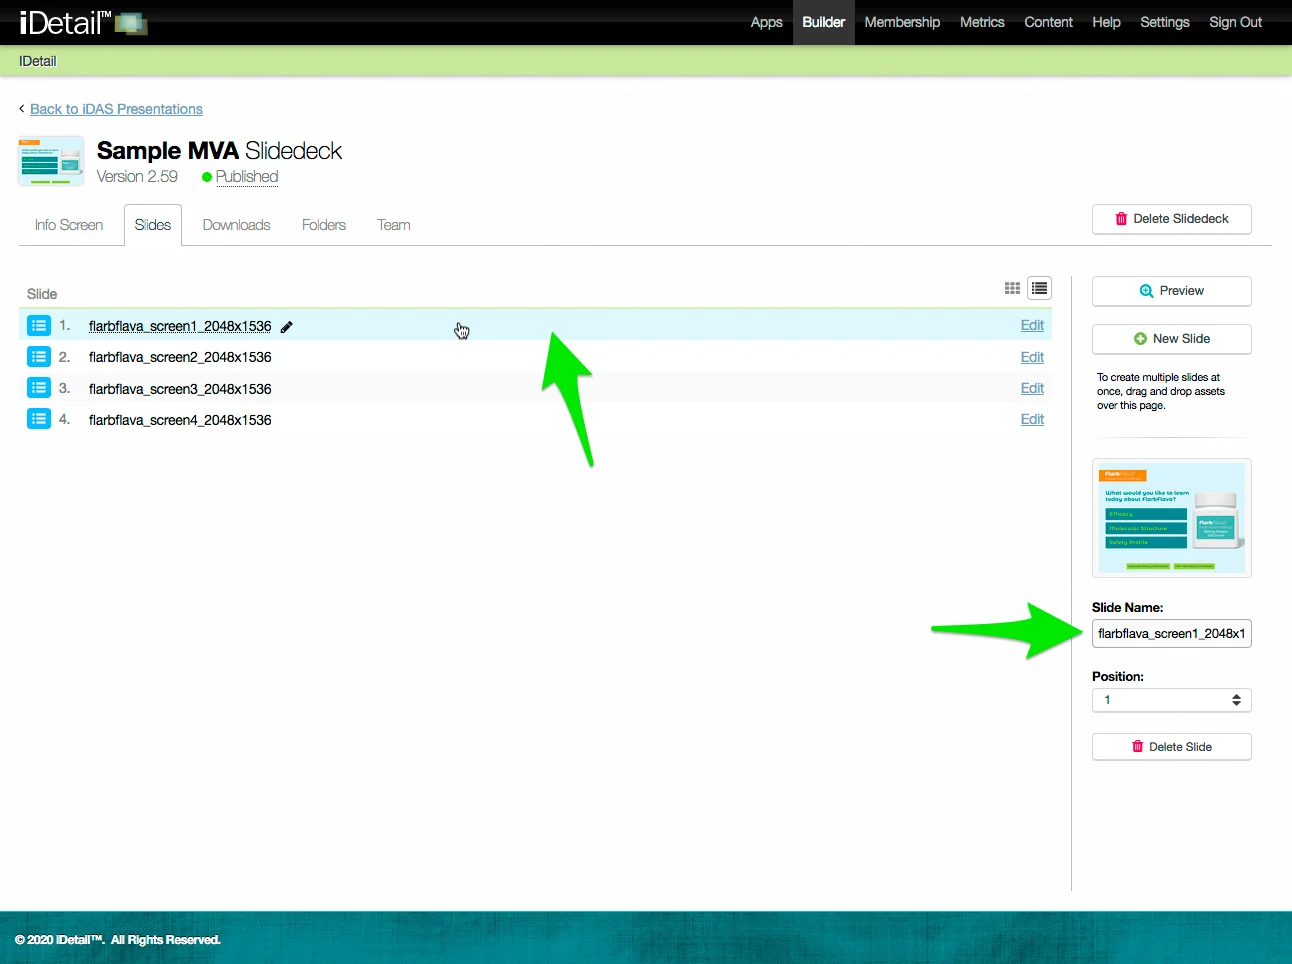
Edit the slide title (in the list view sidebar)
Hover over the line of the slide you want to edit and double click
The line turns blue when selected, and the extended sidebar appears at the right of the screen
Click in the Slide Name field on the sidebar and edit the slide title
Click Save Changes to save your edits
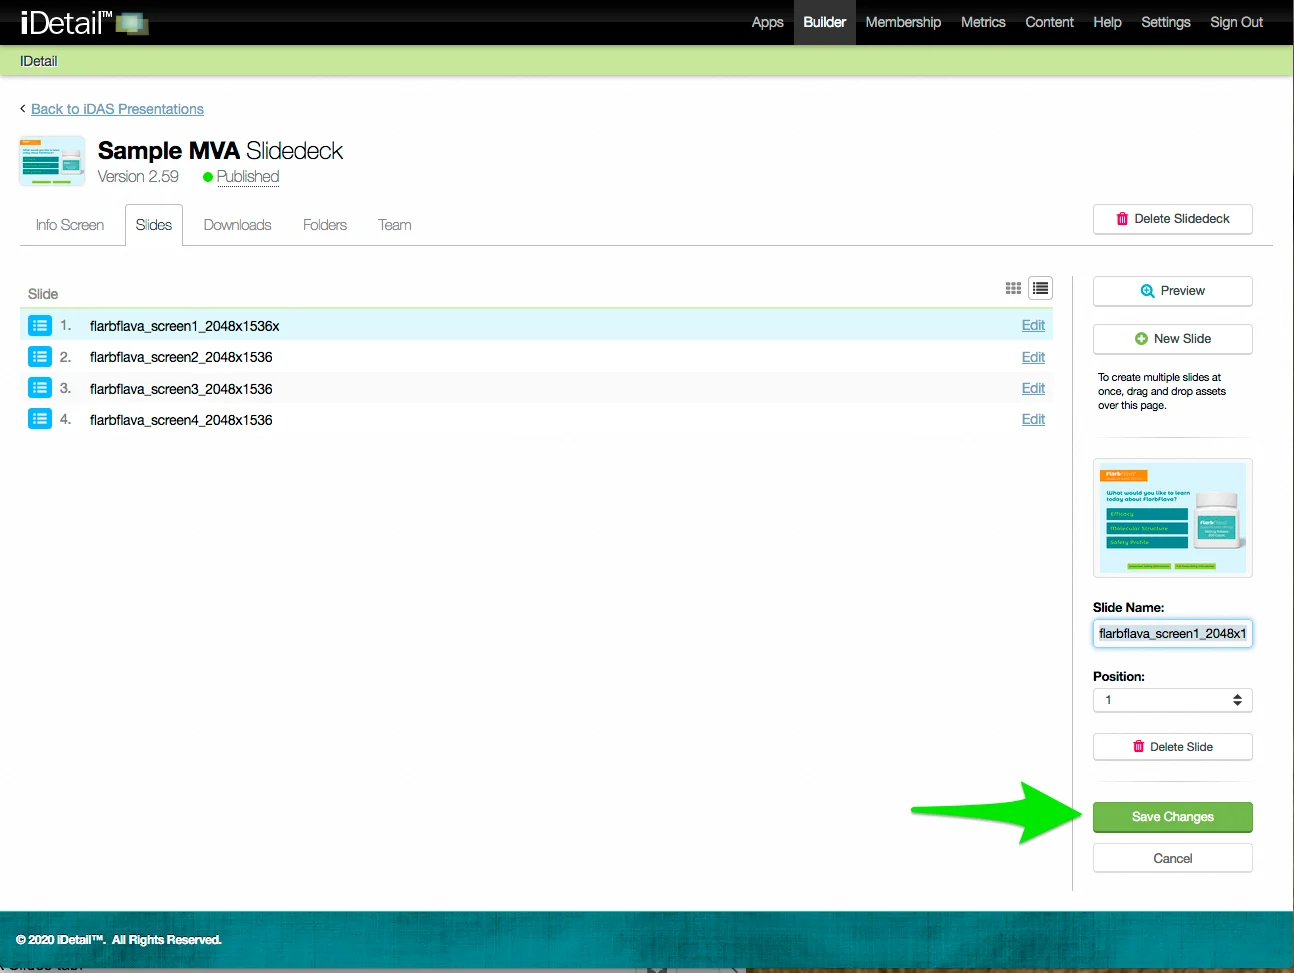
A confirmation message appears at the top of the screen

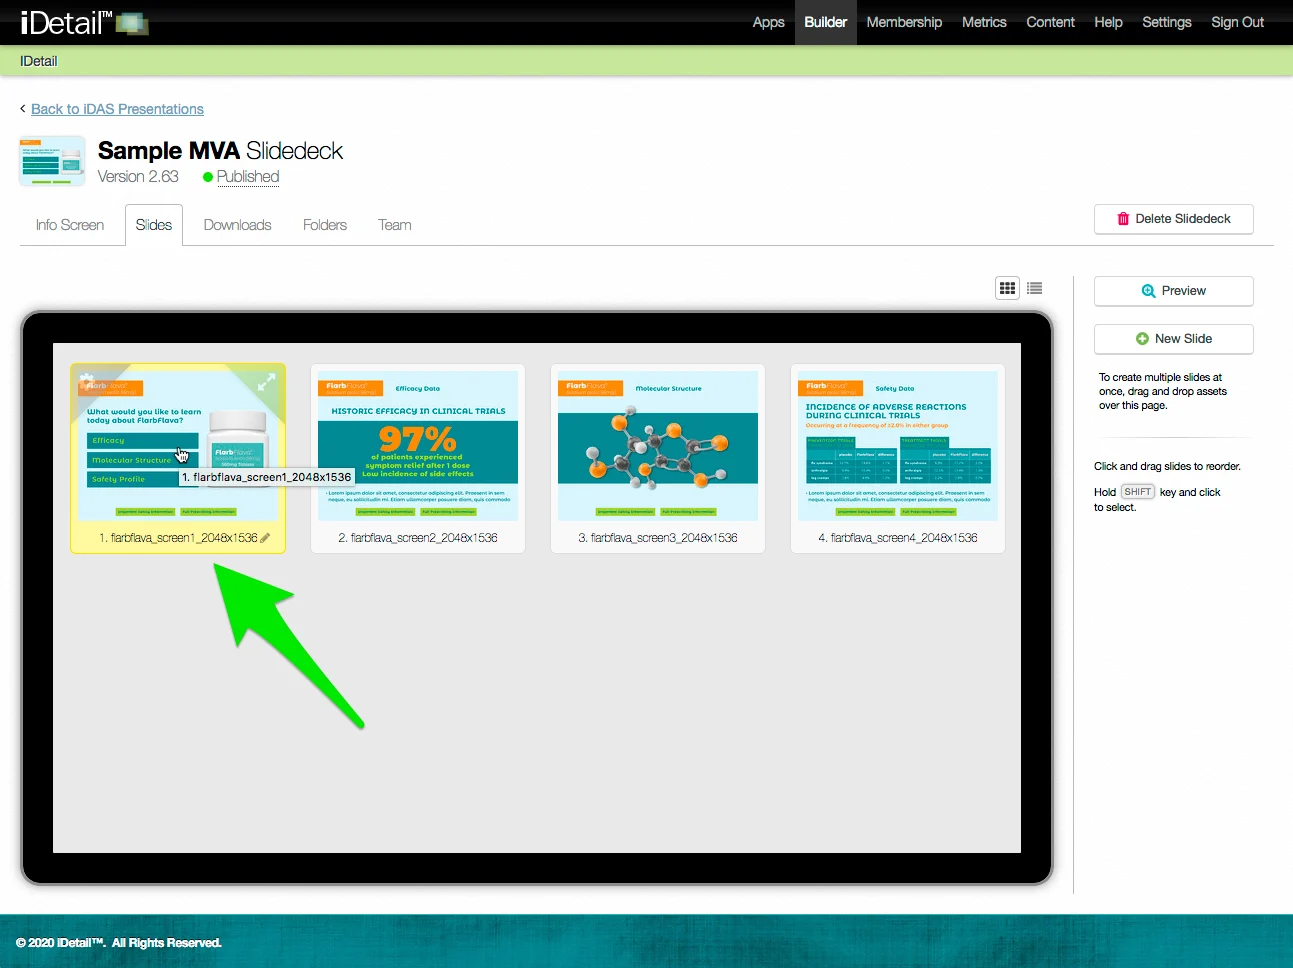
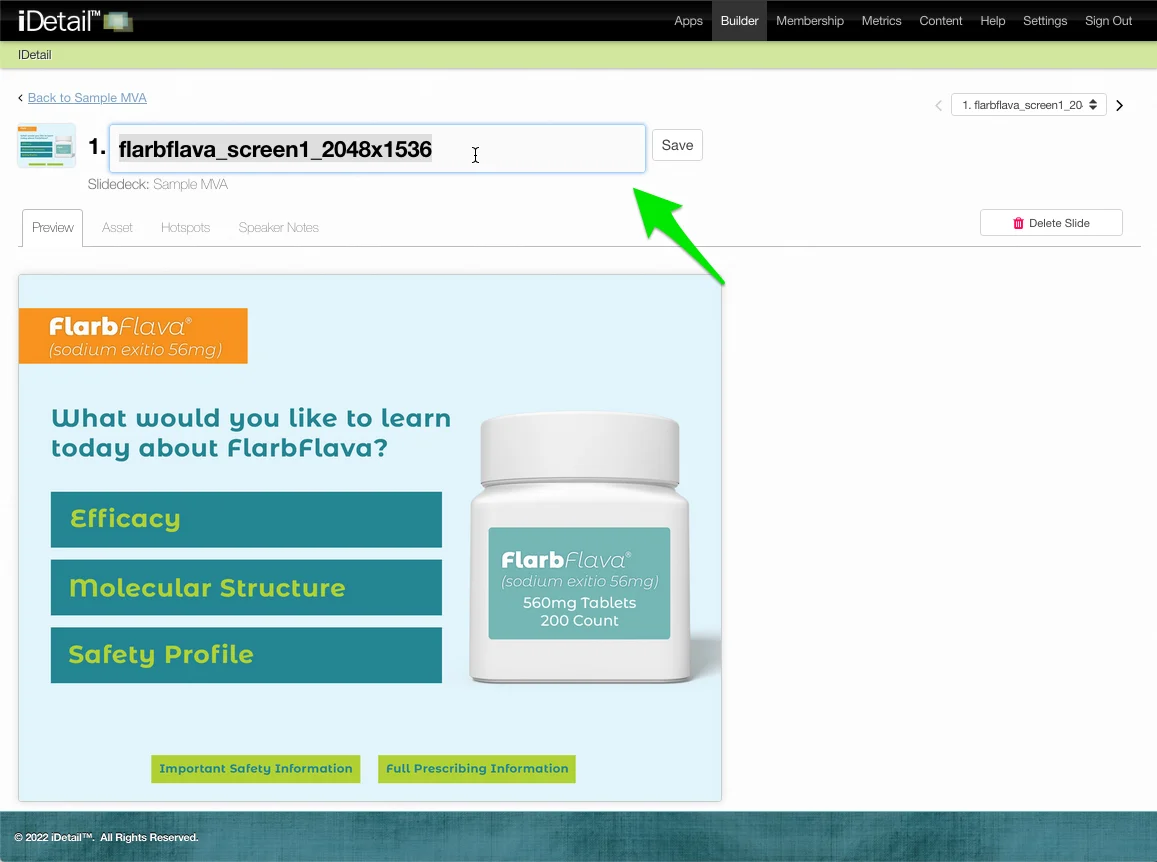
Edit the slide title (from an individual slide view)
Go to an individual slide screen from the grid view or list view (grid view is shown in this example).
Click in the center of the slide thumbnail image to go to the individual slide view
Click the slide title at the top of the screen
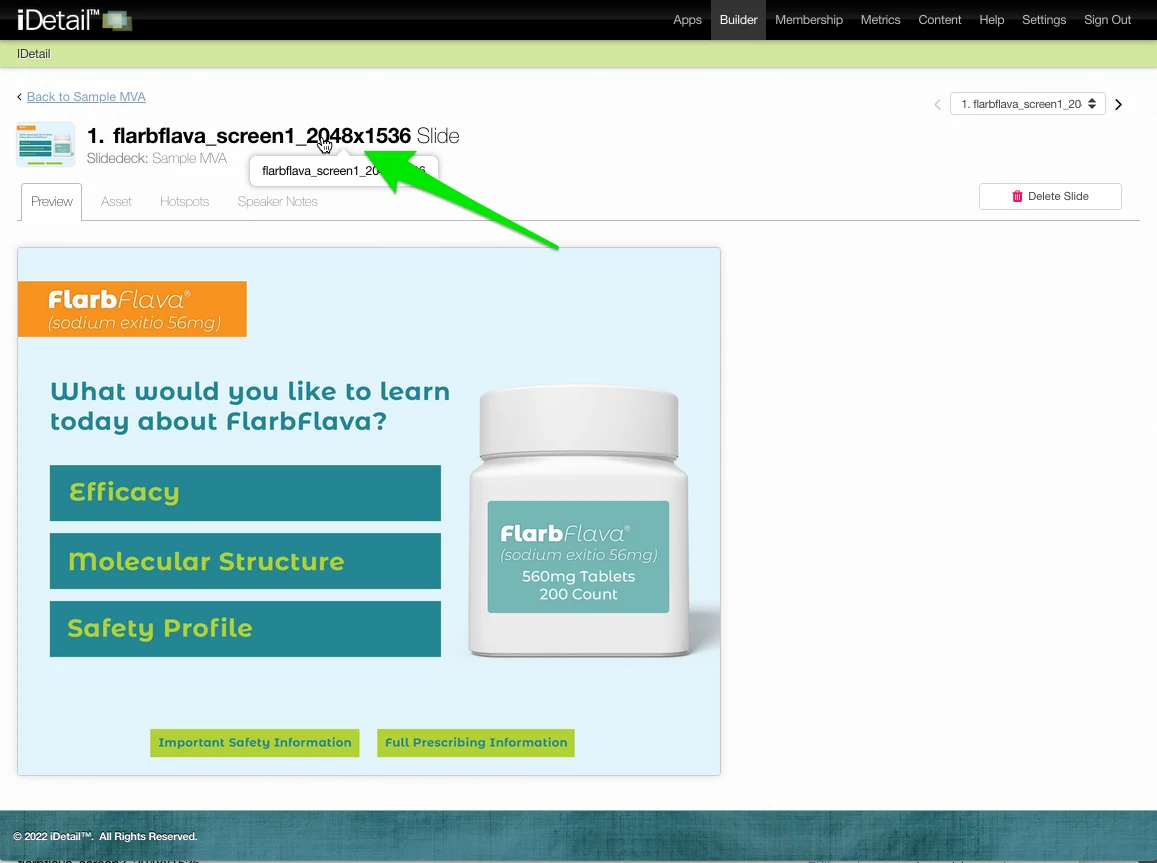
The slide title edit field appears
Make your text edits
Click the Save button or press Enter on your keyboard to save your edits
Edit the slide order (in the grid view)
On the Slidedeck Slides tab grid view:
Click and hold the slide thumbnail you want to move, then drag it to the new location
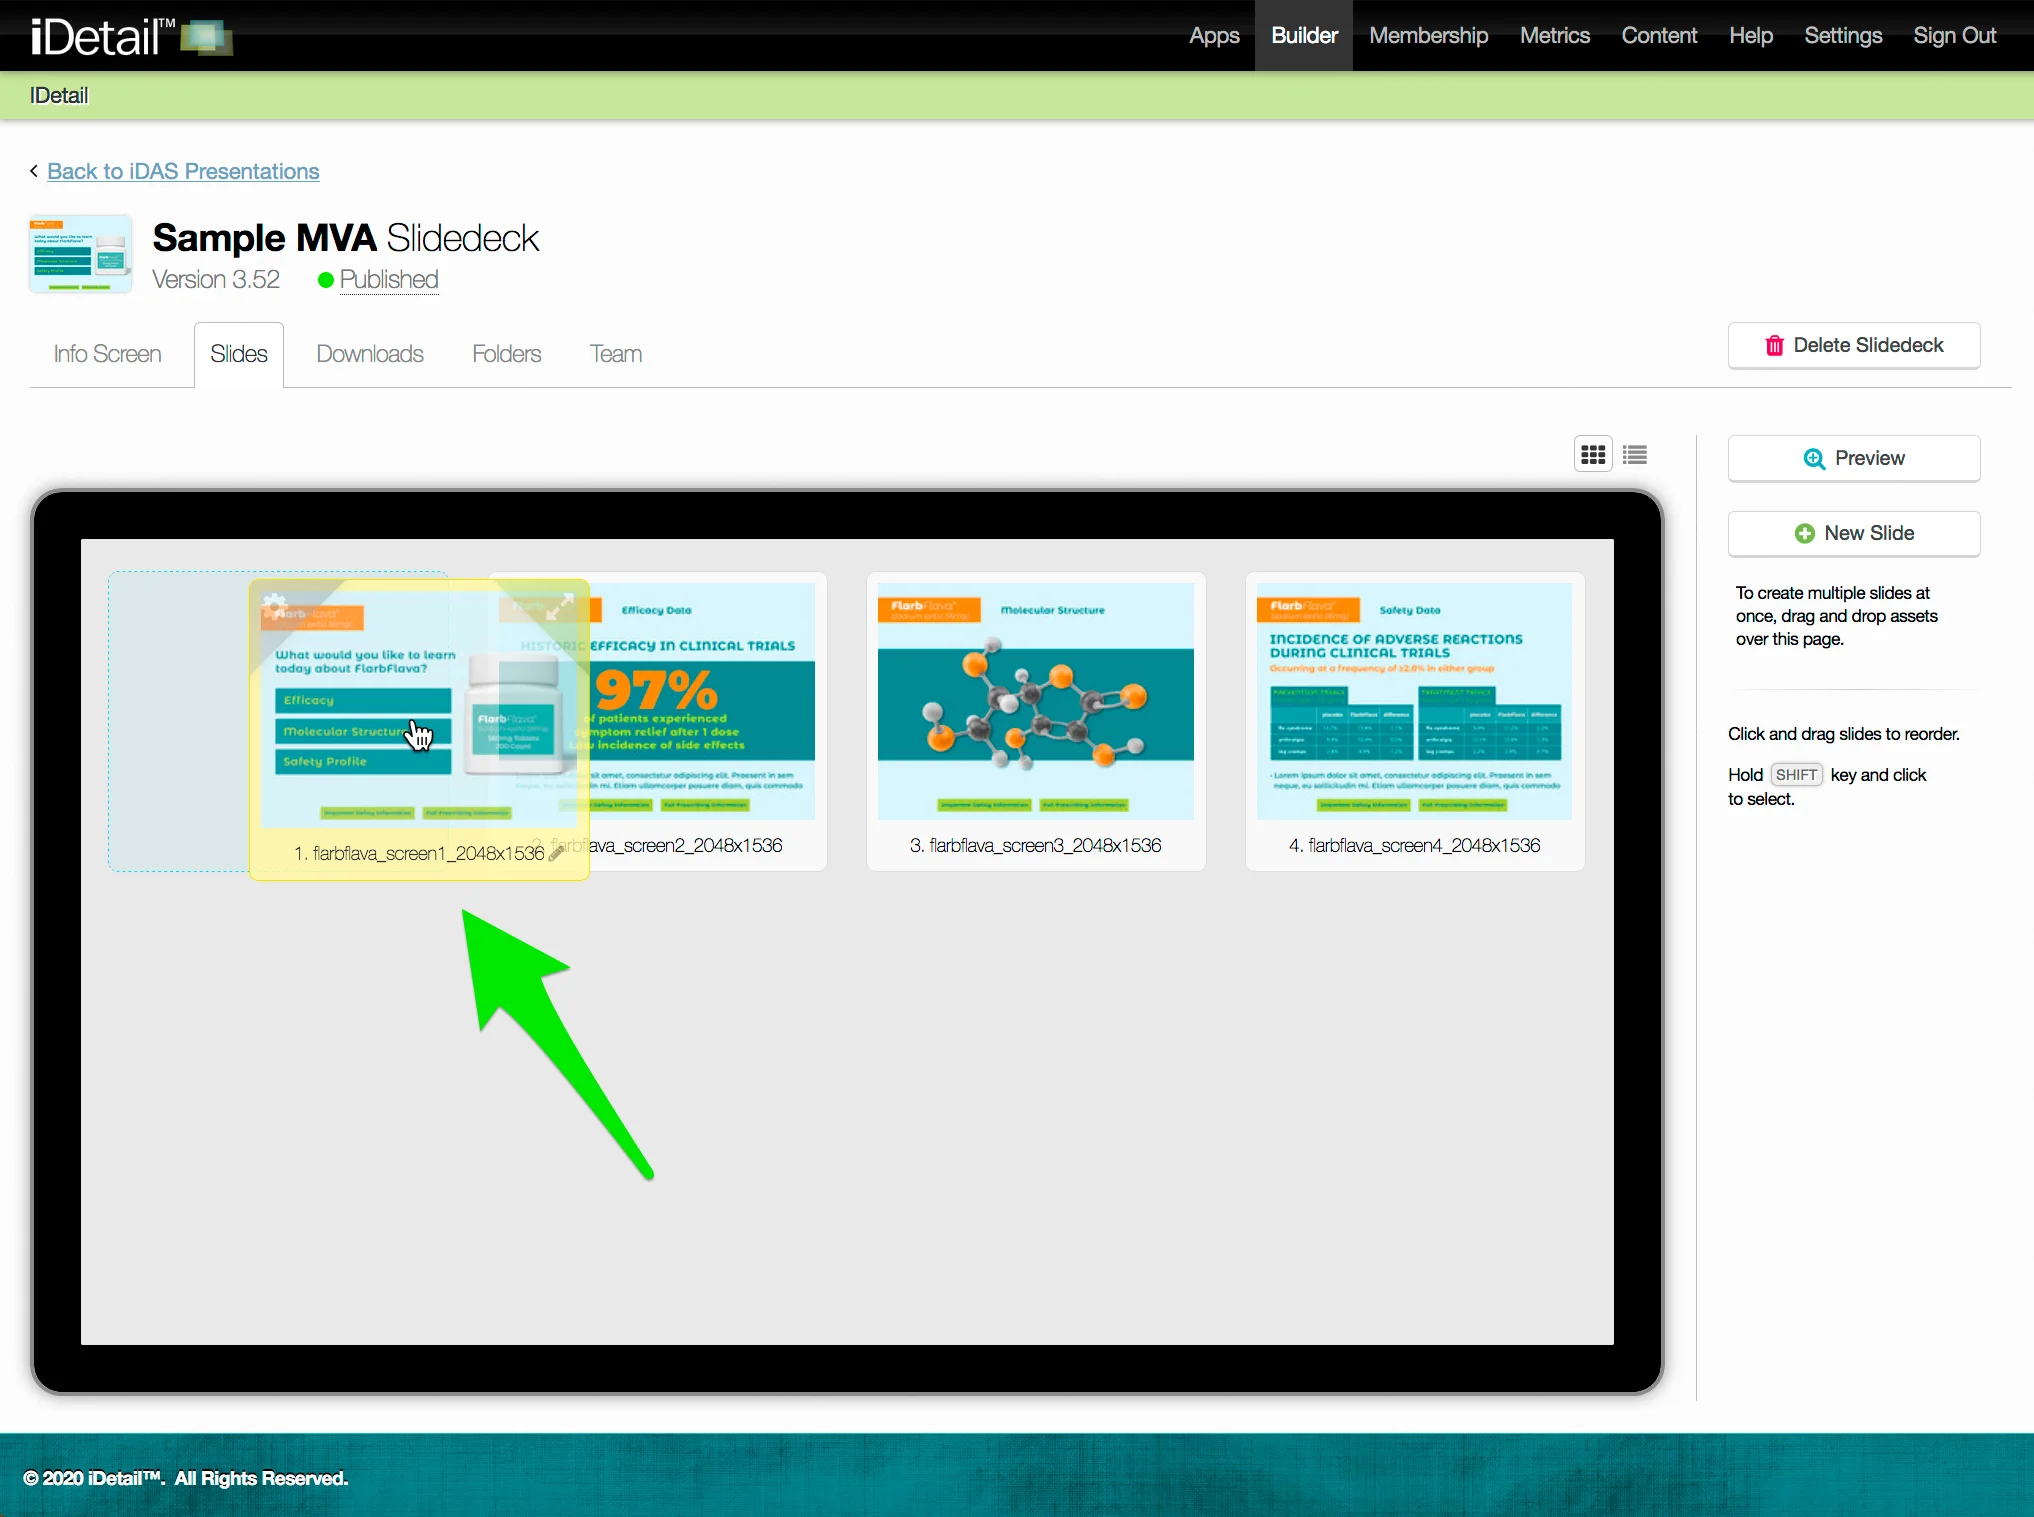
Release the slide thumbnail
The slide border turns blue when released, and the extended sidebar appears at the right of the screen
Click Save Changes to save your edits
A confirmation message appears at the top of the screen

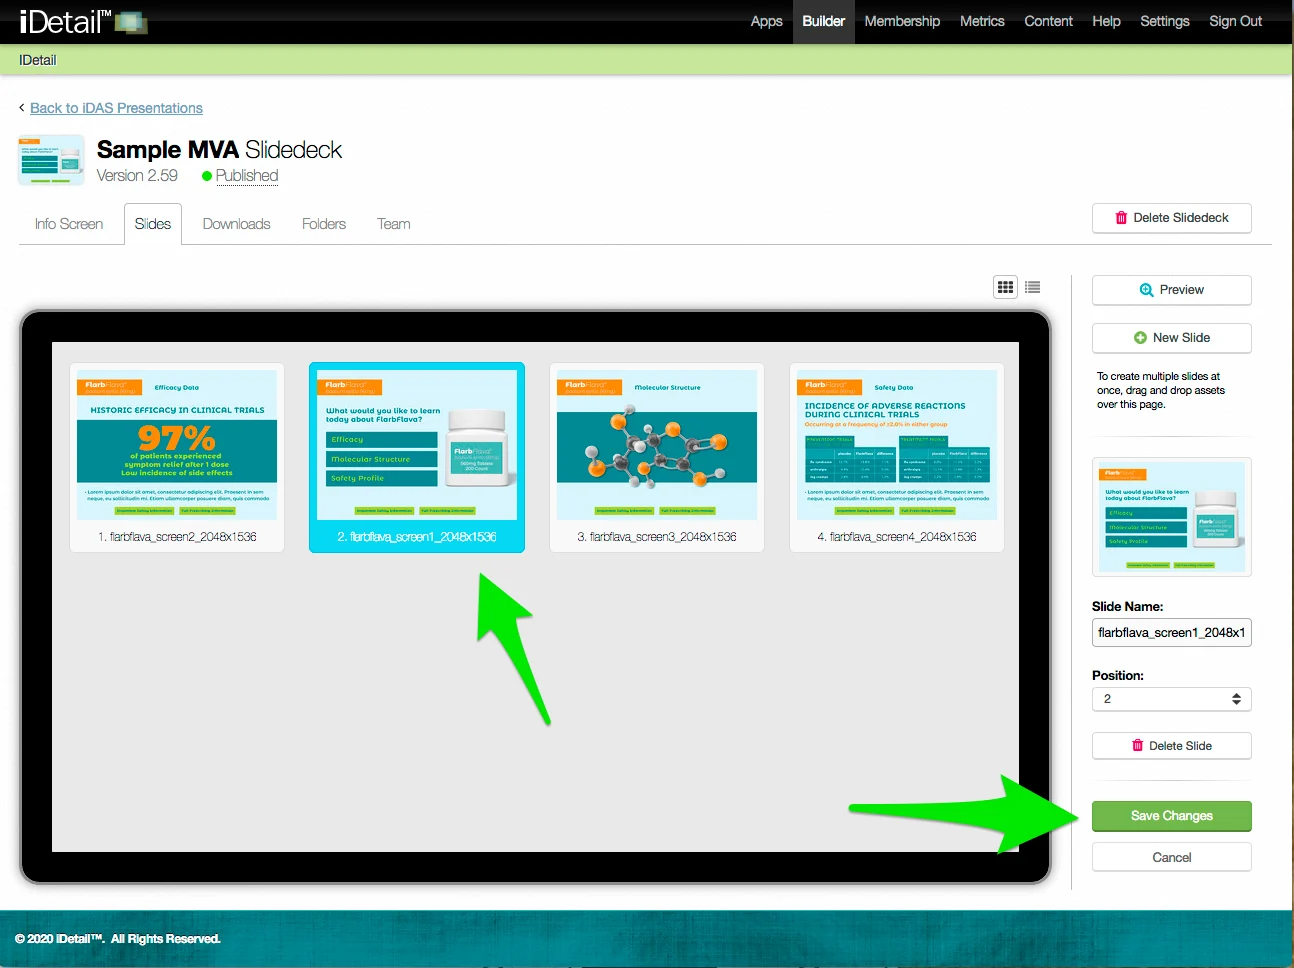
Edit the slide order (in the grid view sidebar)
On the Slidedeck Slides tab:
Hover over the top left corner of the slide you want to move, then click the Properties gear icon
The slide border turns blue when selected, and the extended sidebar appears at the right of the screen
Click in the Position field on the sidebar and select the new position you want from the drop down menu
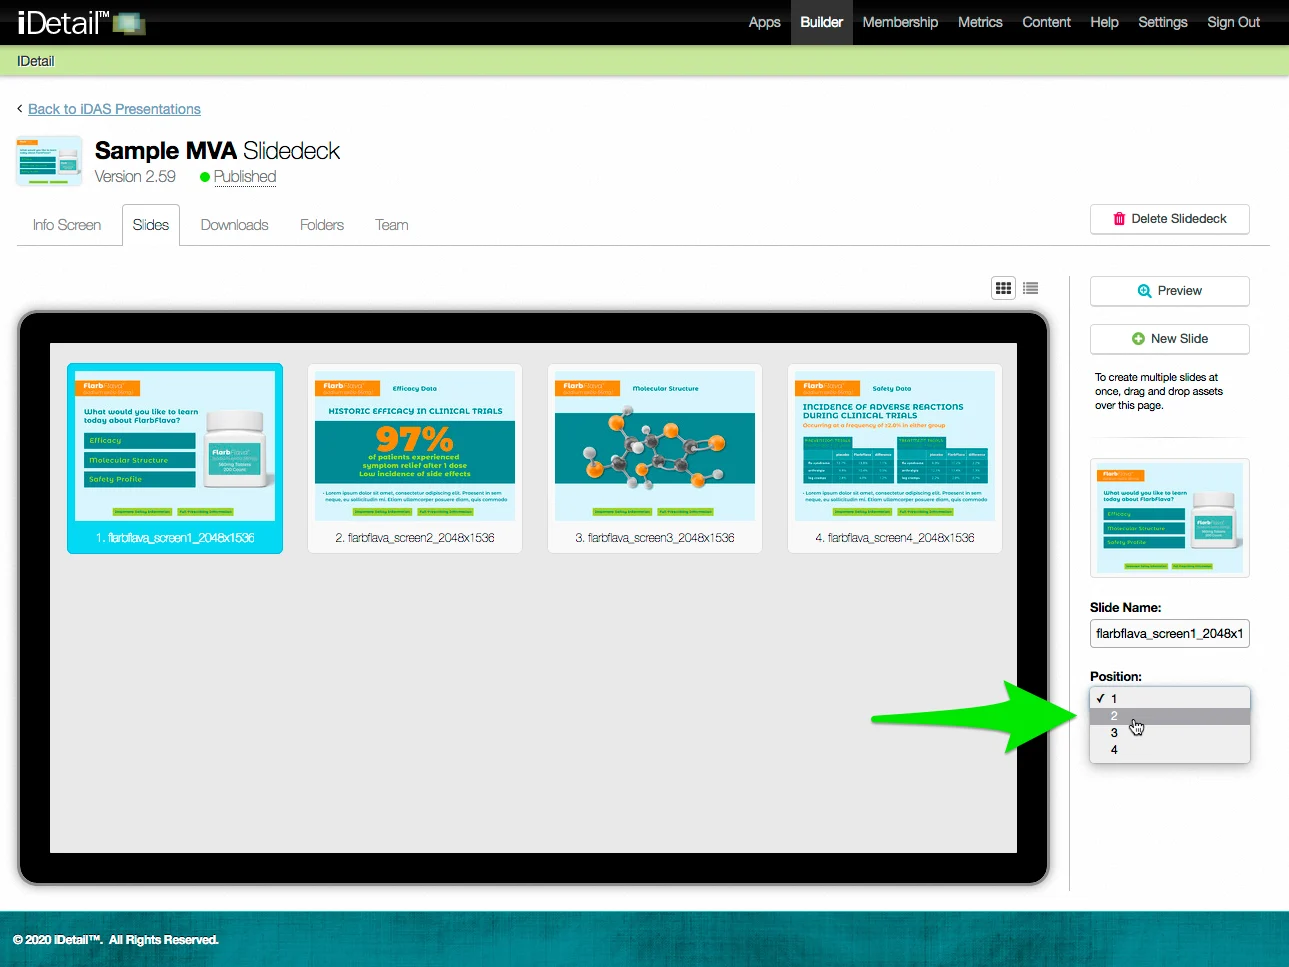
The slide position changes after you choose a position number from the drop down menu
The slide thumbnail image appears in the new position
Click Save Changes to save your edits
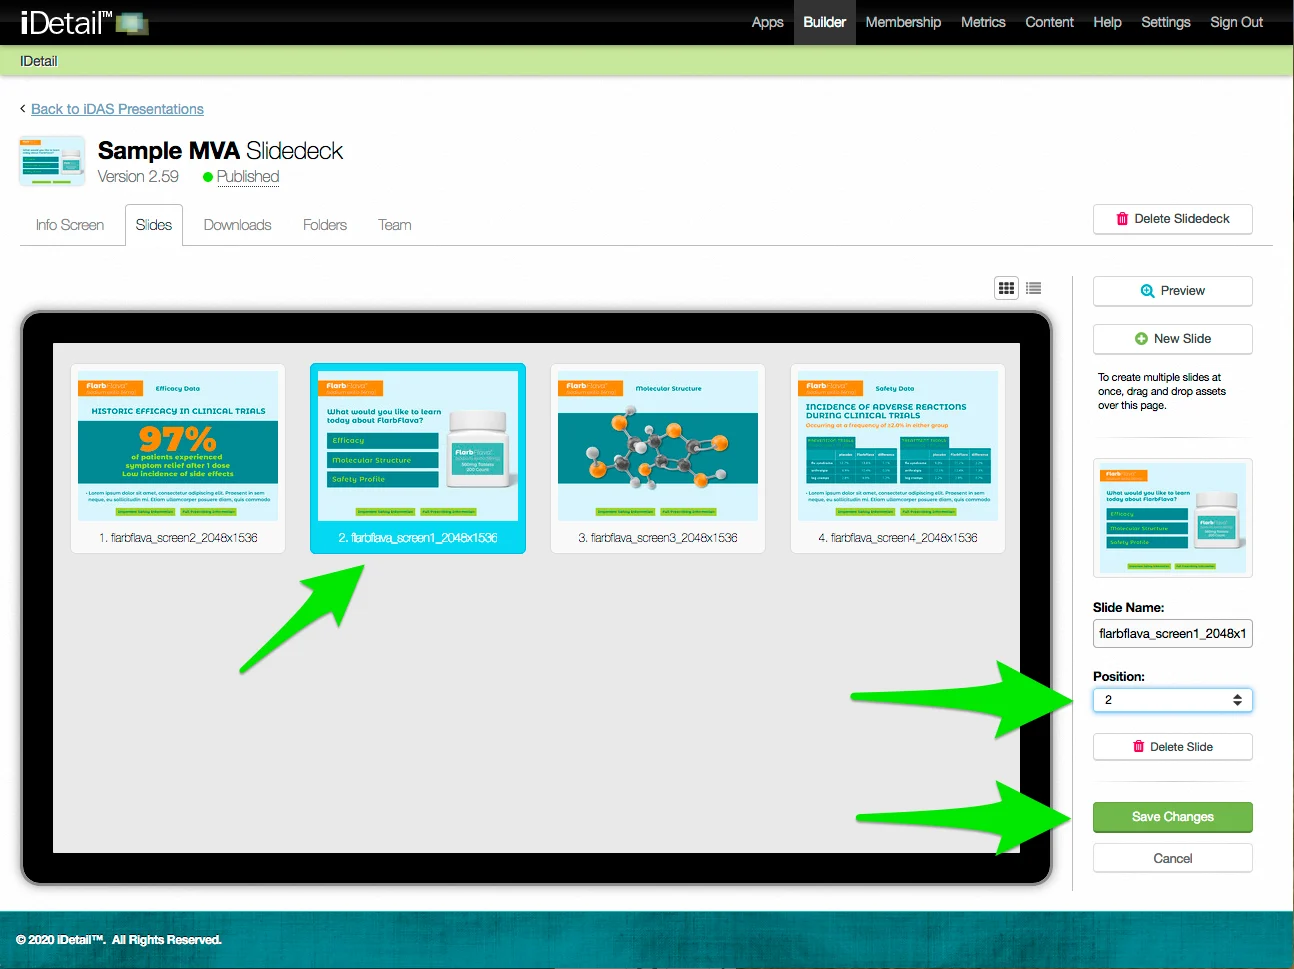
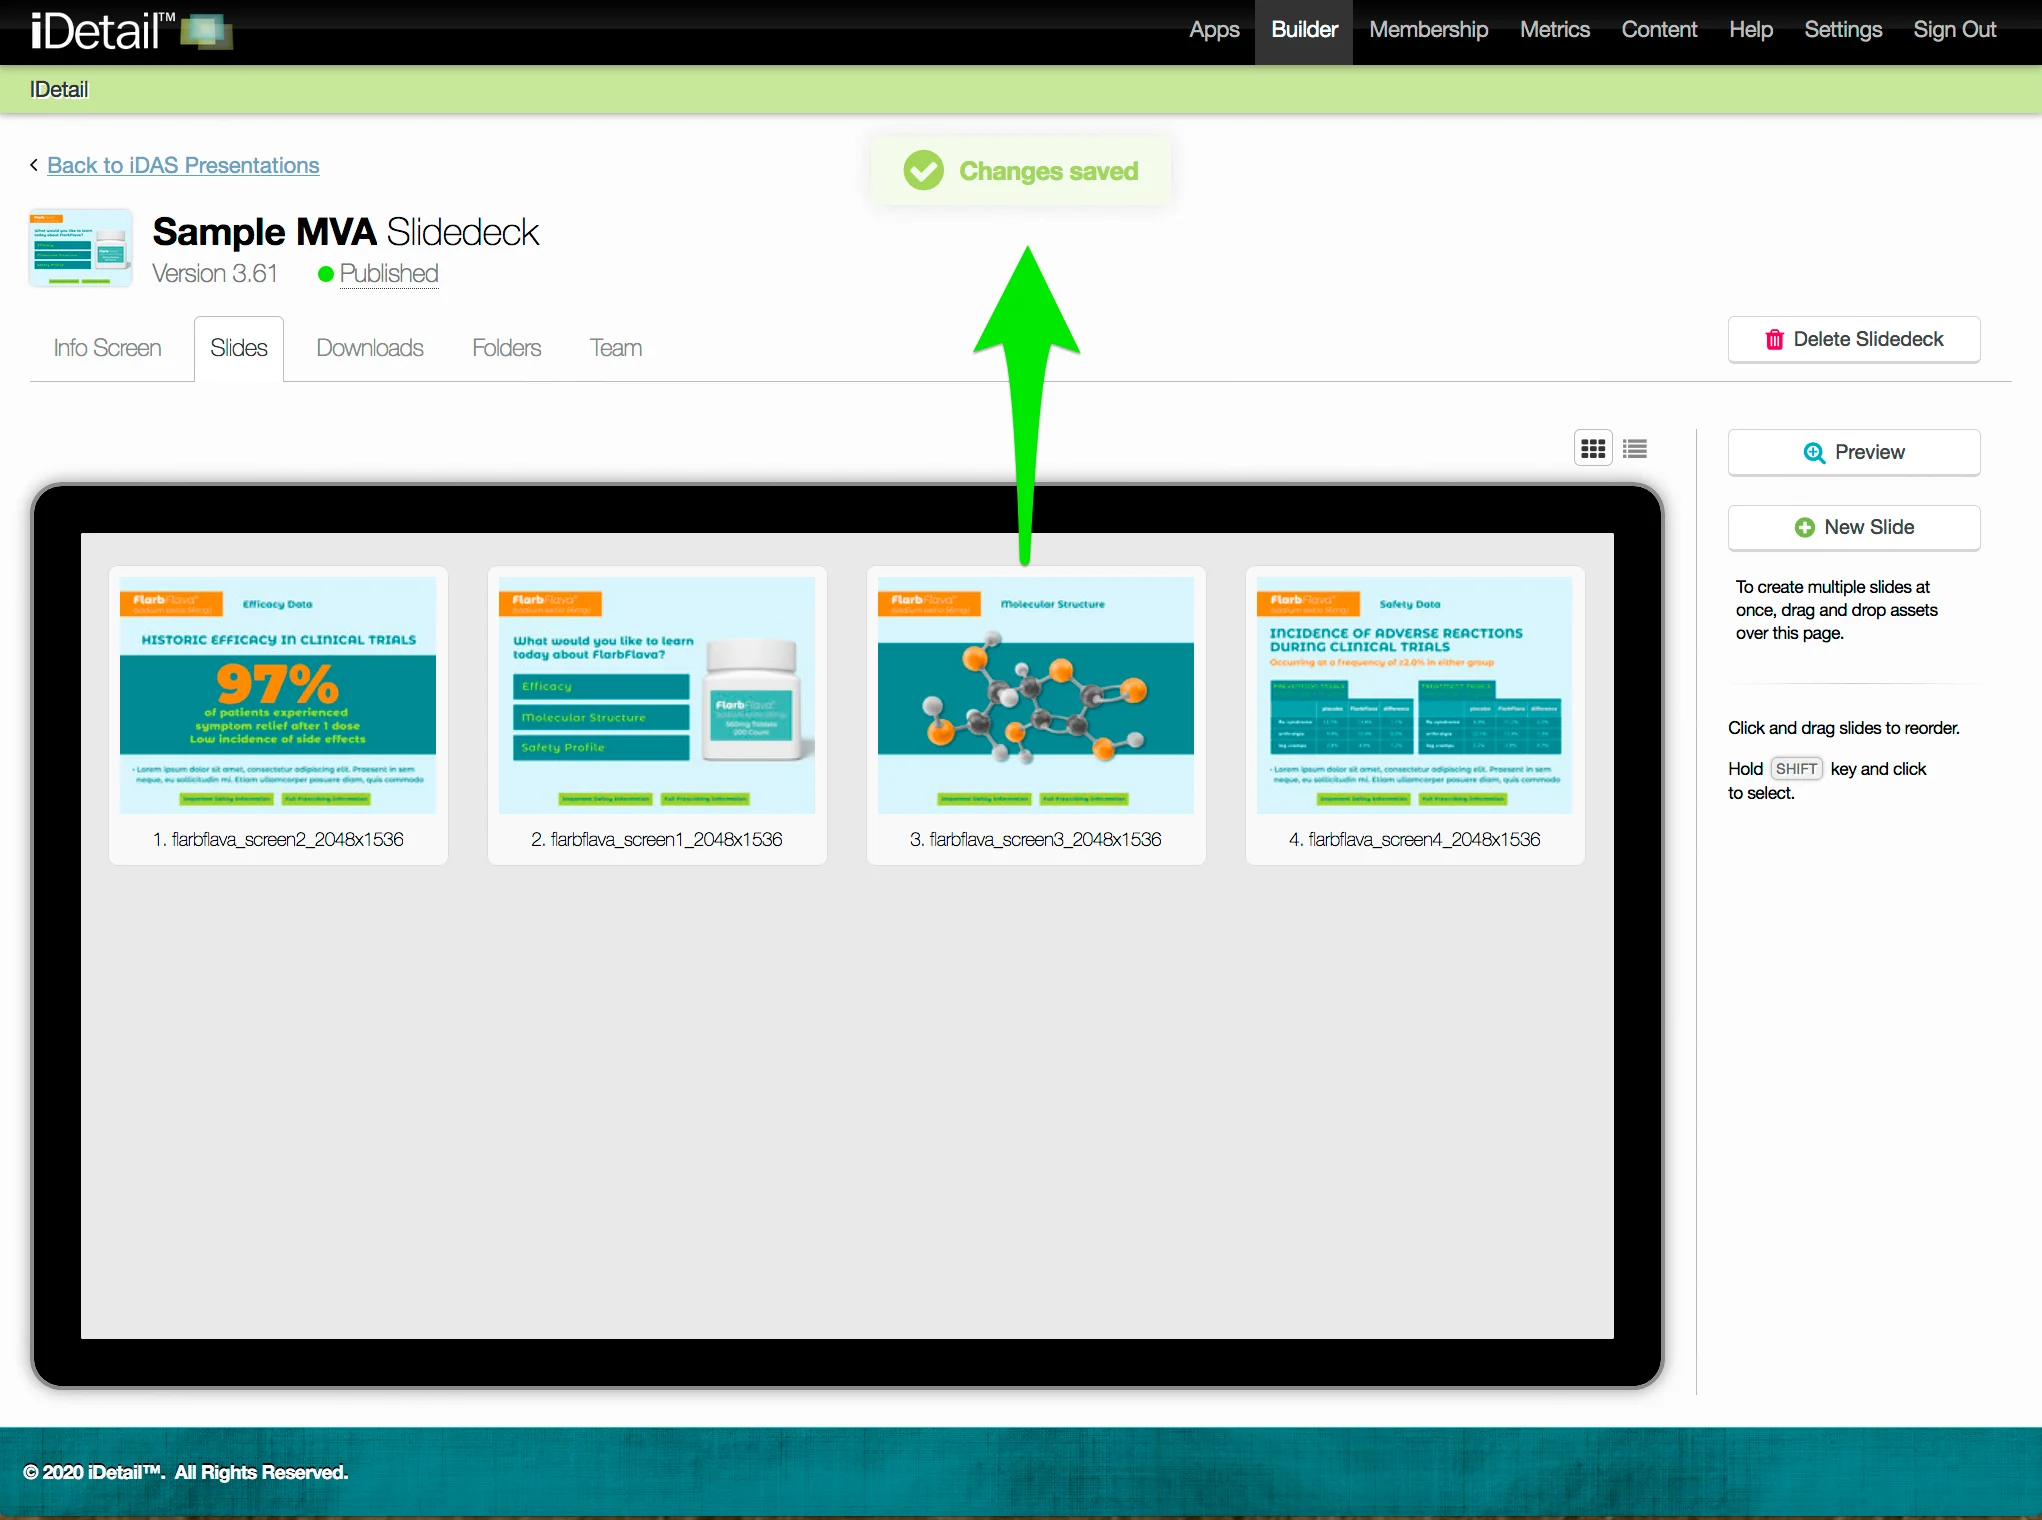
A confirmation message appears at the top of the screen
Edit the slide order (in the list view)
On the Slidedeck Slides tab:
Hover over the row displaying the slide you want to move, then click and hold down the mouse
Drag the selected row to the new location and release it
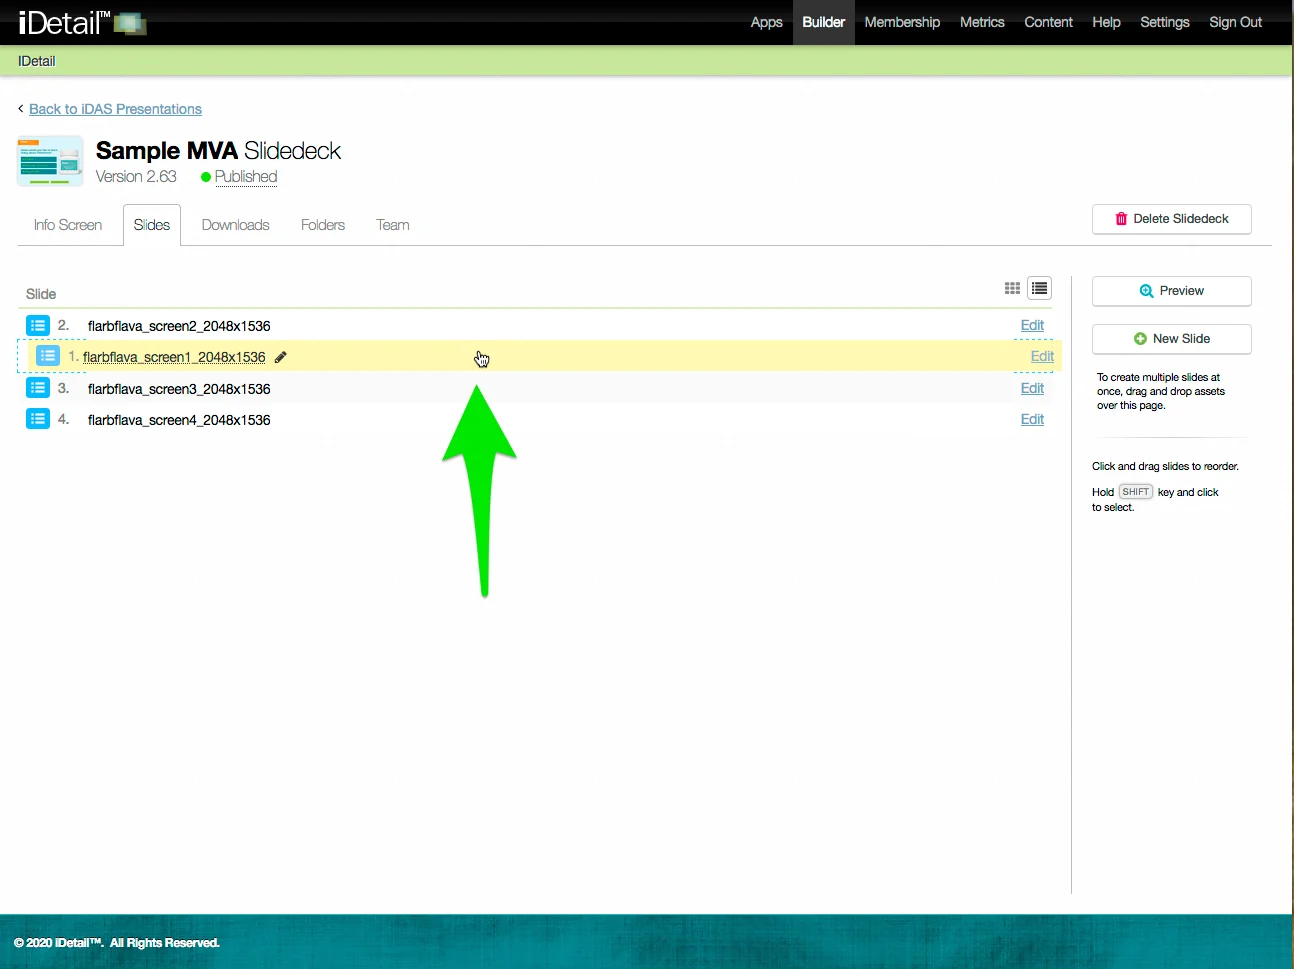
The slide row appears in its new position
Click Save Changes to save your edits
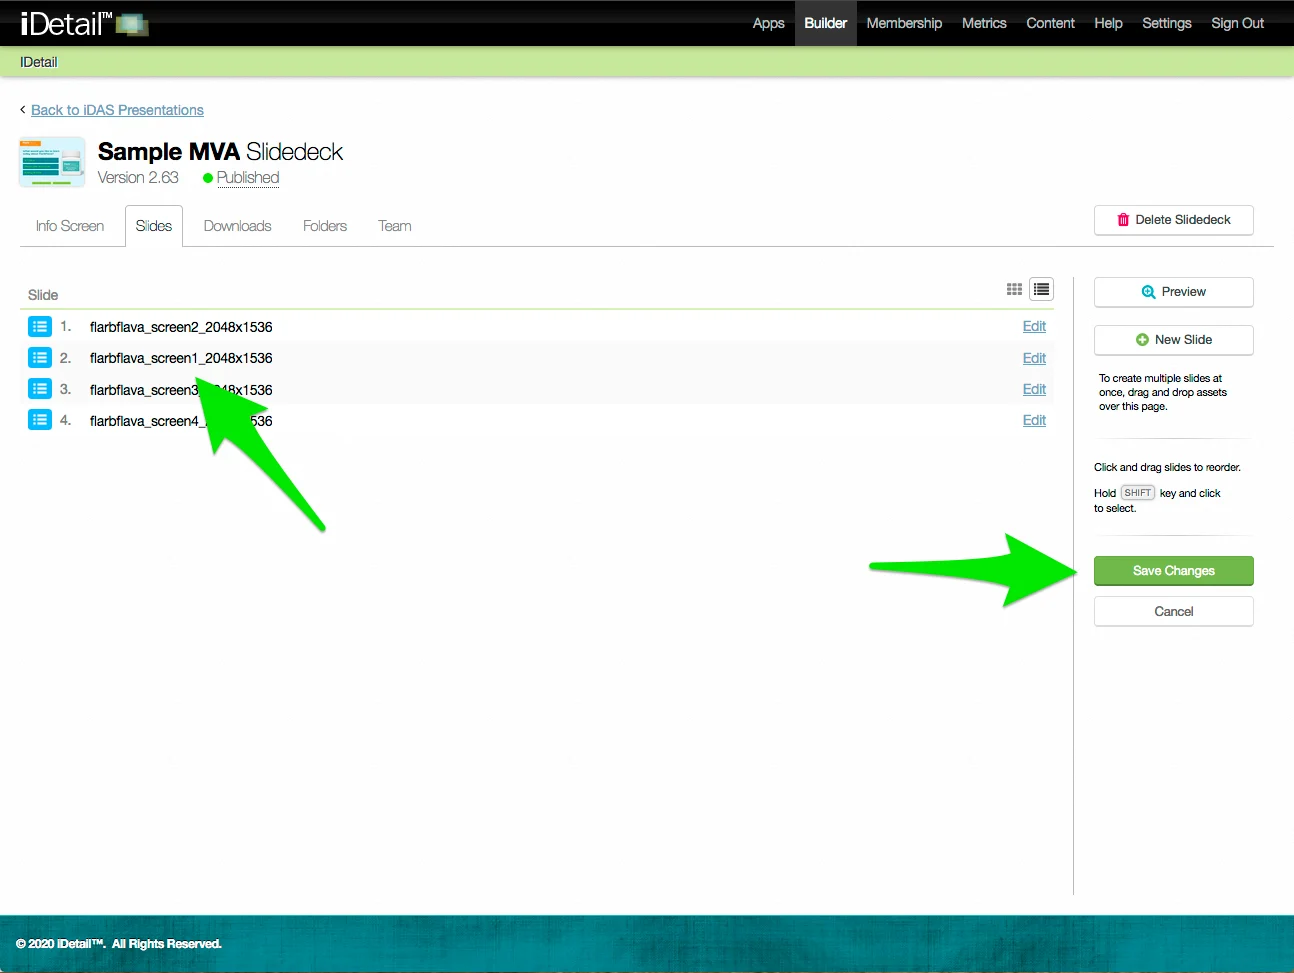
A confirmation message appears at the top of the screen

Edit the slide order (in the list view sidebar)
Hover over the line of the slide you want to move and double click
The line turns blue when selected, and the extended sidebar appears at the right of the screen
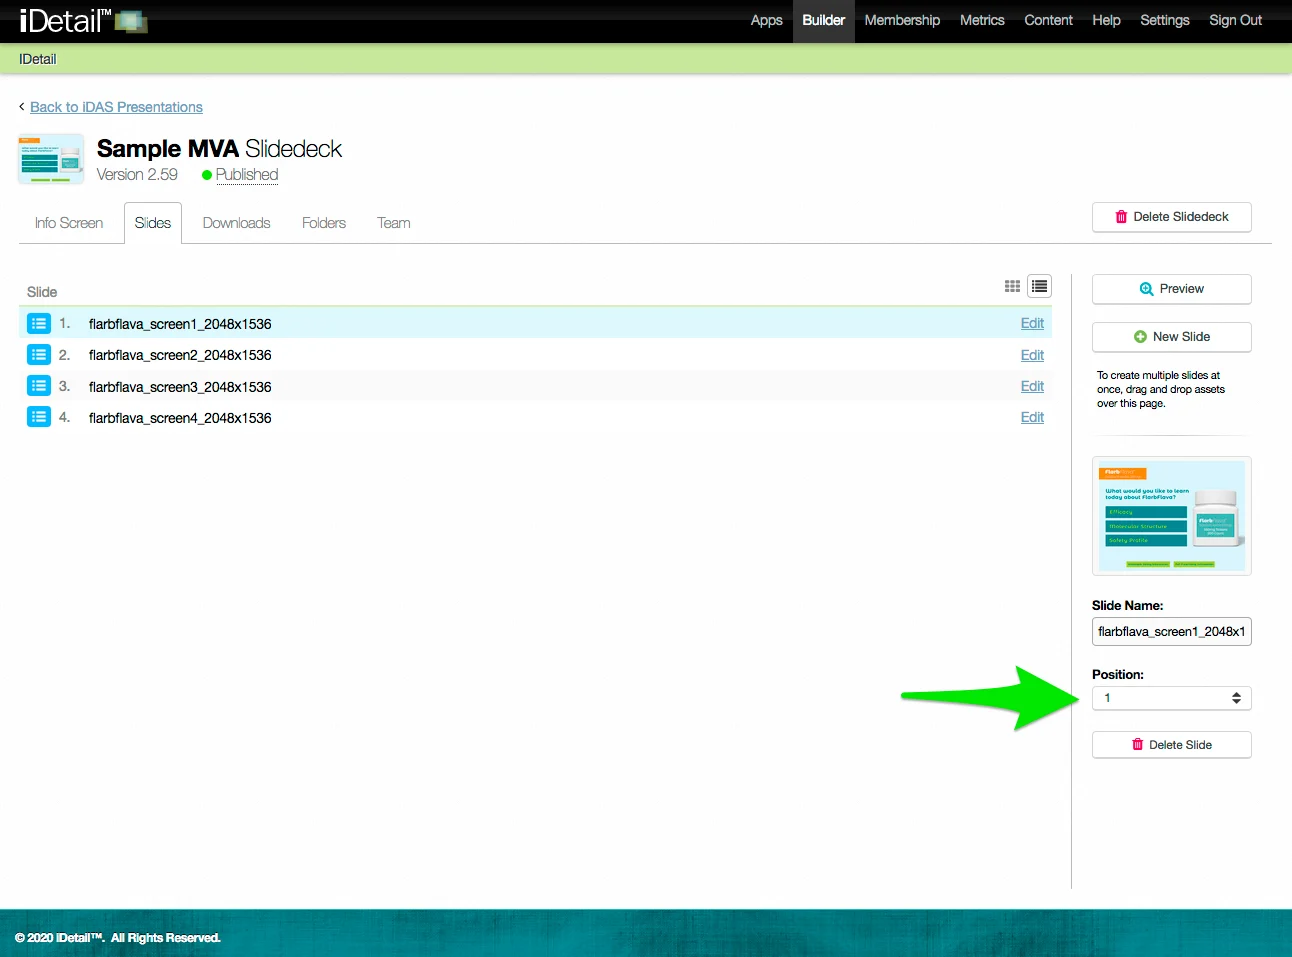
Click in the Position field on the sidebar and select the new position you want from the drop down menu

The slide position changes after you choose a new position number
The slide row appears in the new position
Click Save Changes to save your edits
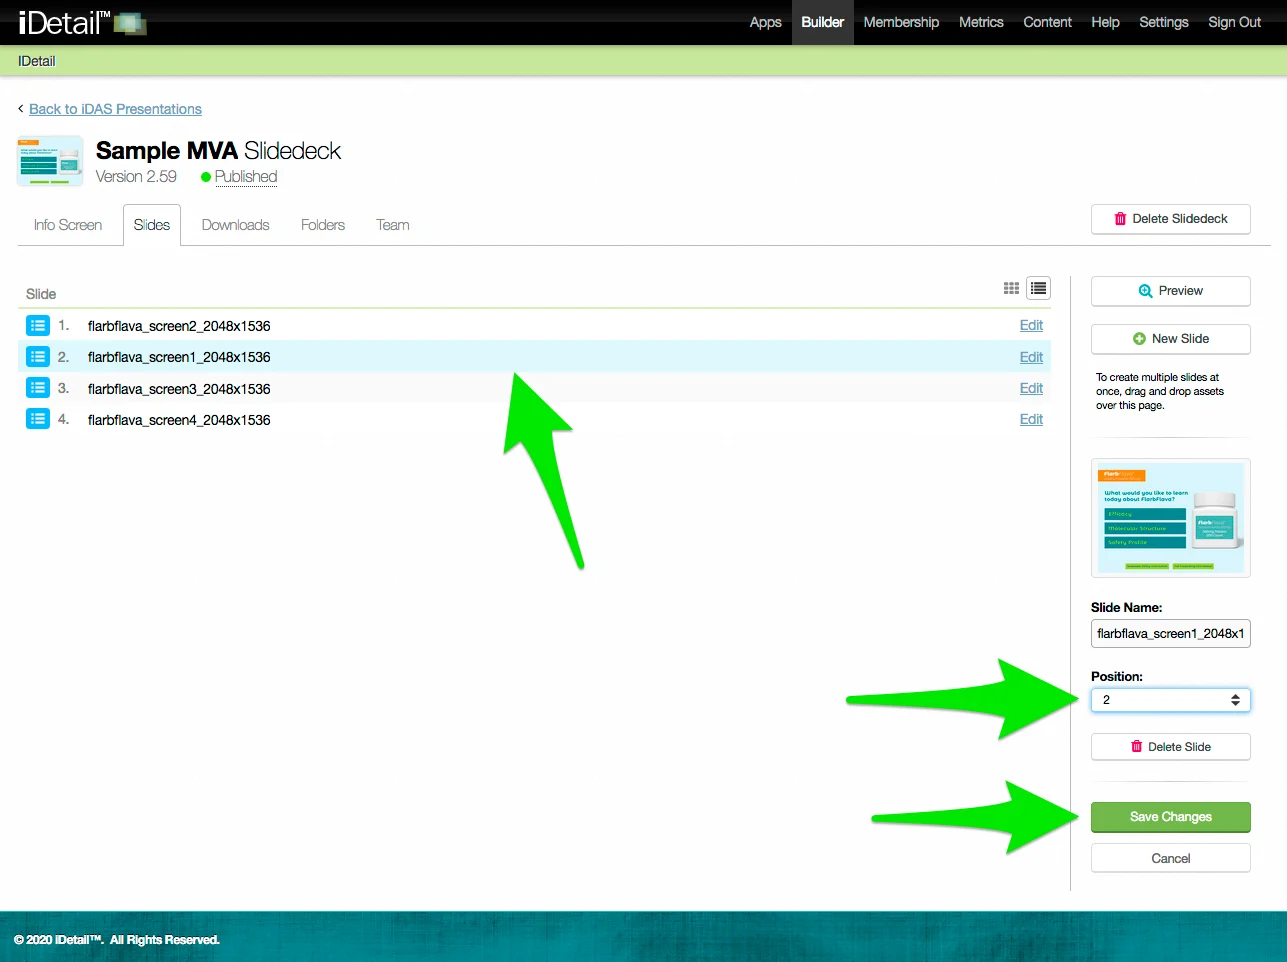
A confirmation message appears at the top of the screen
Replace the slide asset
You can use the Replace button on the Slide Asset tab to change the underlying image or movie you are using as the slide.
On the Slidedeck Slides tab grid view, click in the middle of the slide thumbnail image you want to edit to go to the Slide Asset tab

On the Slidedeck Slides tab list view, click the “Edit” link in the slide row you want to edit to go to the Slide Asset tab
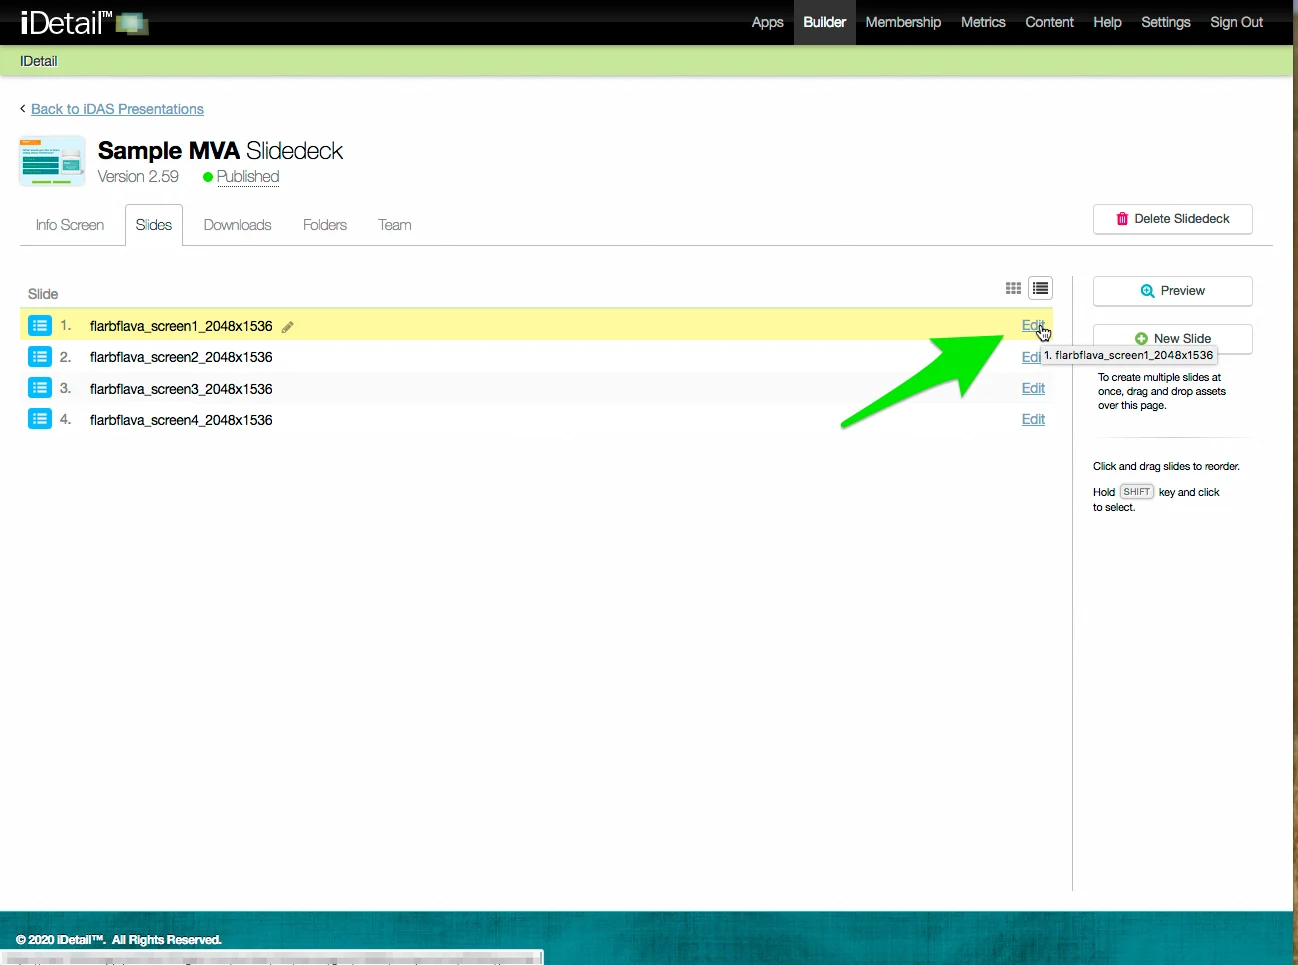
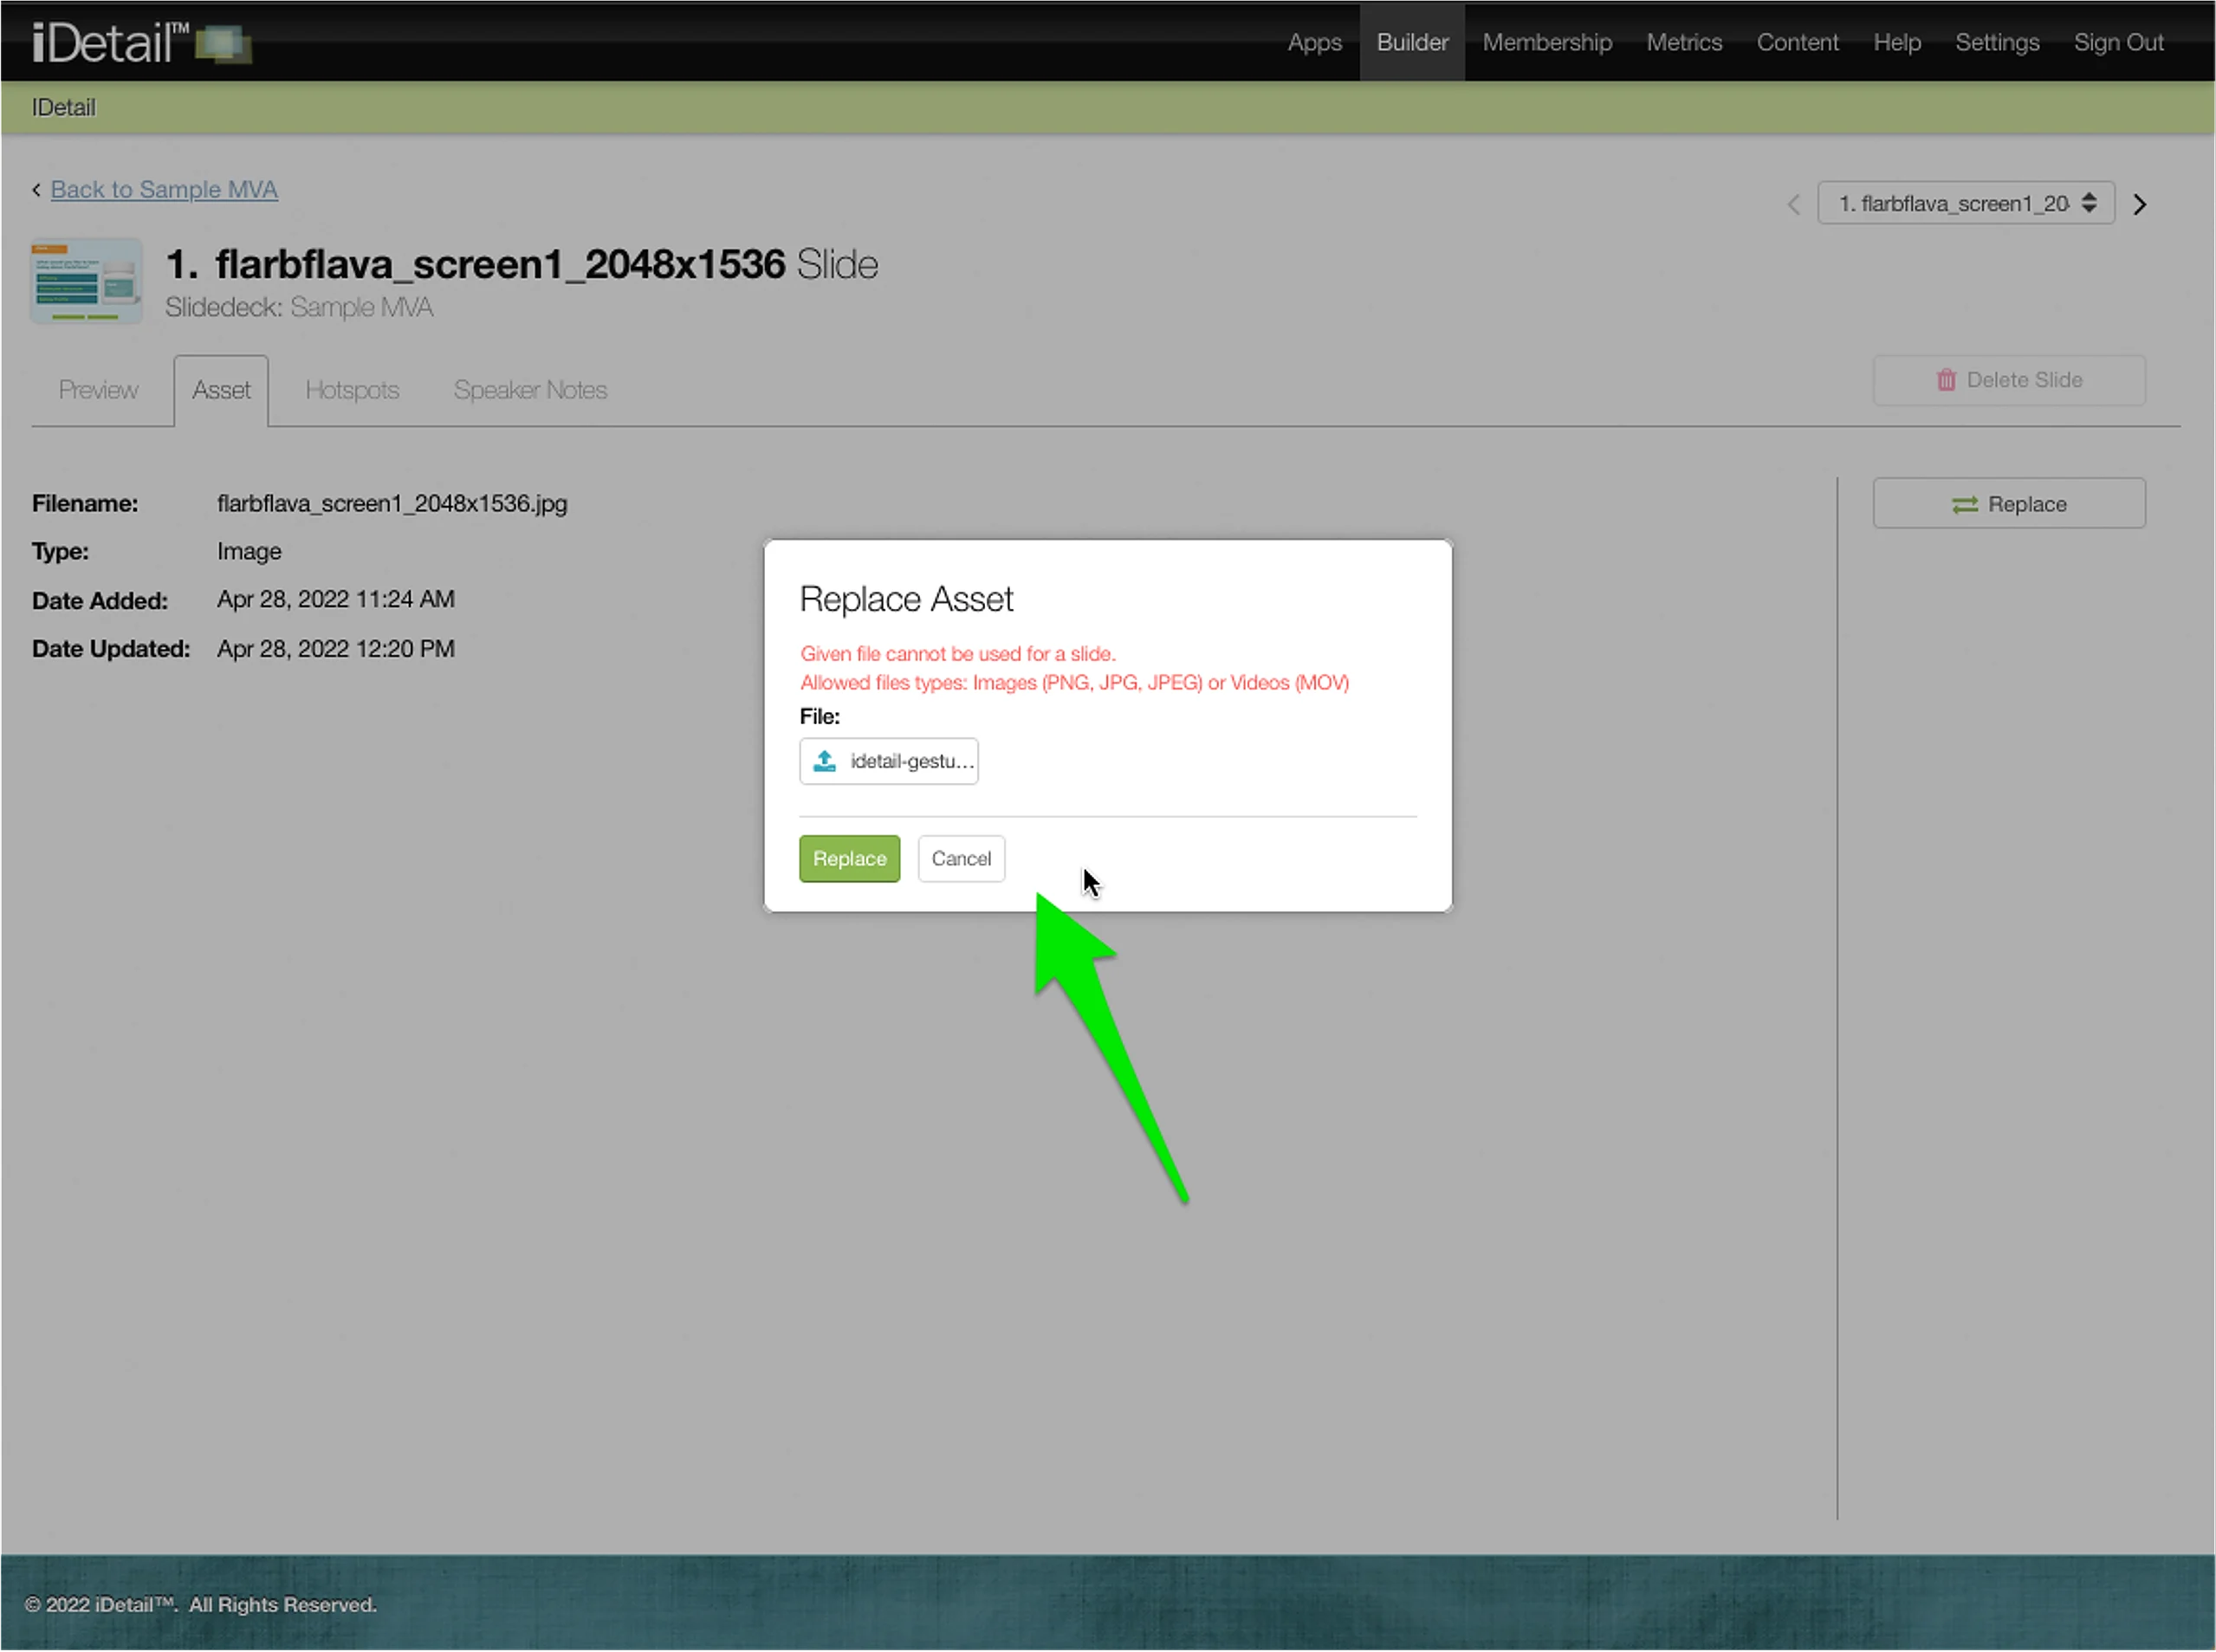
Click the Replace button on the Slide Asset tab
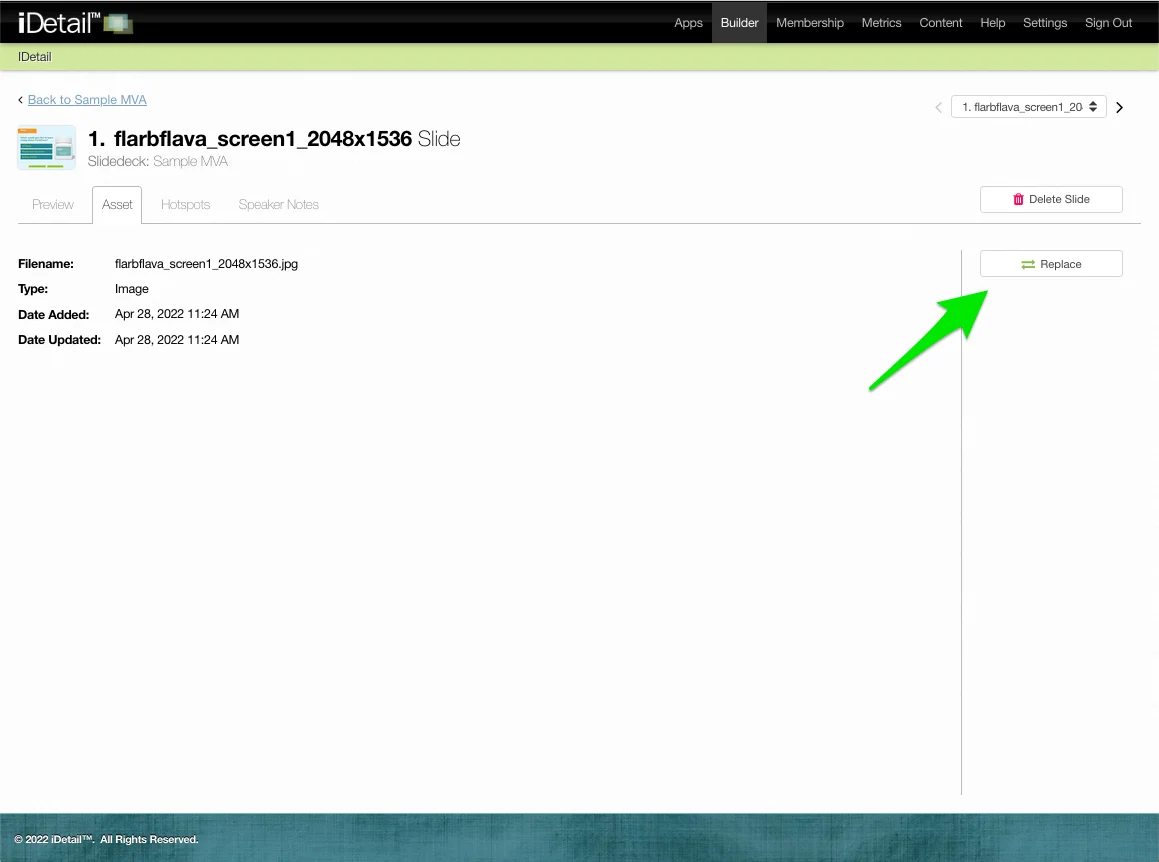
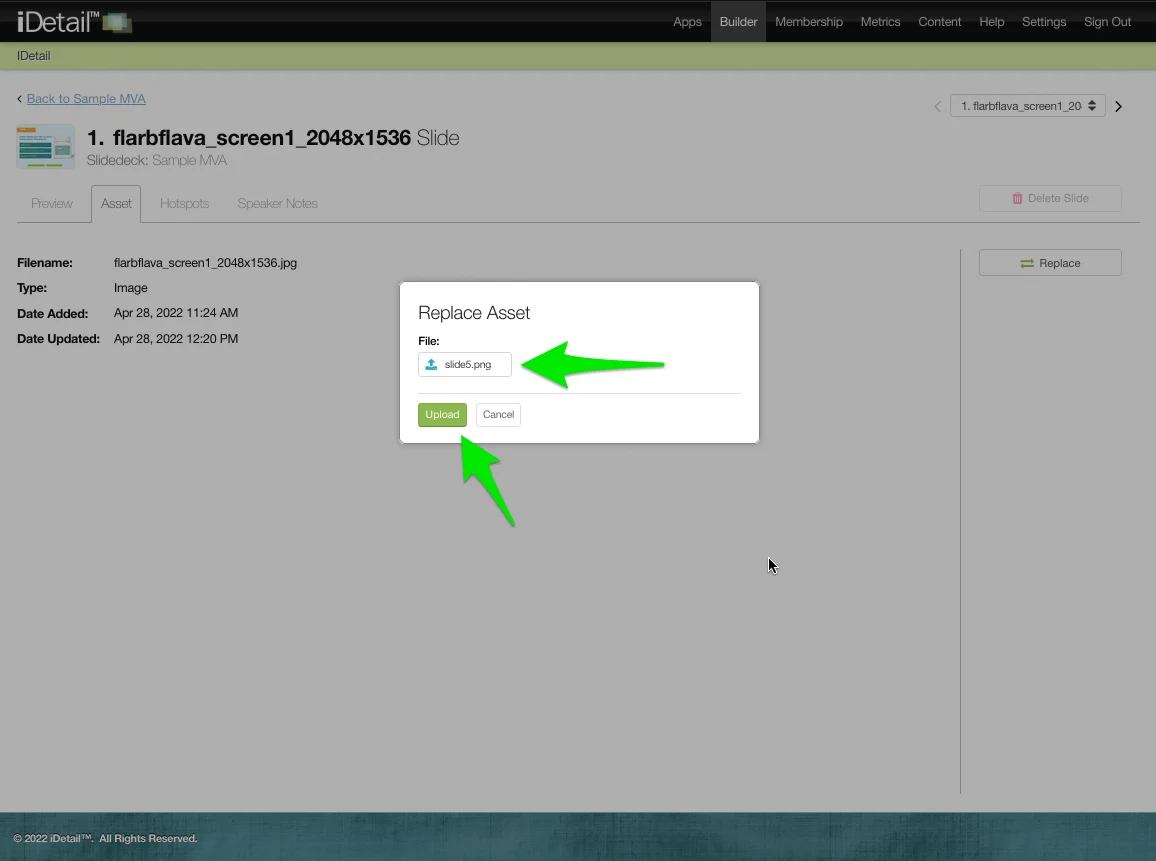
The Replace Asset dialog box appears
Click the File field and choose a replacement file using your computer’s file manager
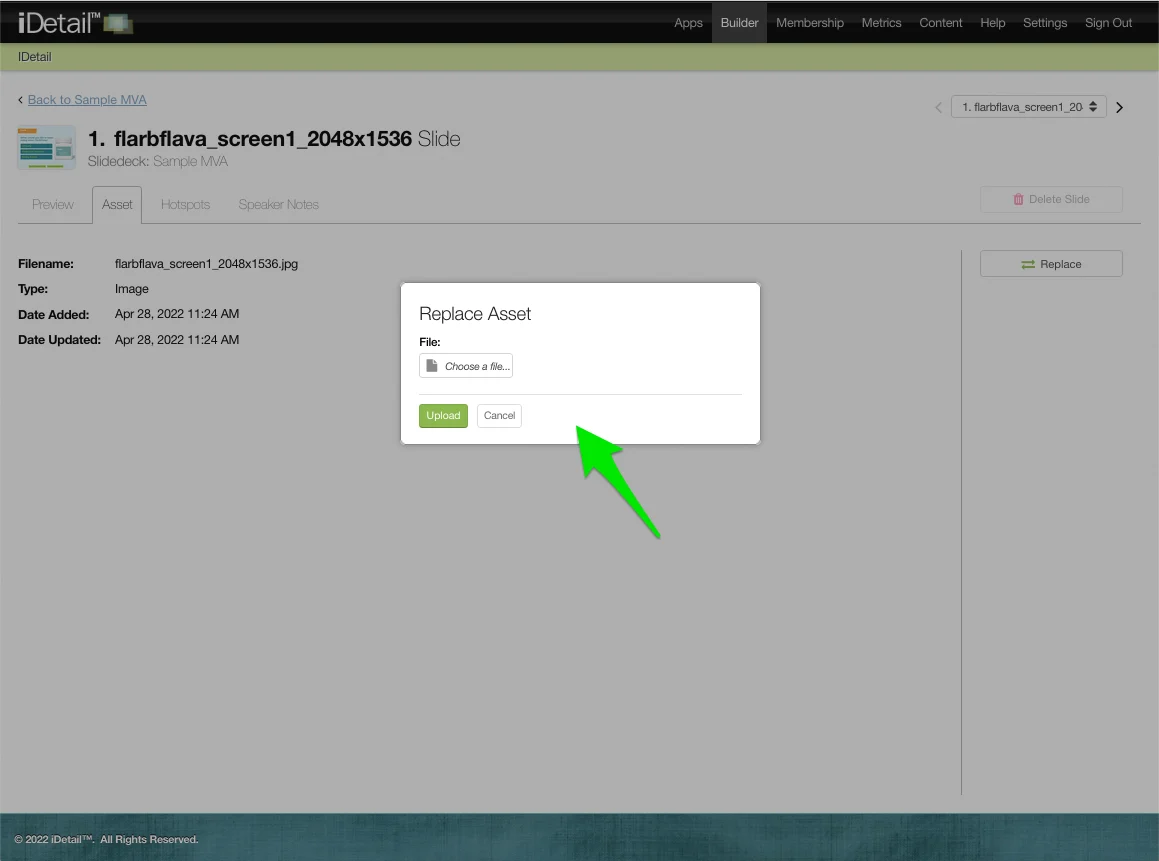
The filename of the replacement file appears in the File field
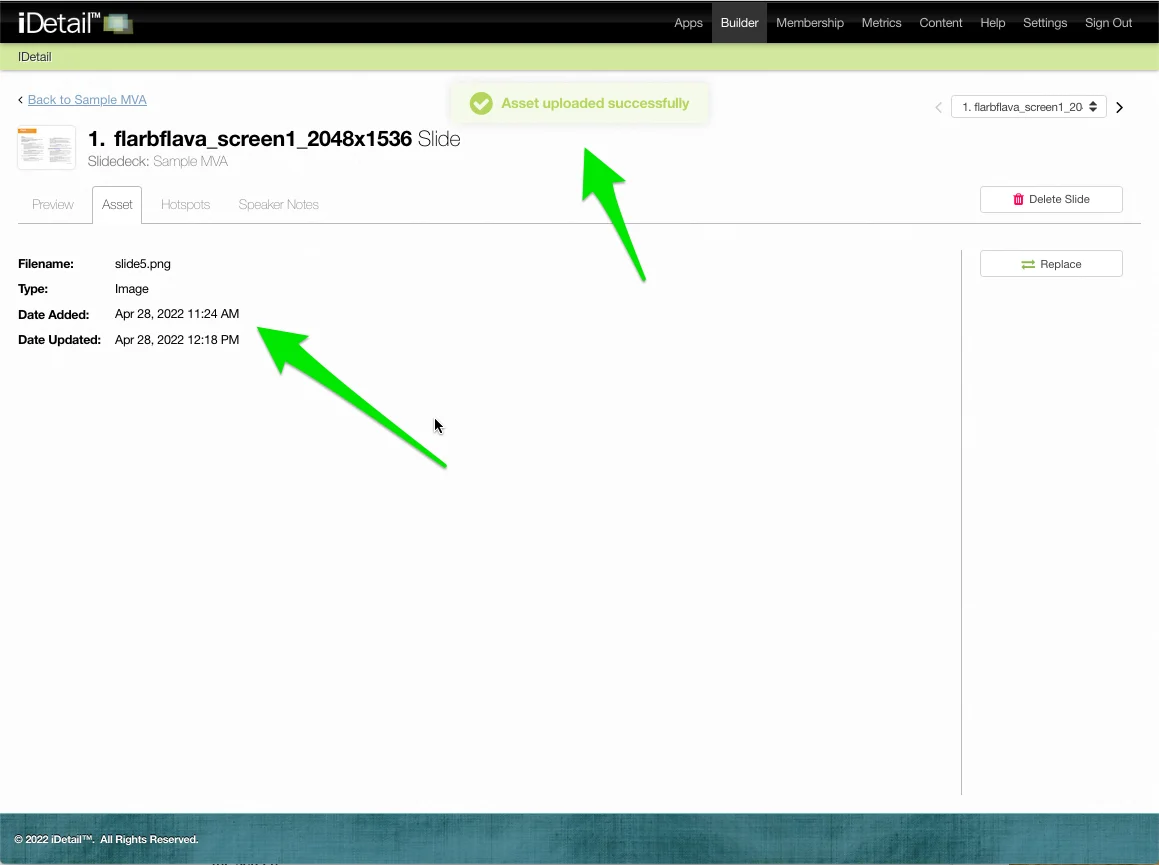
Click the Upload button to save your changes
The new image or movie file appears as the slide
A confirmation message appears at the top of the screen
You will receive an error message if the replacement file is not a .PNG, .JPG, .JPEG, or .MOV extension
Click the File field and choose a different asset that is one of the allowed types
Click the Upload button to save your changes