You can add or delete slides in an iDetail slidedeck content item in either the app grid view or list view. Add slides using the New Slide button or by dragging and dropping files to the grid view or list view working area.
A slide can be an image file (.PNG, .JPG, or .JPEG) or a video file (.MOV).
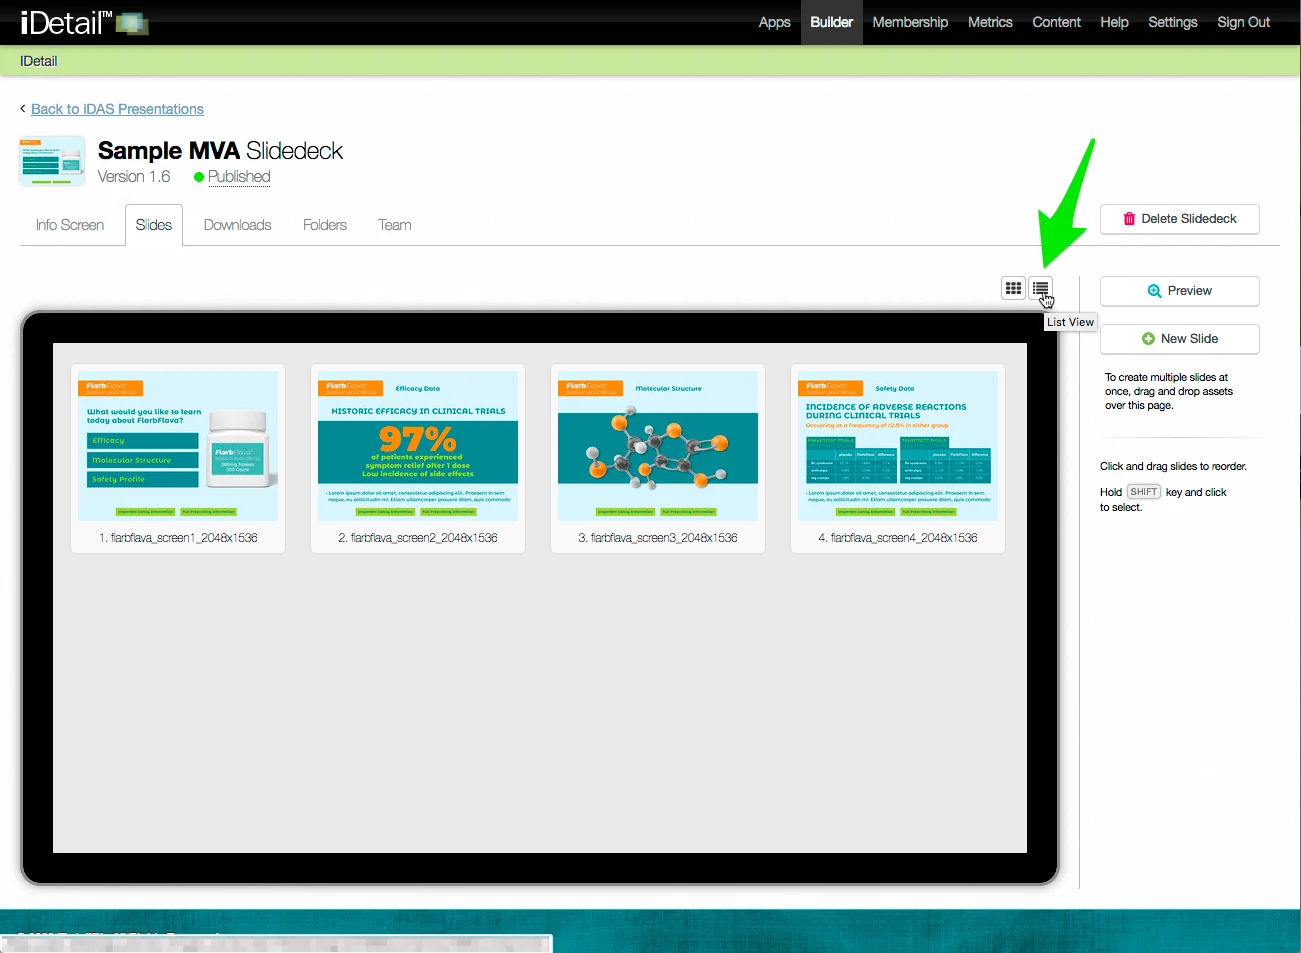
Add a slide using the New Slide button (grid view)
On the Slidedeck Slides tab:
Click the Grid View icon if you are not already in that view
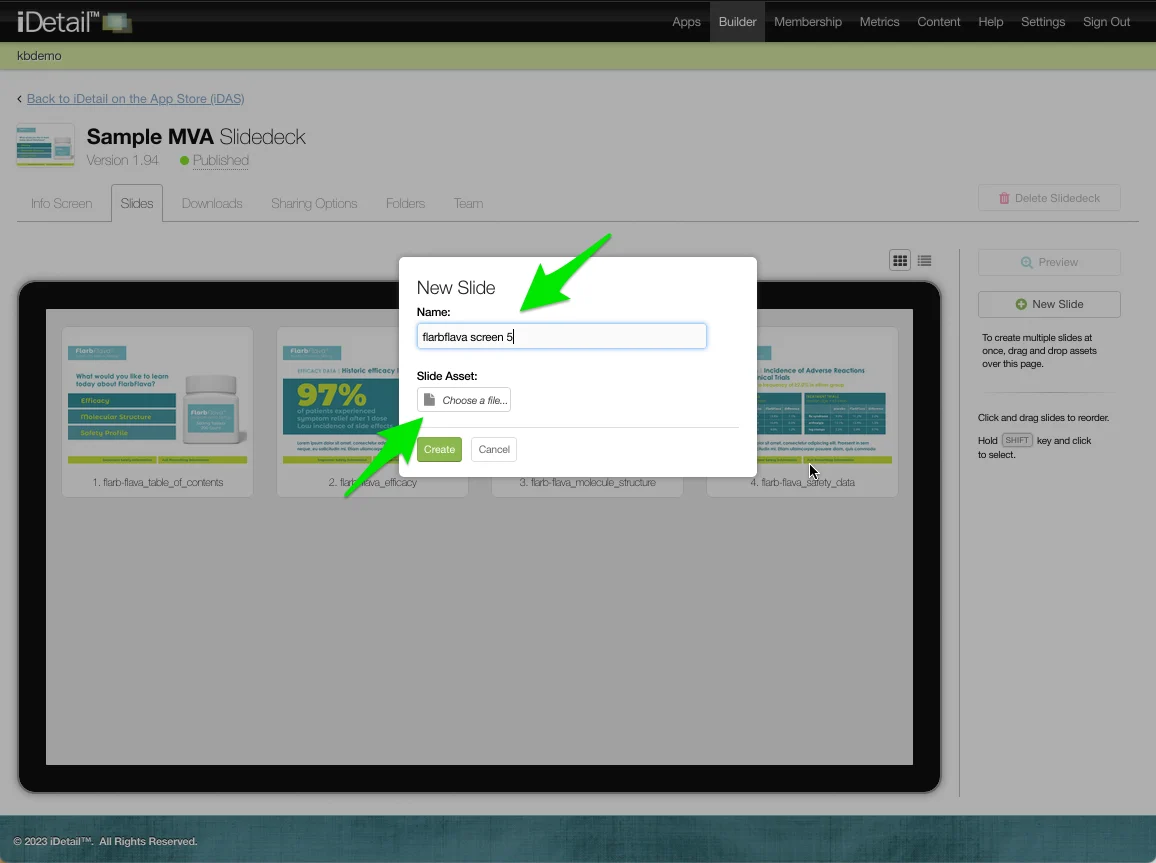
Click the New Slide button

Type a name for the new slide
Choose a file to upload (it must be a .PNG, .JPG, .JPEG, or .MOV extension)
You will receive an error message if the file type is not a .PNG, .JPG, .JPEG, or .MOV extension
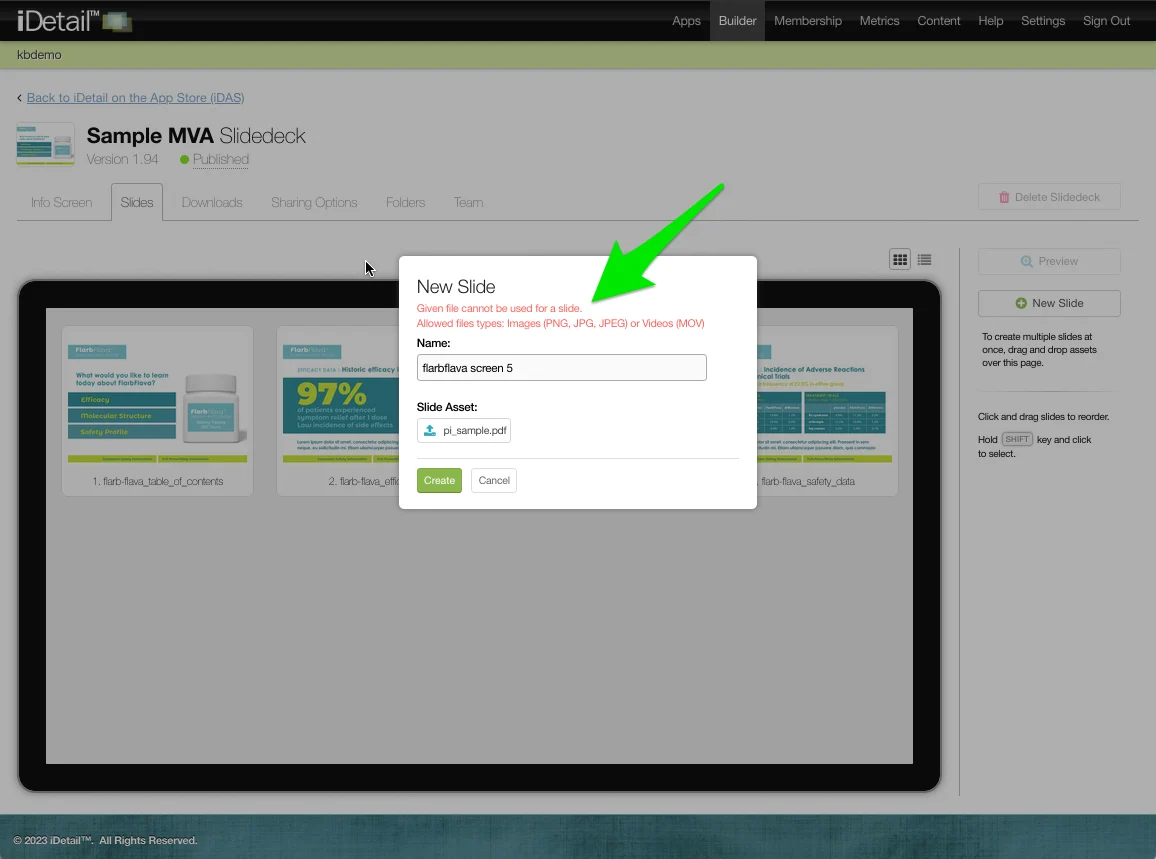
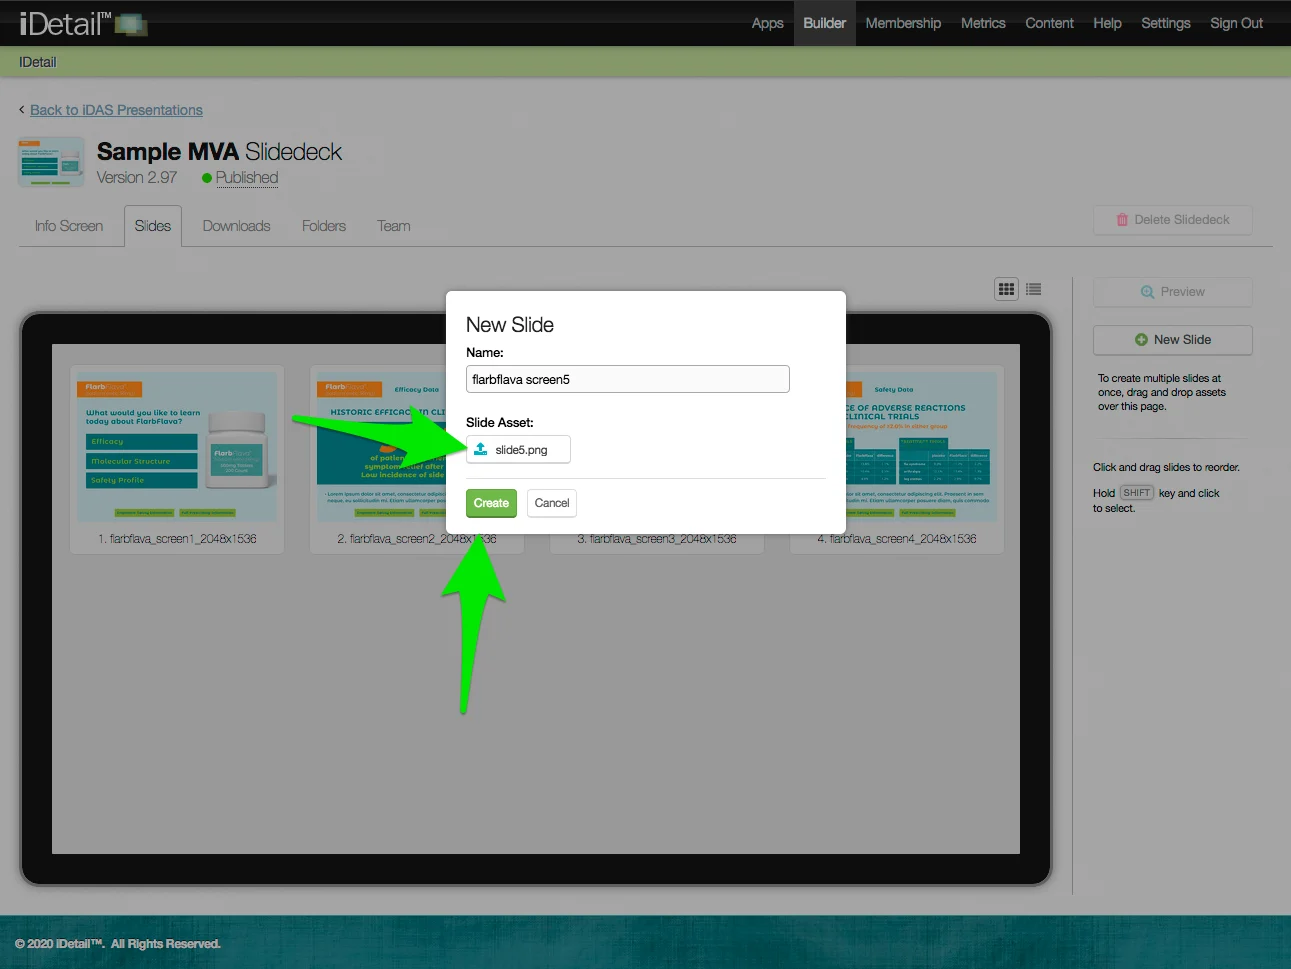
Choose a file that is an allowed file type in the Slide Asset field
Click Create to load the file
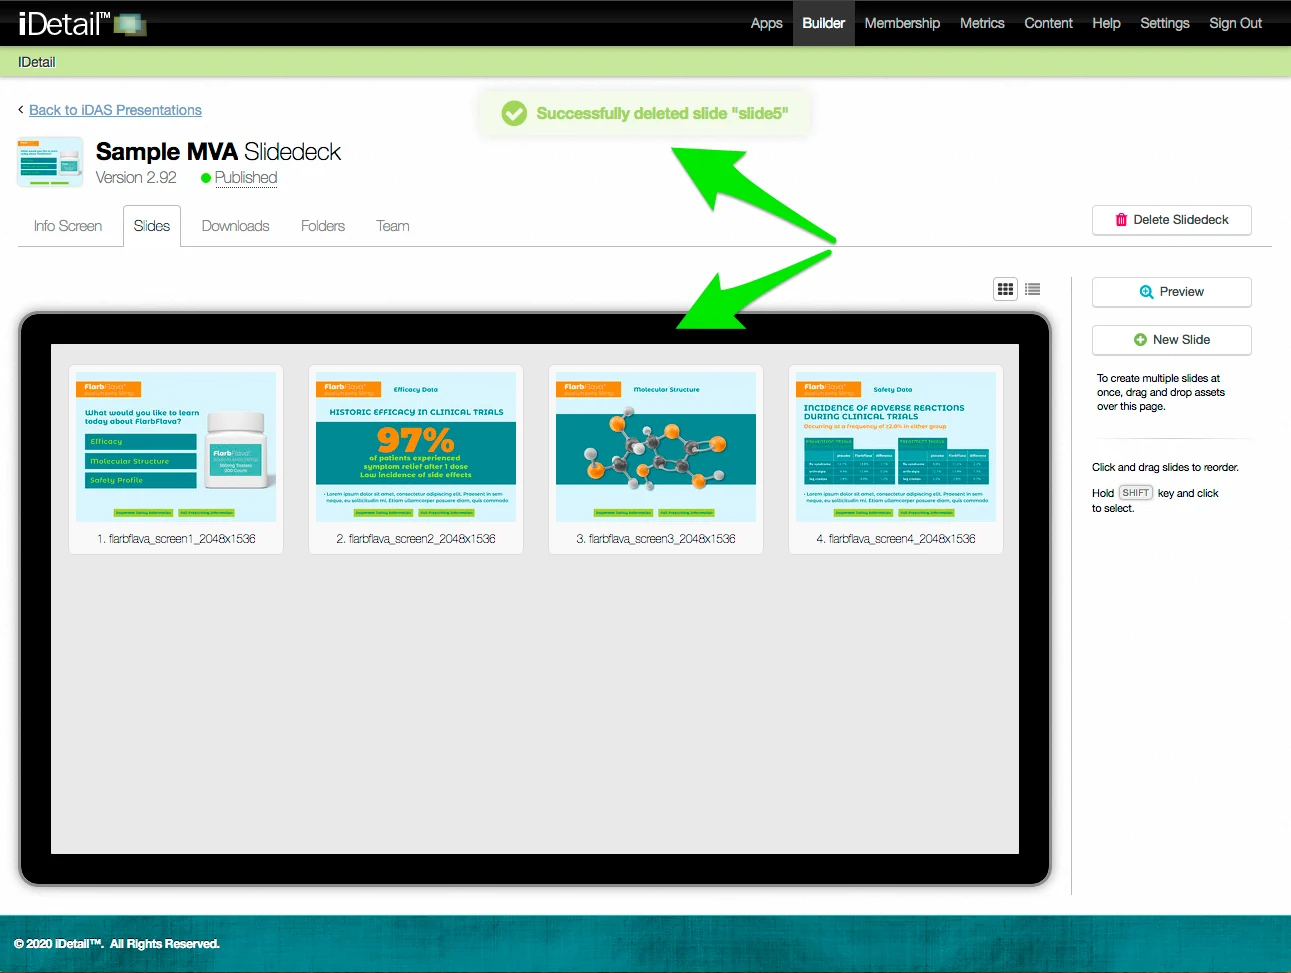
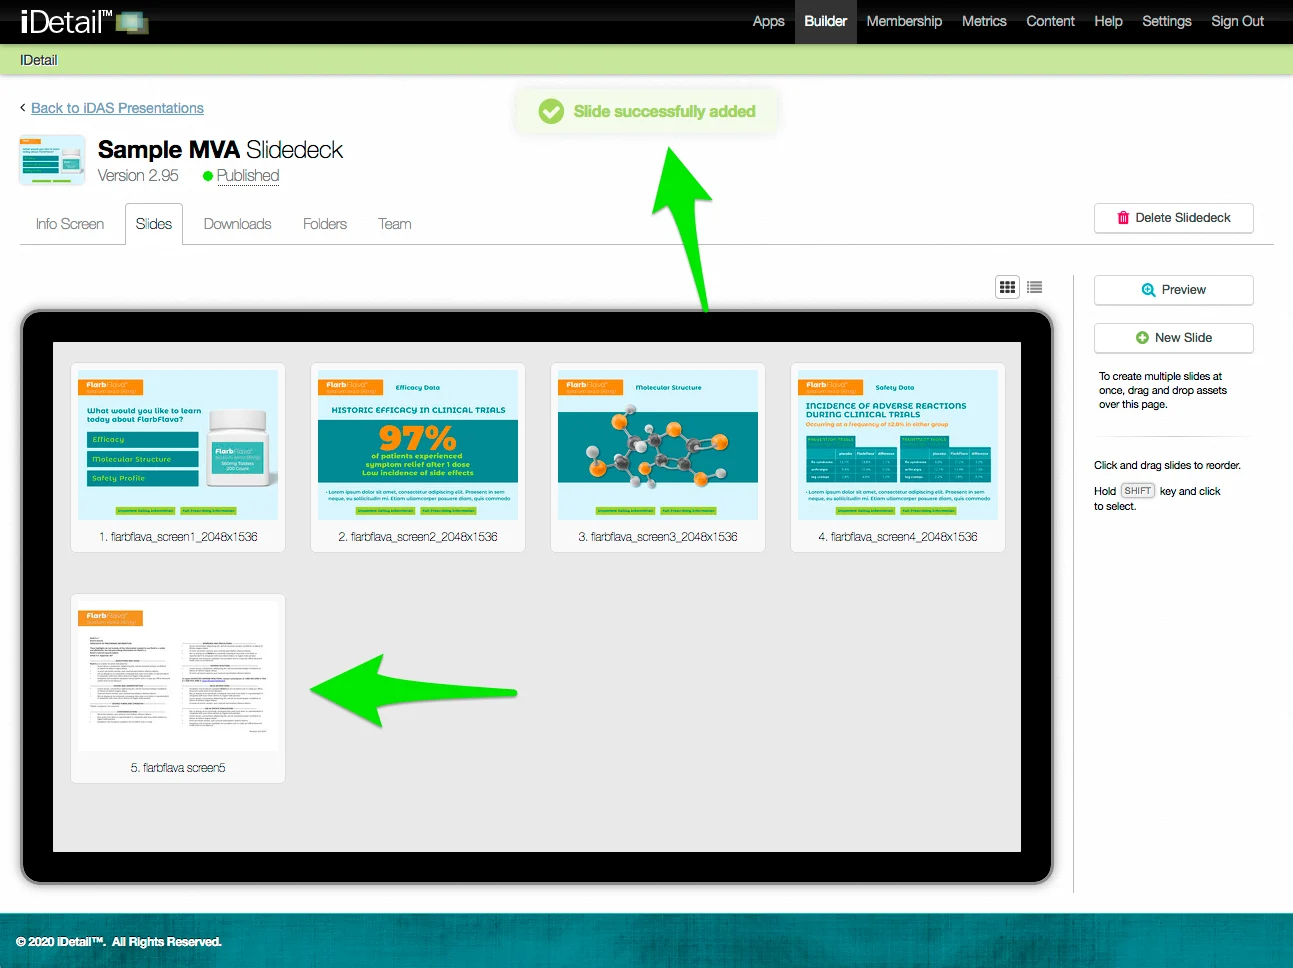
The new slide appears at the bottom of the grid view along with a confirmation message at the top of the screen
Add a slide using drag and drop (grid view)
On the Slidedeck Slides tab:
Click the Grid View icon if you are not already in that view
Select the file or files you wish to add using your computer’s file manager
Drag the file or files into the grid view area and drop them
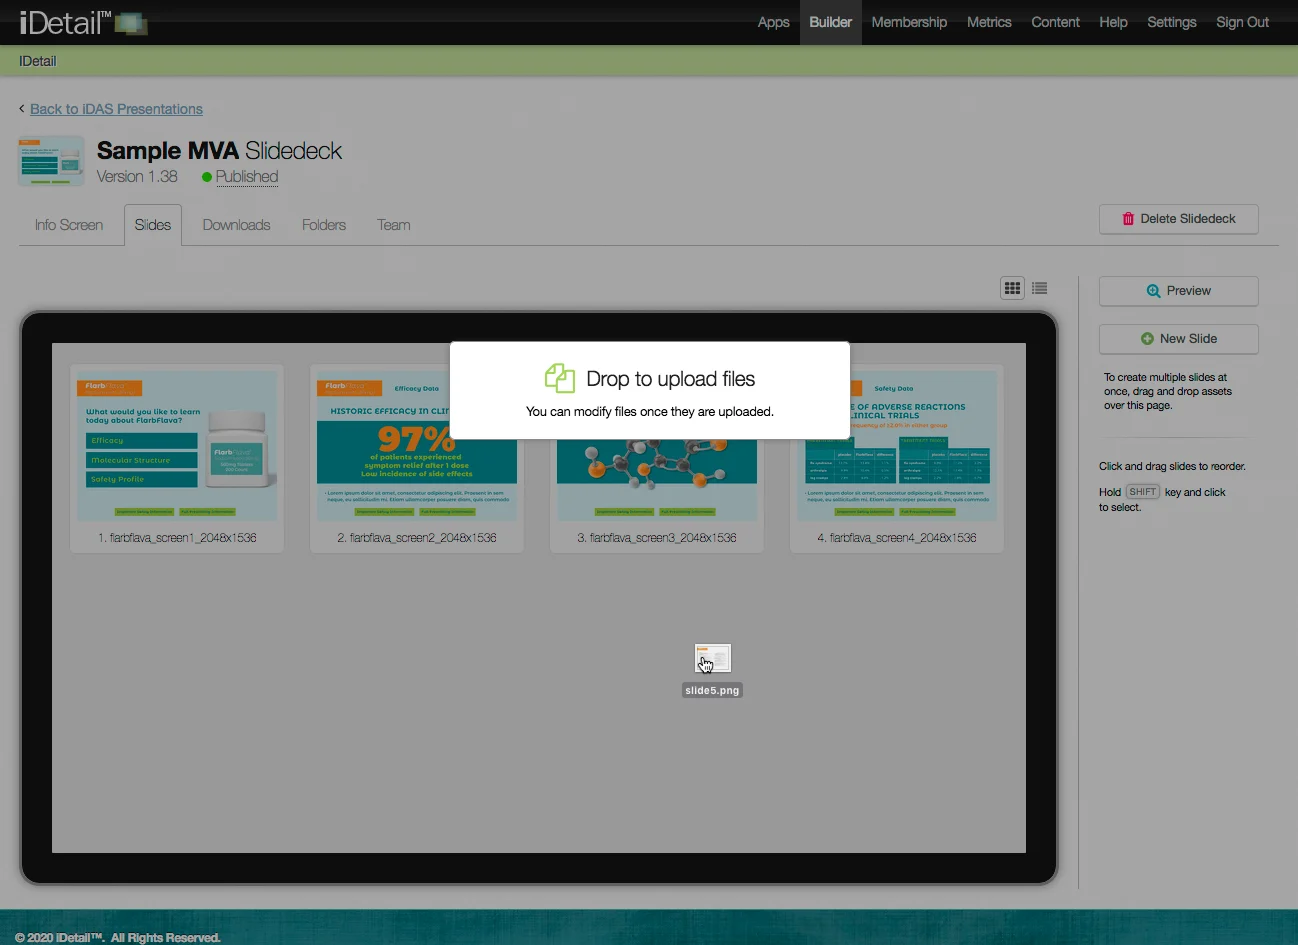
The file or files will appear at the bottom of the grid view along with a confirmation message at the top of the screen
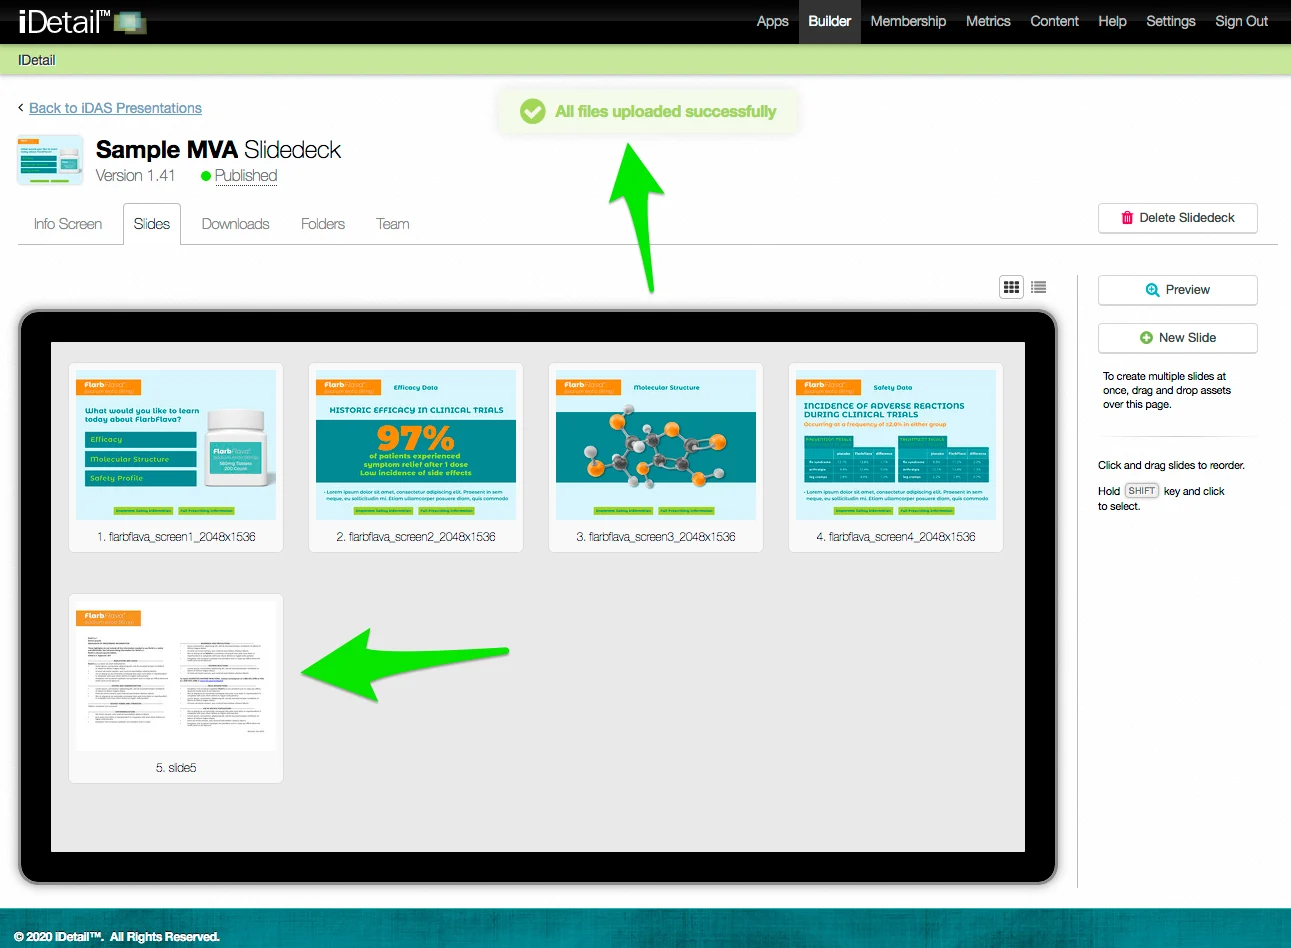
Files that are dragged and dropped use the filename as the slide title
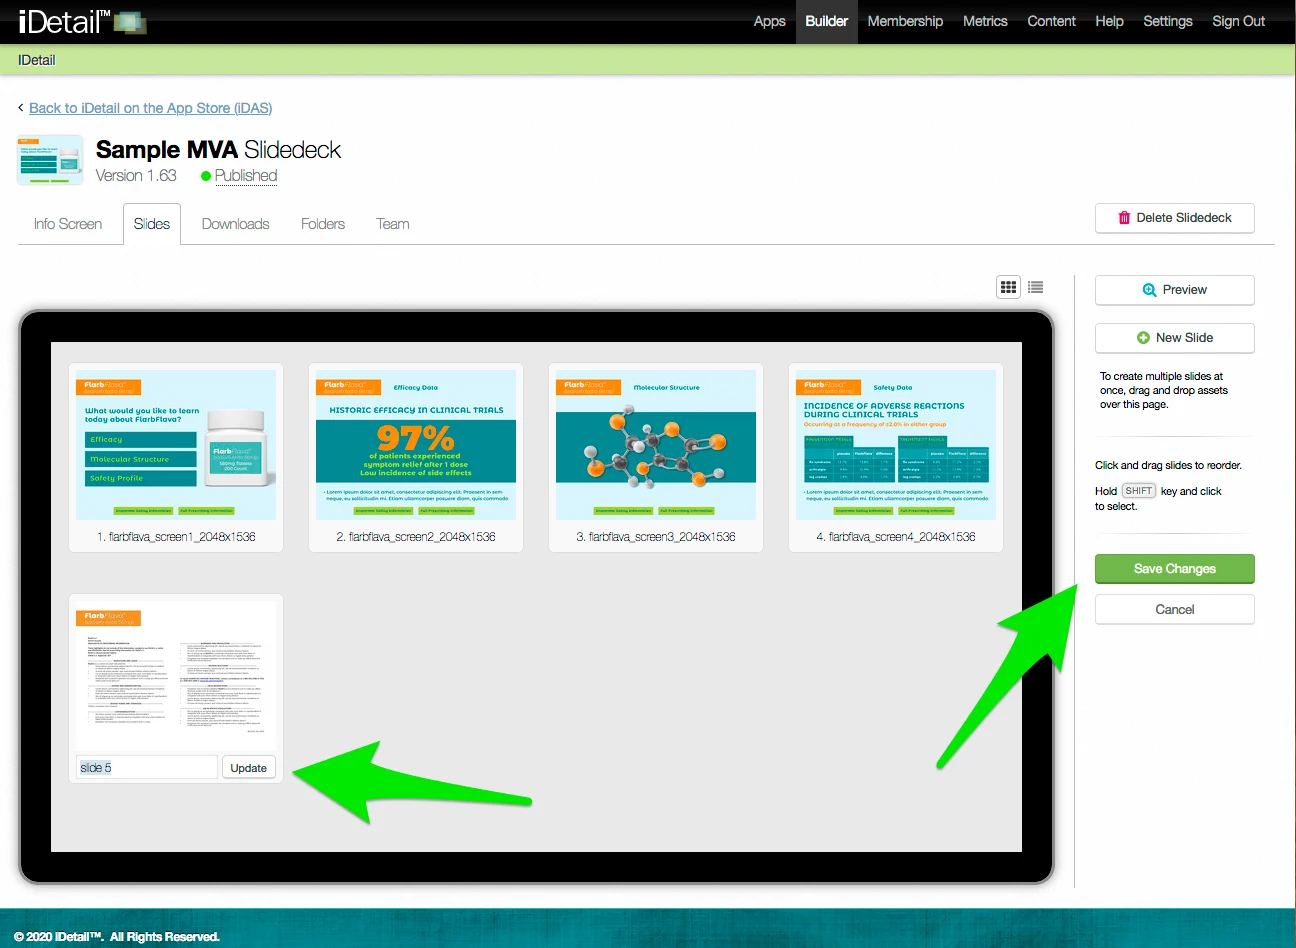
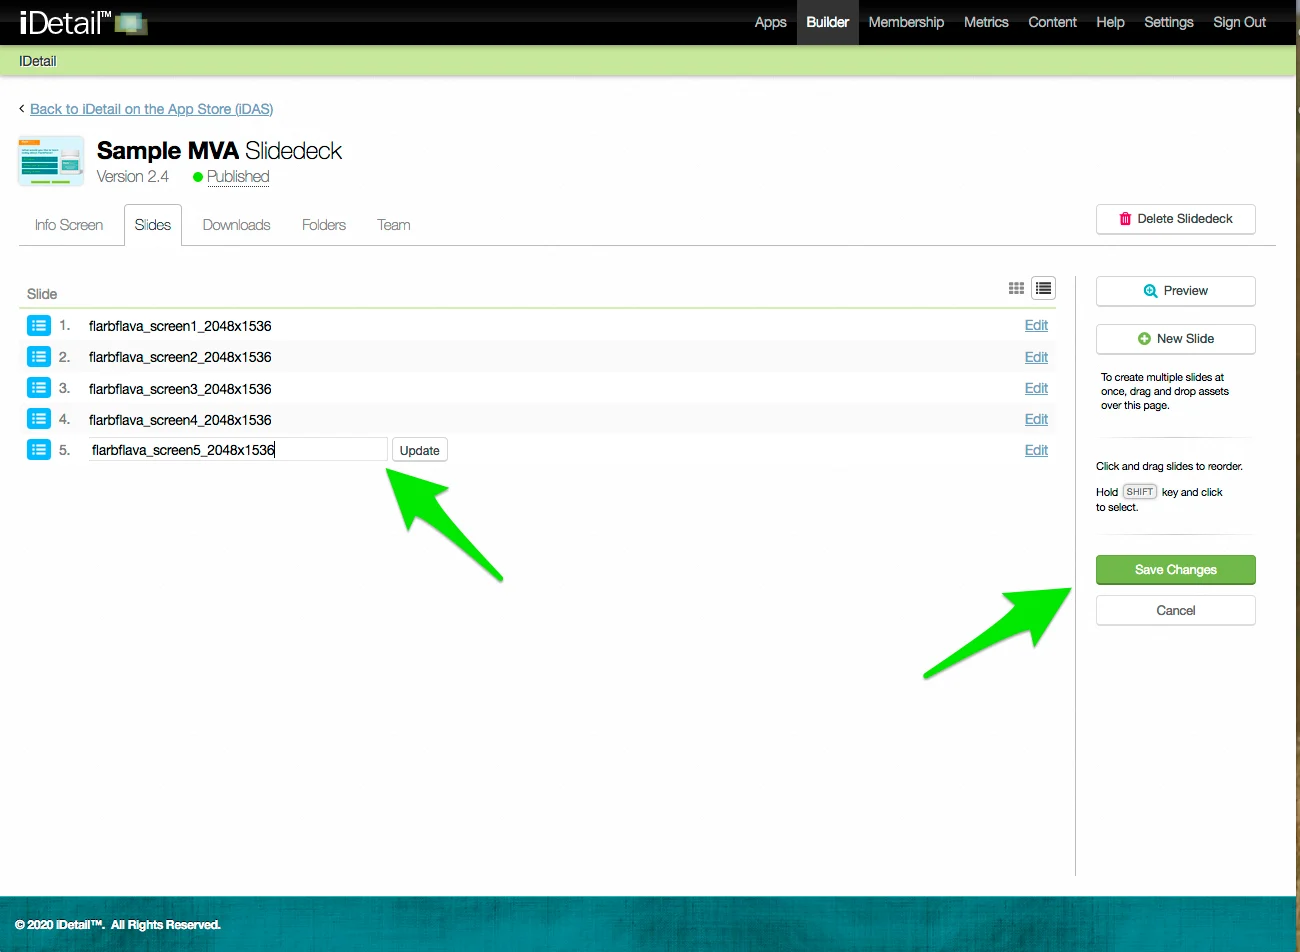
Click the slide title to rename it, then click Update
Click Save Changes to save your edits
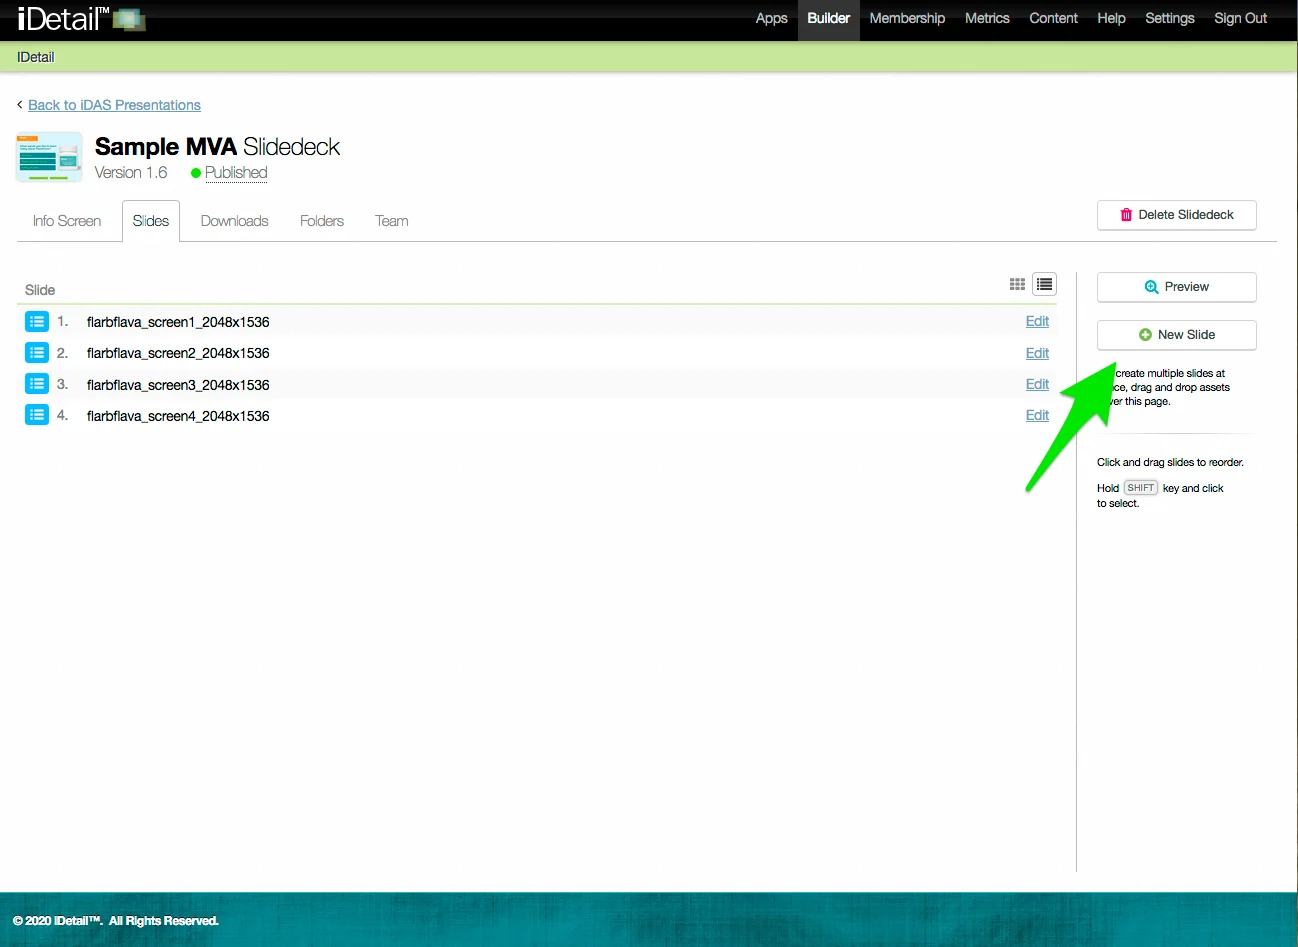
Add a slide using the New Slide button (list view)
On the Slidedeck Slides tab:
Click the List View icon if you are not already in that view
Click the New Slide button
The New Slide button in the list view displays the same New Slide dialog box as described in the Add a slide using the New Slide button (grid view) section earlier in this document
Name your new slide and choose an asset file
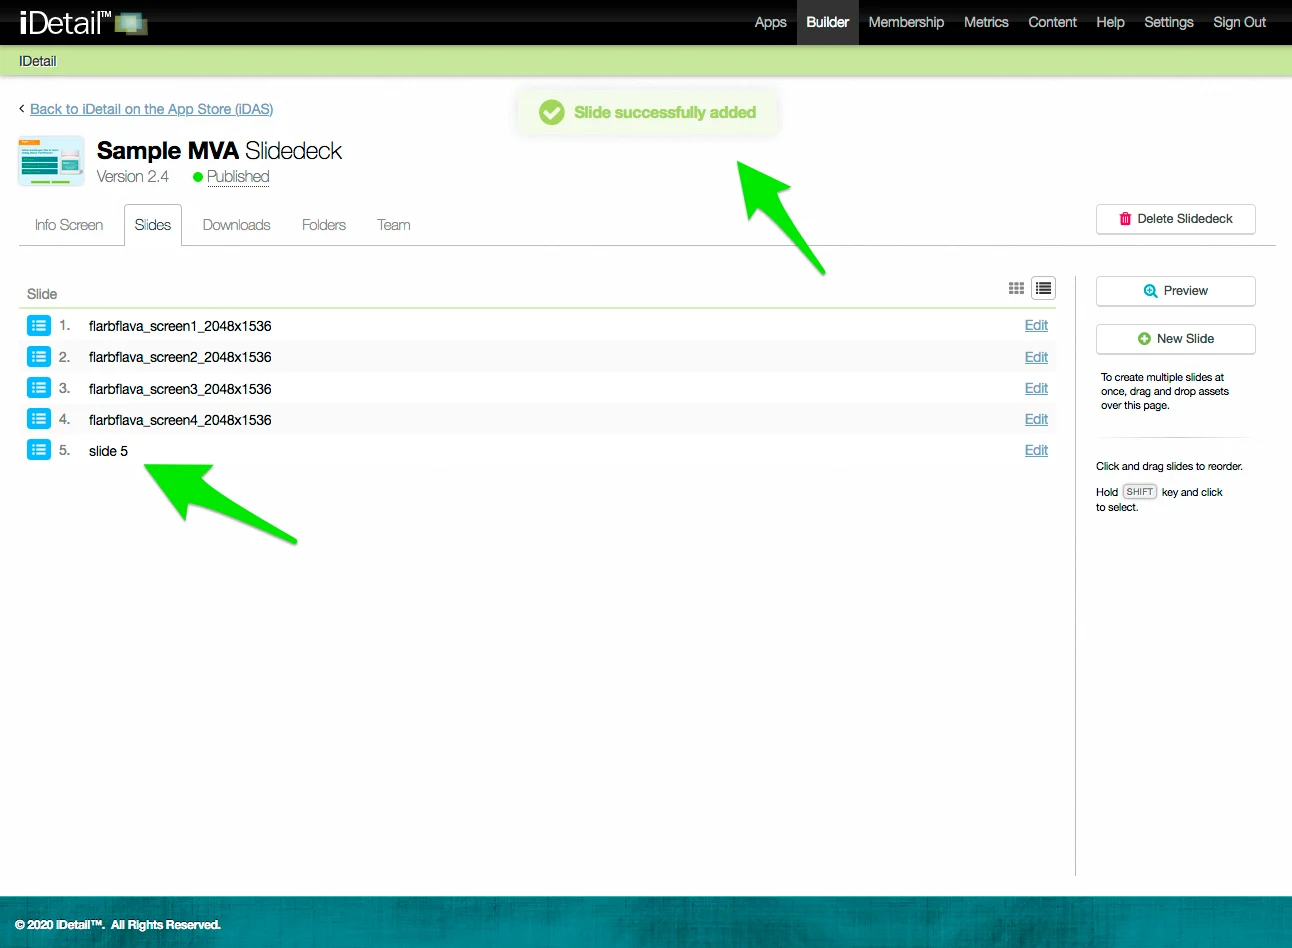
After you click Create in the New Slide dialog box, the new slide appears at the bottom of the list view screen
A confirmation message appears at the top of the screen
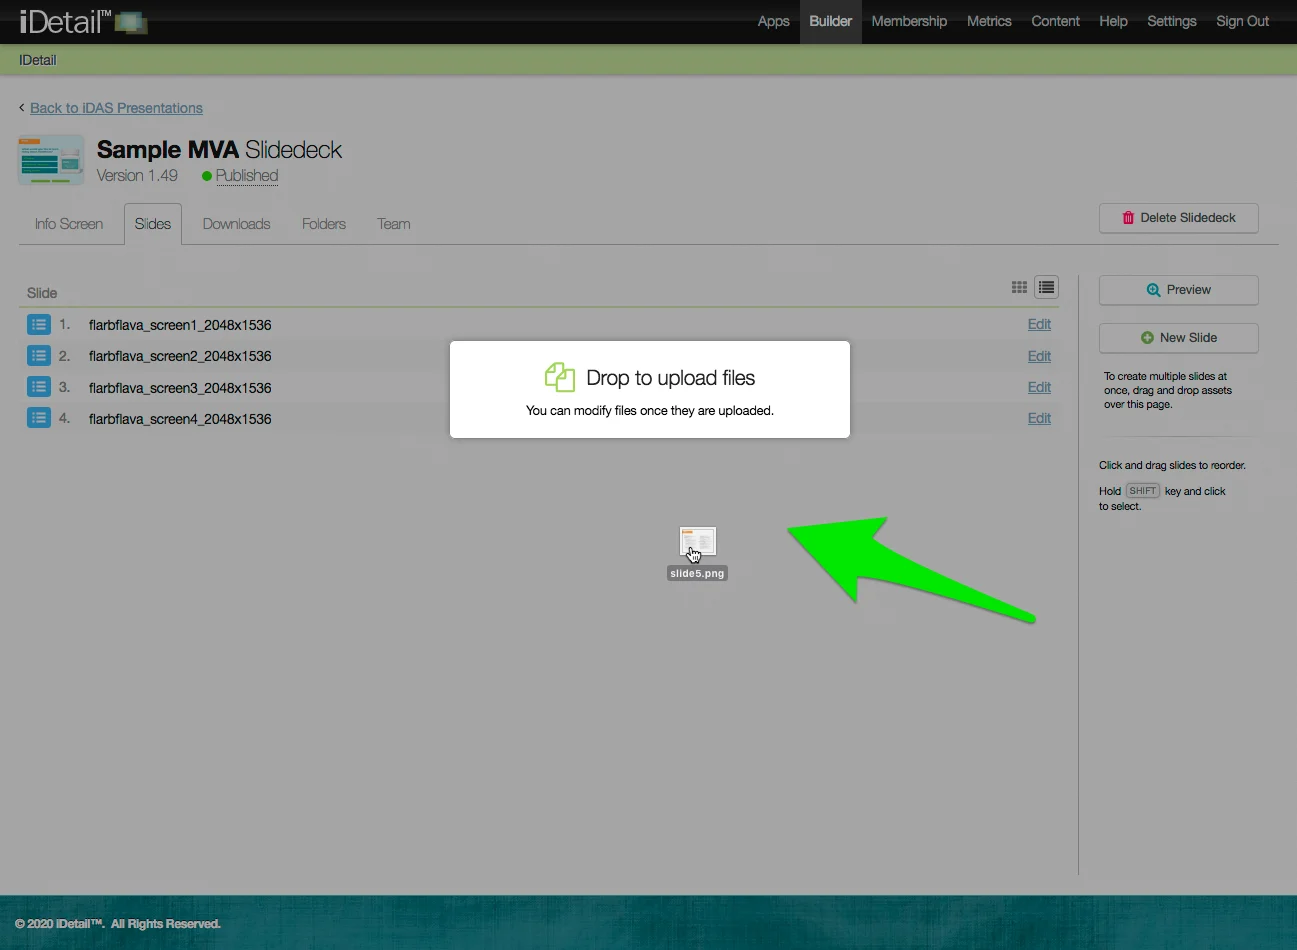
Add a slide using drag and drop (list view)
On the Slidedeck Slides tab:
Click the List View icon if you are not already in that view
Select the file or files you wish to add using your computer’s file manager
Drag the file or files into the list view screen area and drop them
The new slide or slides appear at the bottom of the list view screen
A confirmation message appears at the top of the screen
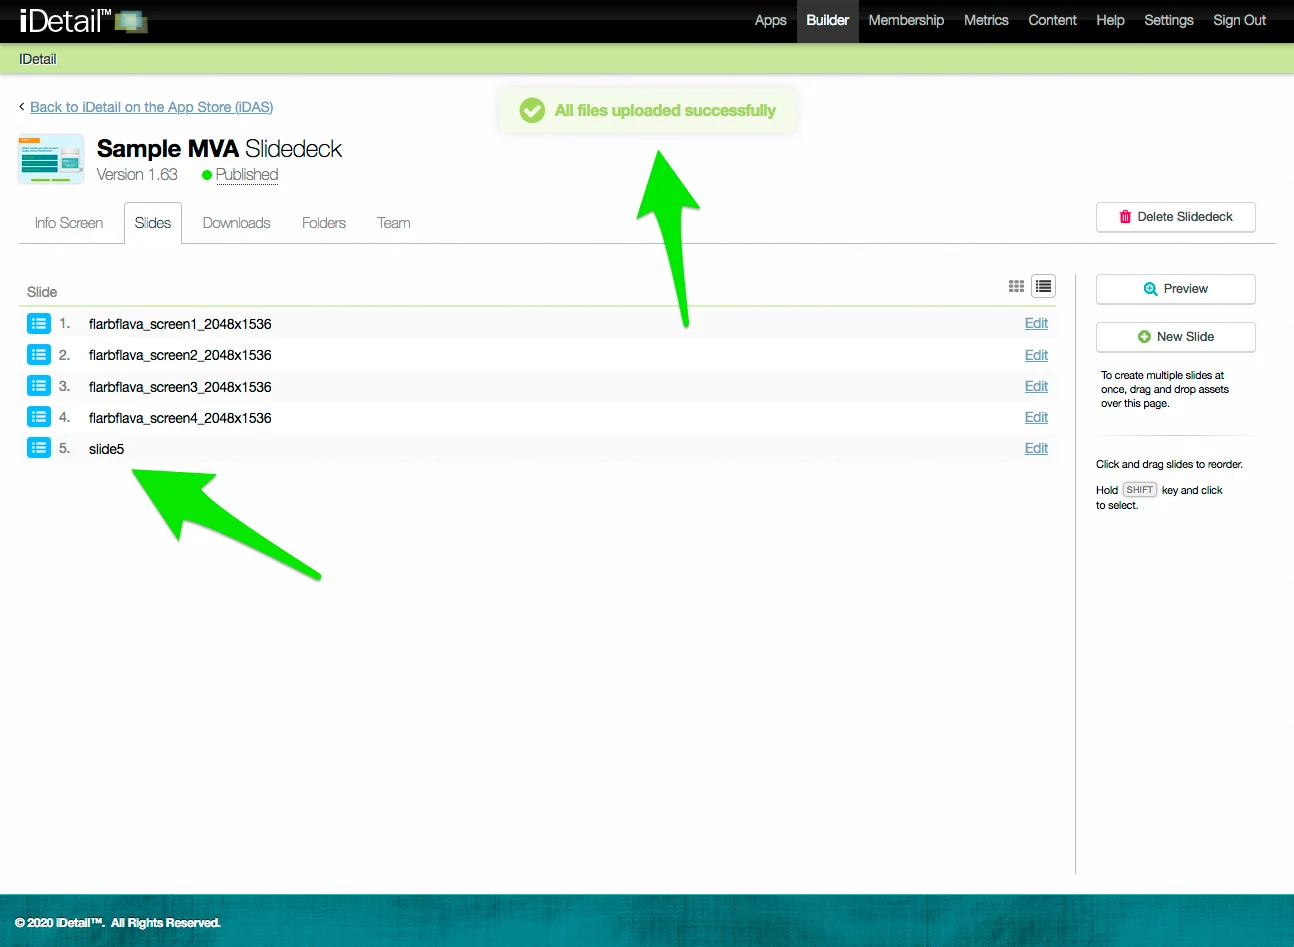
Files that are dragged and dropped use the filename as the slide title
Click the slide title to rename it, then click Update
Click Save Changes to save your edits
Deleting a slide from a slide deck
You can delete a slide from a slide deck while in the slide deck grid view, list view, or while viewing an individual slide.
Delete a slide (grid view)
On the Slidedeck Slides tab:
Click the Grid View icon if you are not already in that view
Hover over the top left corner of the slide you want to delete, then click the Properties gear icon
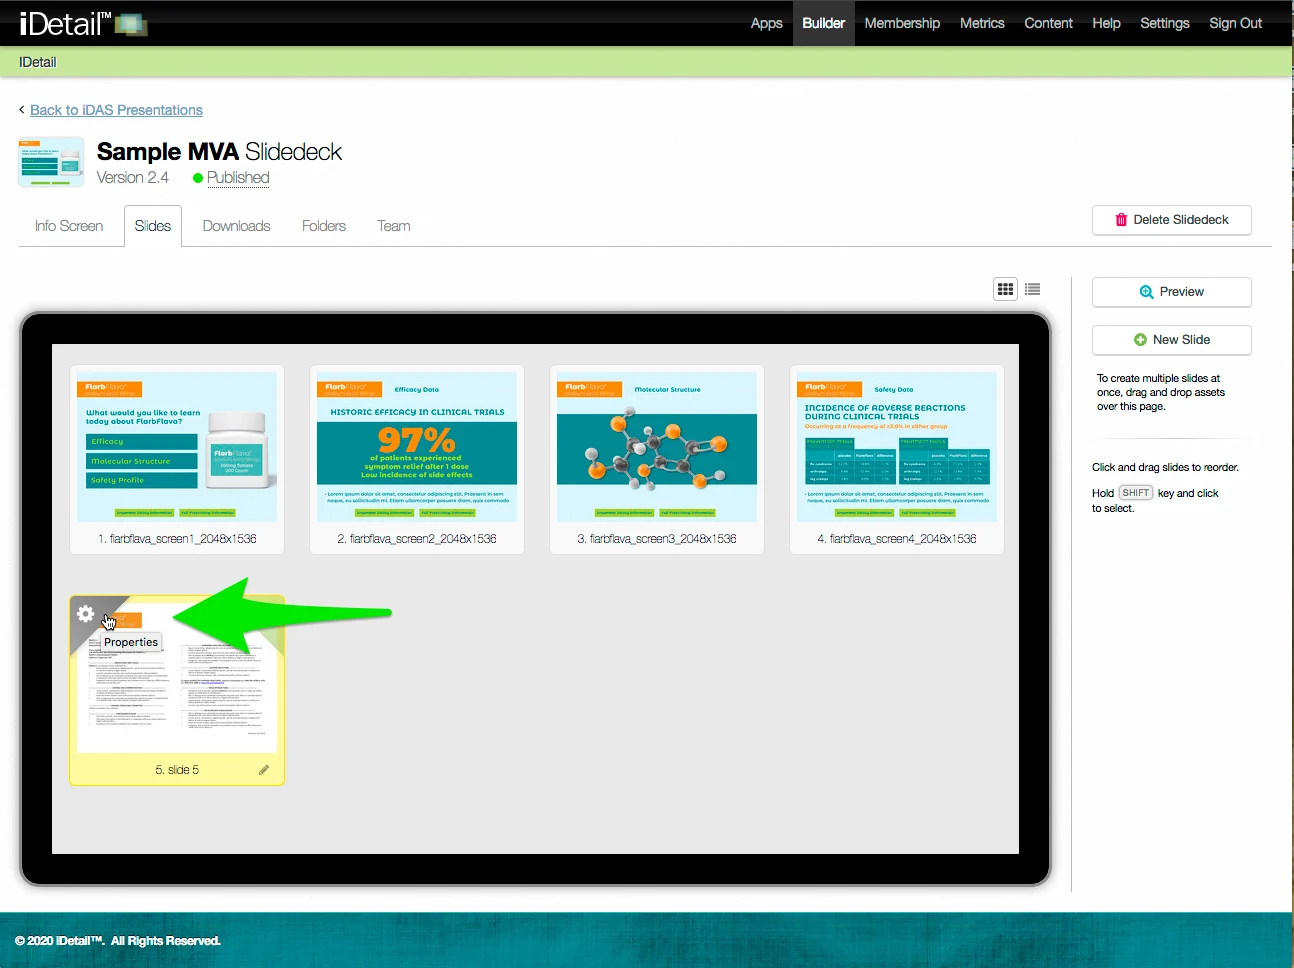
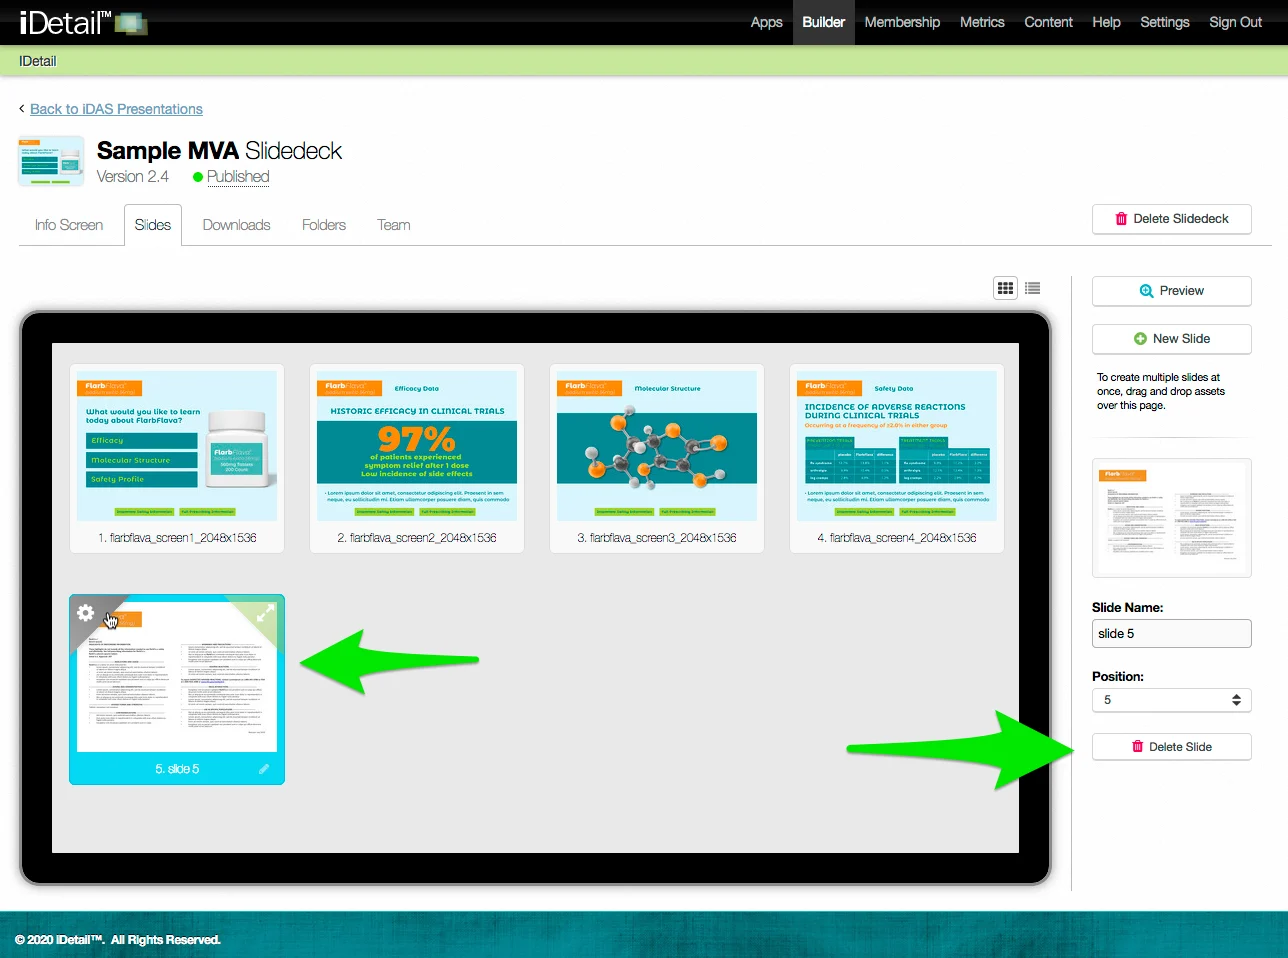
The slide border turns blue when selected, and the extended sidebar appears at the right of the screen
Click the Delete Slide button to delete the slide
The selected slide border turns red to indicate the slide is being deleted
You can undo this action by clicking the Un-Delete Slide button in the sidebar
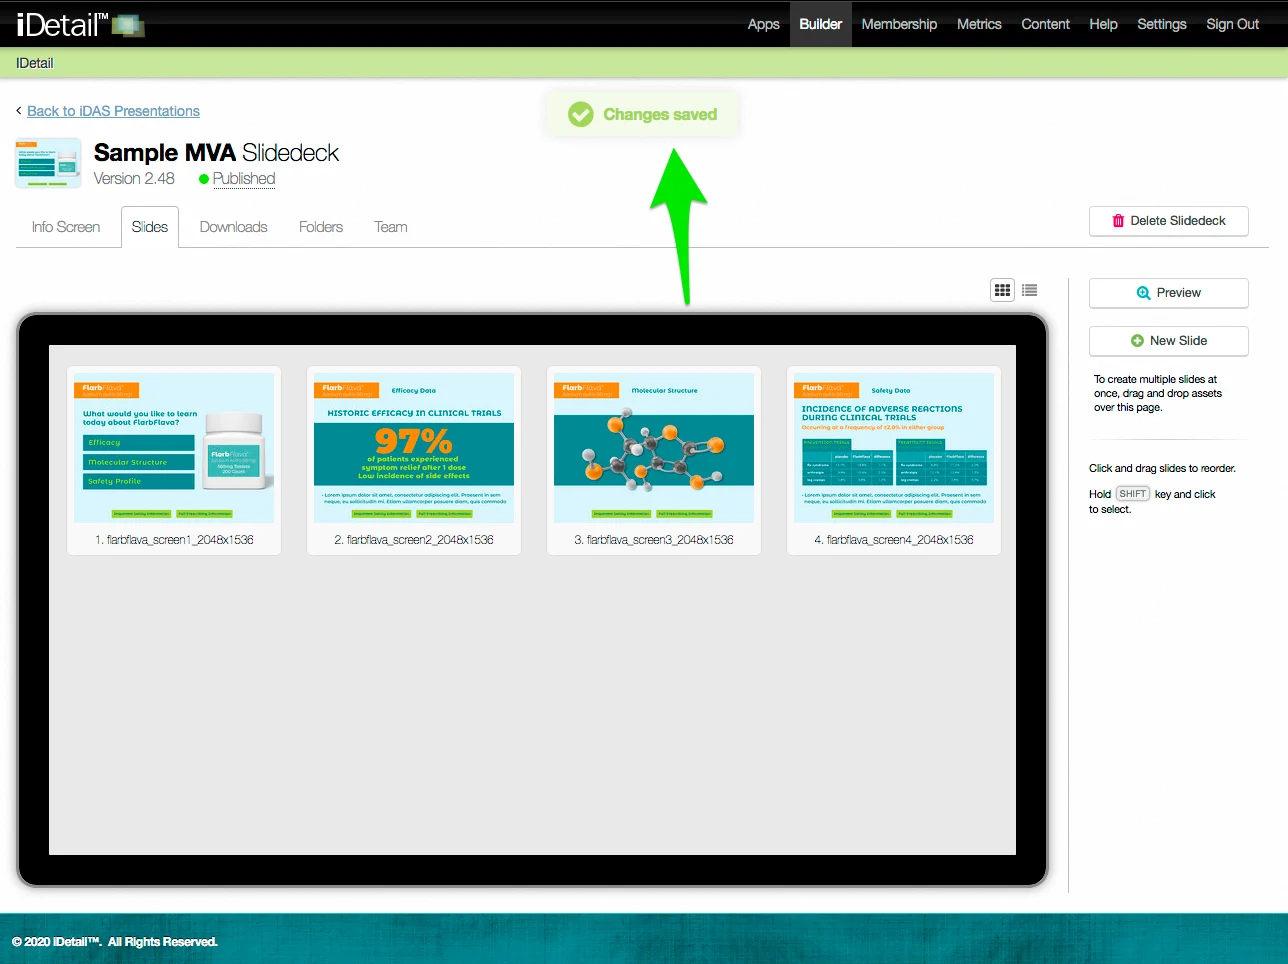
Click Save Changes to complete the deletion
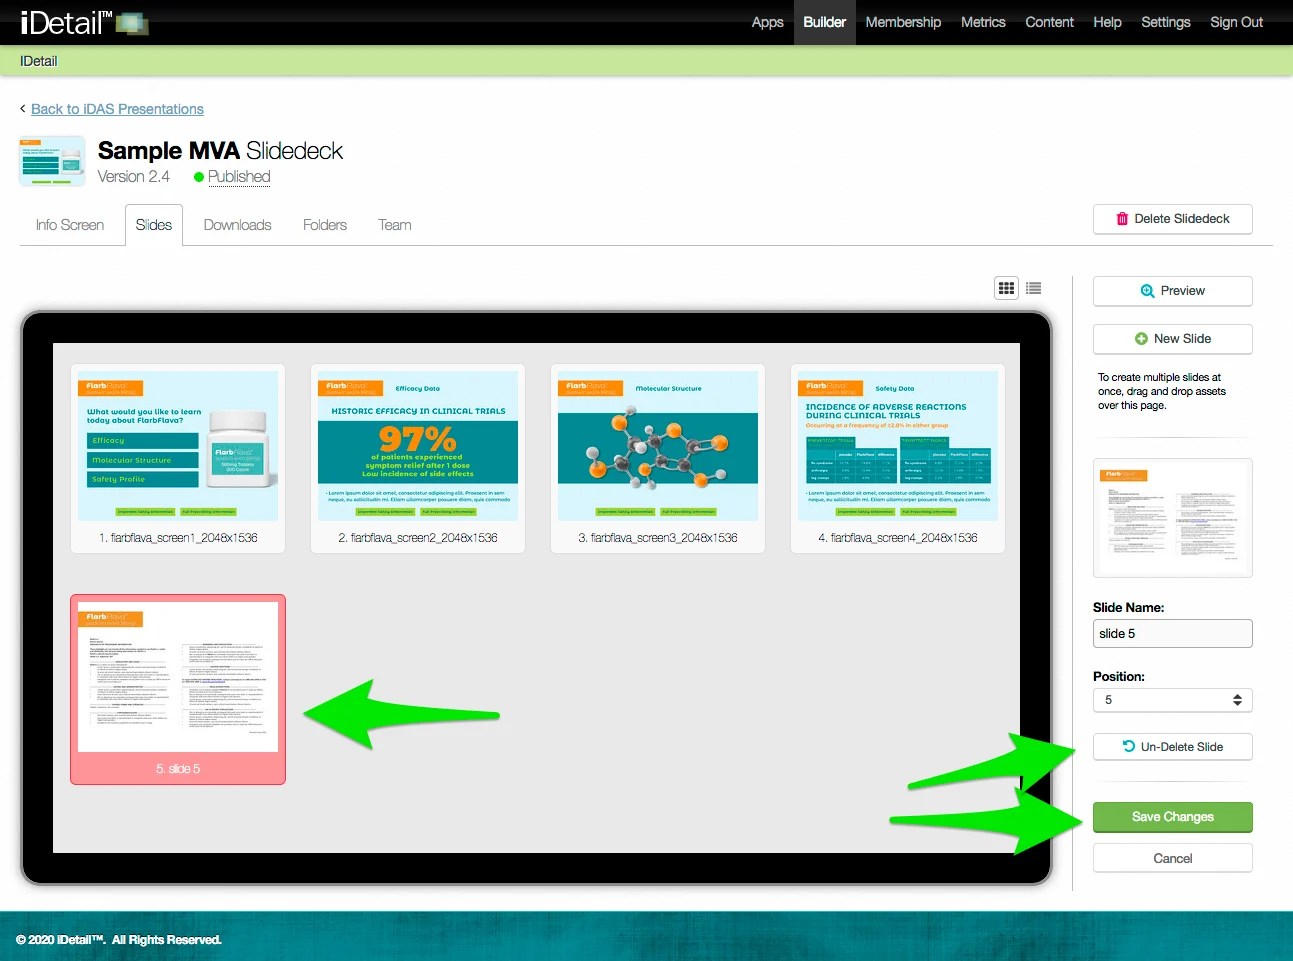
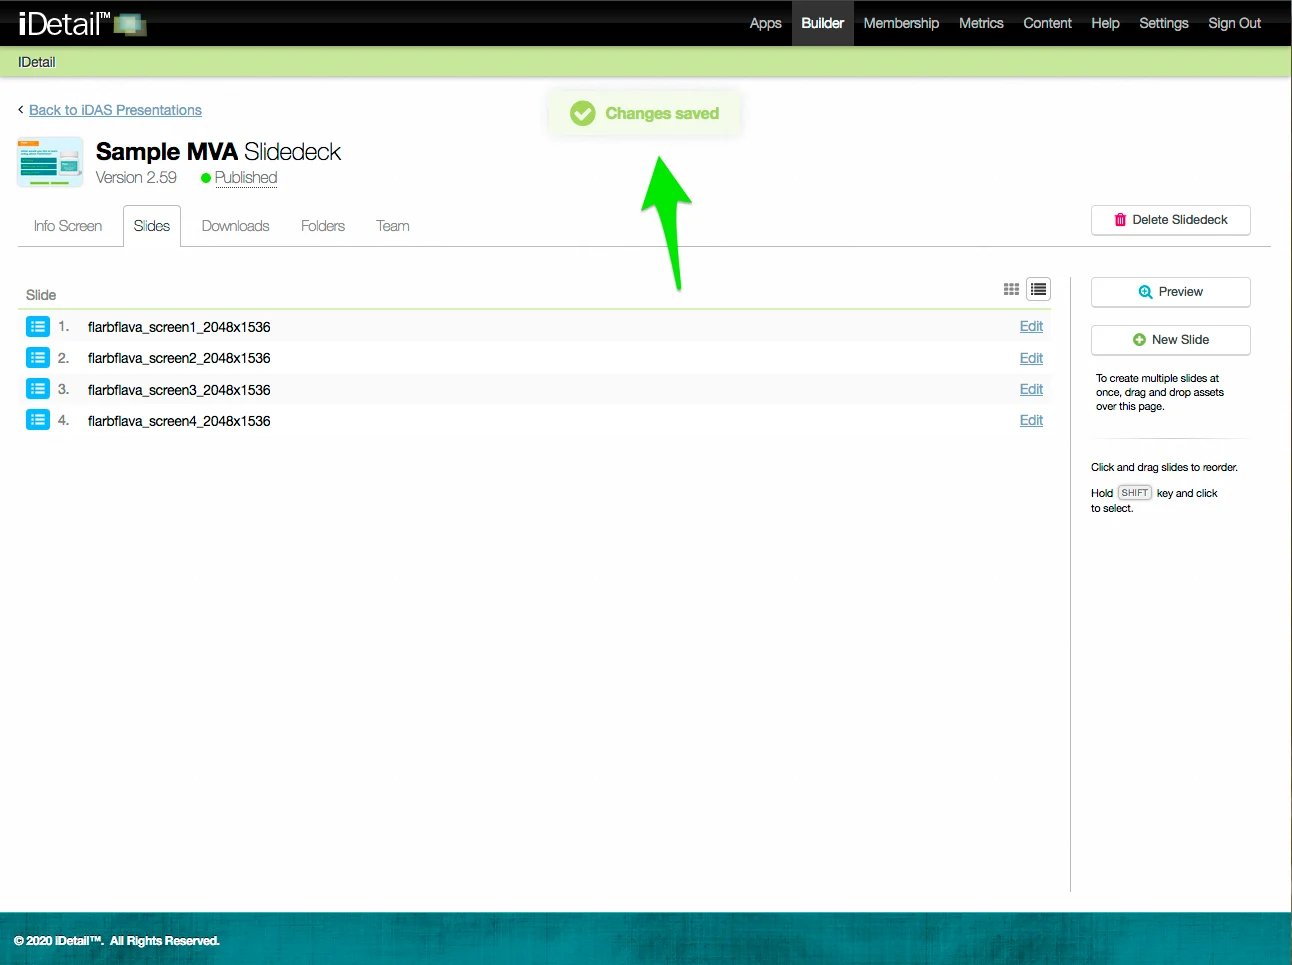
A confirmation message appears at the top of the screen
Delete a slide (list view)
On the Slidedeck Slides tab:
Click the List View icon if you are not already in that view
Hover over the line of the slide you want to delete and double click
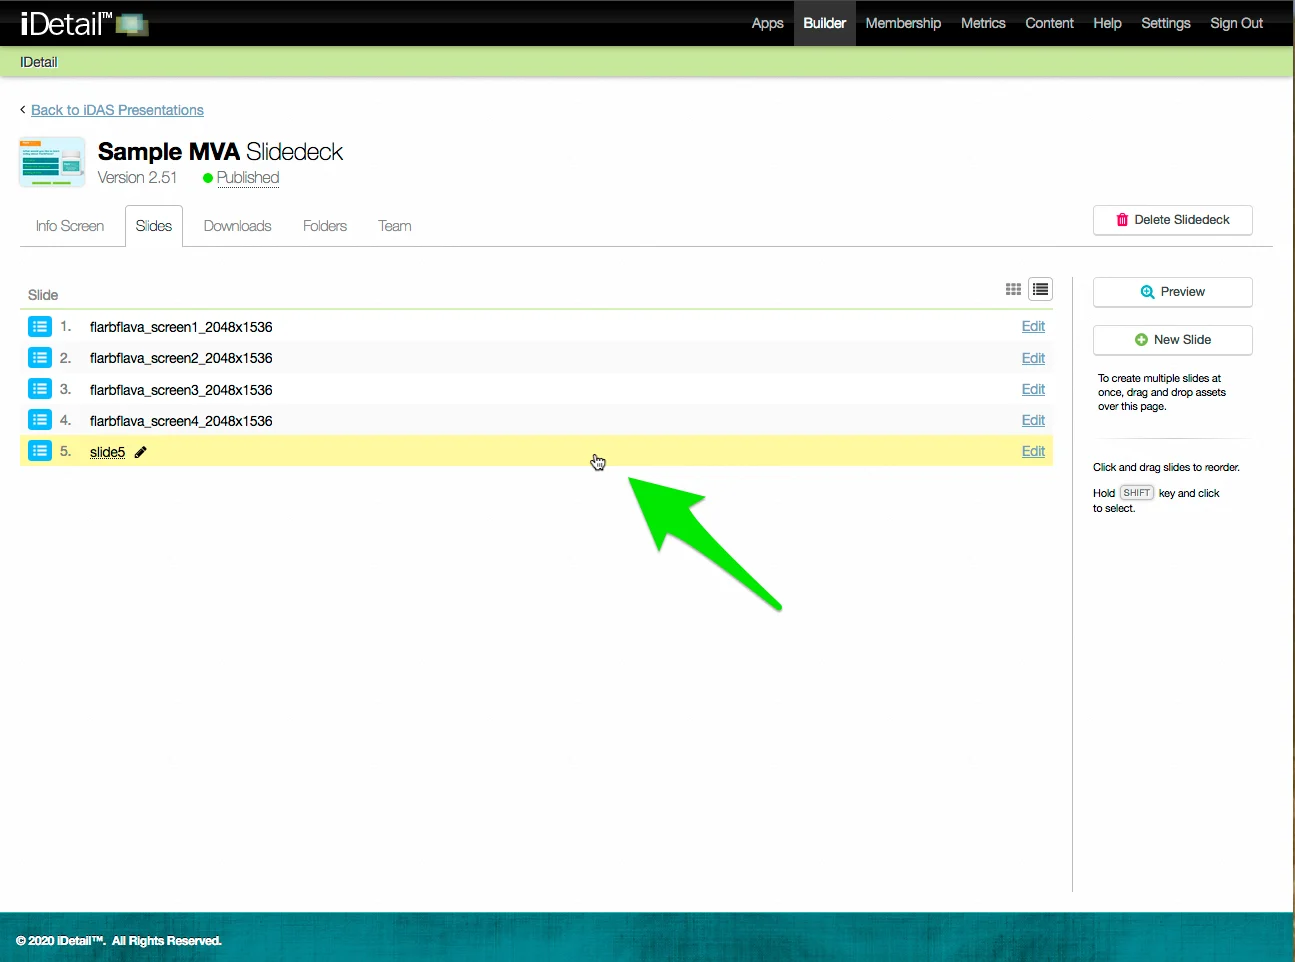
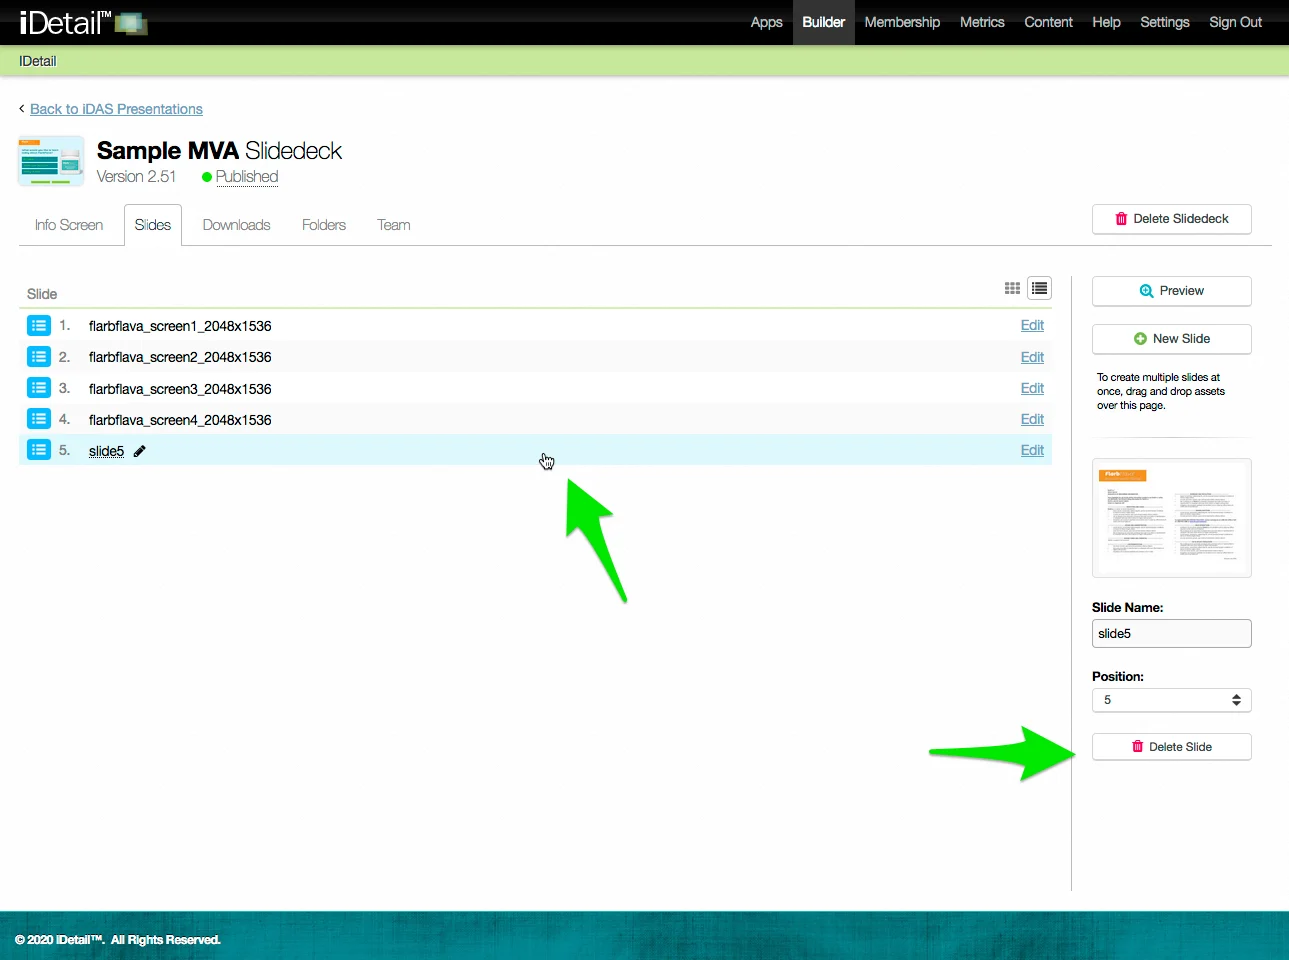
The line turns blue when selected, and the extended sidebar appears at the right of the screen
Click the Delete Slide button to delete the slide
The selected slide line turns red to indicate the slide is being deleted
You can undo this action by clicking the Un-Delete Slide button in the sidebar
Click Save Changes to complete the deletion

A confirmation message appears at the top of the screen
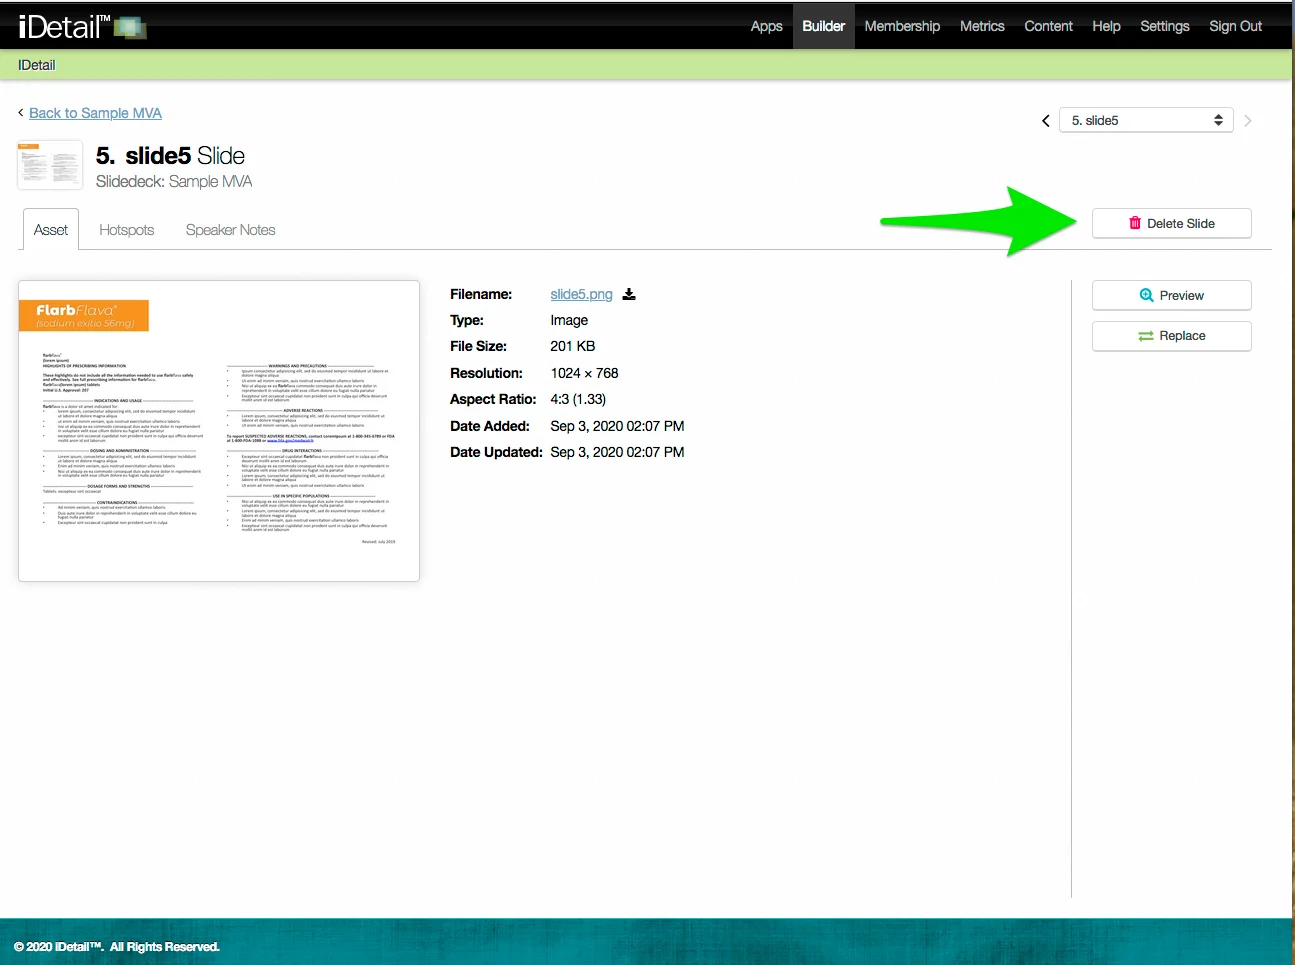
Delete a slide (individual slide view)
You can also delete a slide from a slide deck when you are viewing the individual slide. The Delete Slide button is displayed whether you are viewing the Asset, Hotspots, or Speaker Notes tab.
On the Slidedeck Slide screen:
Click the Delete Slide button
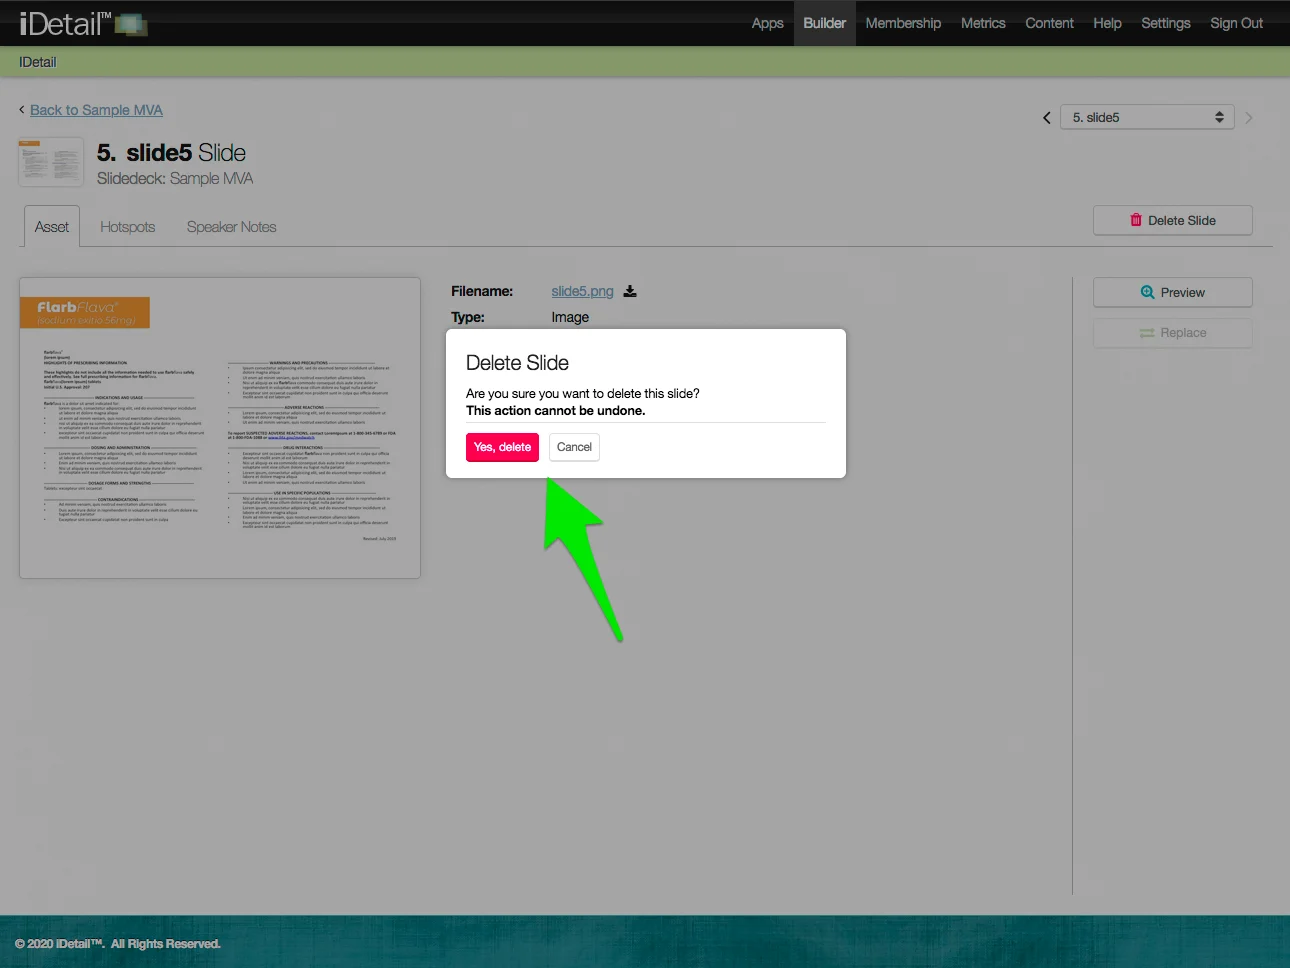
You will see a message asking you to confirm deleting the currently viewed slide
Click Yes, delete to delete
A confirmation message appears at the top of the screen
Once the individual slide is deleted, you are returned to the main slide deck grid view (or list view, depending on which view you started from)