The iDetail Web Service Builder authoring section has three fields for setting dates to manage when you make content items available to users : Approval Date, Publish Date, and Expiration Date.
The instructions below show the sequence for setting each Date field and individually saving the changes. You can also set all of the dates in the same editing session, then click on the Save Changes button once to save all of your settings.
Approval Date
You can set the Approval Date manually to show when content is available for public release, for example, to show when a presentation has passed an internal review process.
Note: The Approval Date is for informational purposes only; no content management automation is triggered by setting this field.
How to set the Approval Date
Open the iDetail Web Service - https://launch.idetailapp.com
Select Builder from the top navigation menu
Select the Manage Content link
Select a content item from the grid view or list view
The content item will display the Info Screen tab by default
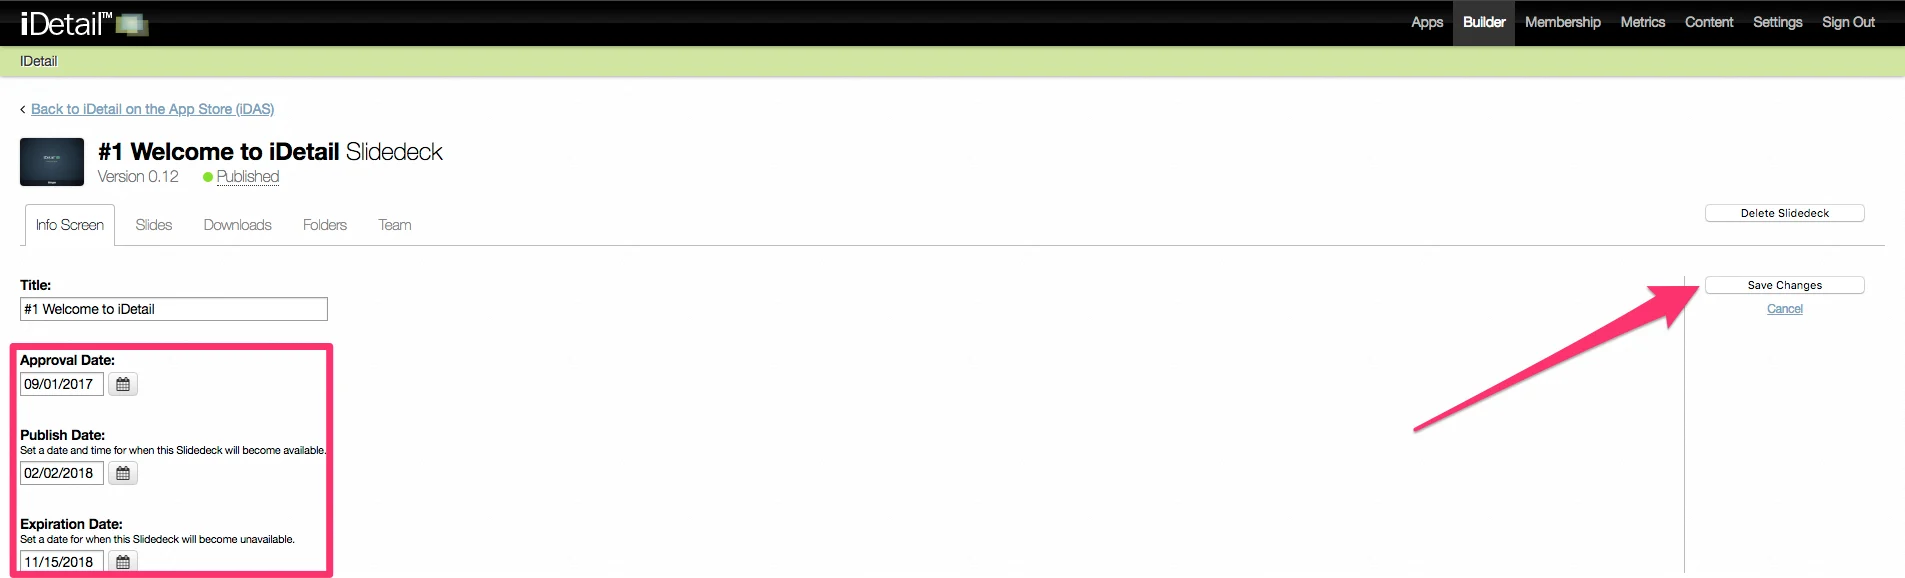
Click the Edit button on the right side of the Info Screen
Under Approval Date, enter a date in the field or click the datepicker to choose a date
Click the Save Changes button
Publish Date
Use the Publish Date to set a content item to release on a specific date. The content item will become available to members with permission at 12:00 AM UTC on the date specified. The default Publish Date is always set to the date the content item was created. You must manually reset the date if you want to release a content item on a future date. You may also hold a content item indefinitely by making its Publish Date blank.
For the Publish Date to work correctly you must
Make sure the Publish Date is set
Go to the Team tab and assign the content item to at least one member or group
If the content item is a Slidedeck, it must contain at least one slide.
How to set the Publish Date
Open the iDetail Web Service - https://launch.idetailapp.com
Select Builder from the top navigation menu
Select the Manage Content link
Select the name of the Content Library to manage from the Application drop down menu
Select a content item from the grid view or list view
Click the Edit button on the right side of the Info Screen
Underneath Publish Date, enter a date in the left field or click the datepicker to choose a date
Click the Save Changes button
Expiration Date
Setting the Expiration Date makes the content unavailable on a specified date. The content expires at 12:00 AM UTC on the date specified. The content remains on the Web Service, but it can no longer be downloaded and viewed by the iOS app users.
How to set the Expiration Date
Open the iDetail Web Service - https://launch.idetailapp.com
Select Builder from the top navigation menu
Select the Manage Content link
Select a content item from the grid view or list view
Click the Edit button on the right side of the Info Screen
Underneath Expiration Date, enter a date in the field or click the datepicker to choose a date
Click the Save Changes button
UTC Format
The iDetail Web Service currently stores Approval, Publish, and Expiration dates as Coordinated Universal Time (UTC) fields. Read more about UTC.